We have had a couple different chicken coop over the last ten years and each was good but each had a little problems. I think that I really want a simple, close by coop with a nice run that we can make easy and enjoyable to keep a small flock of hens. We have a few chickens left that are free ranging but it’s just not the best thing in many ways. Finding eggs is like an Easter egg hunt and often they are not fresh when you do find them. And it’s just not safe for them to be wandering about and vunerable at night.
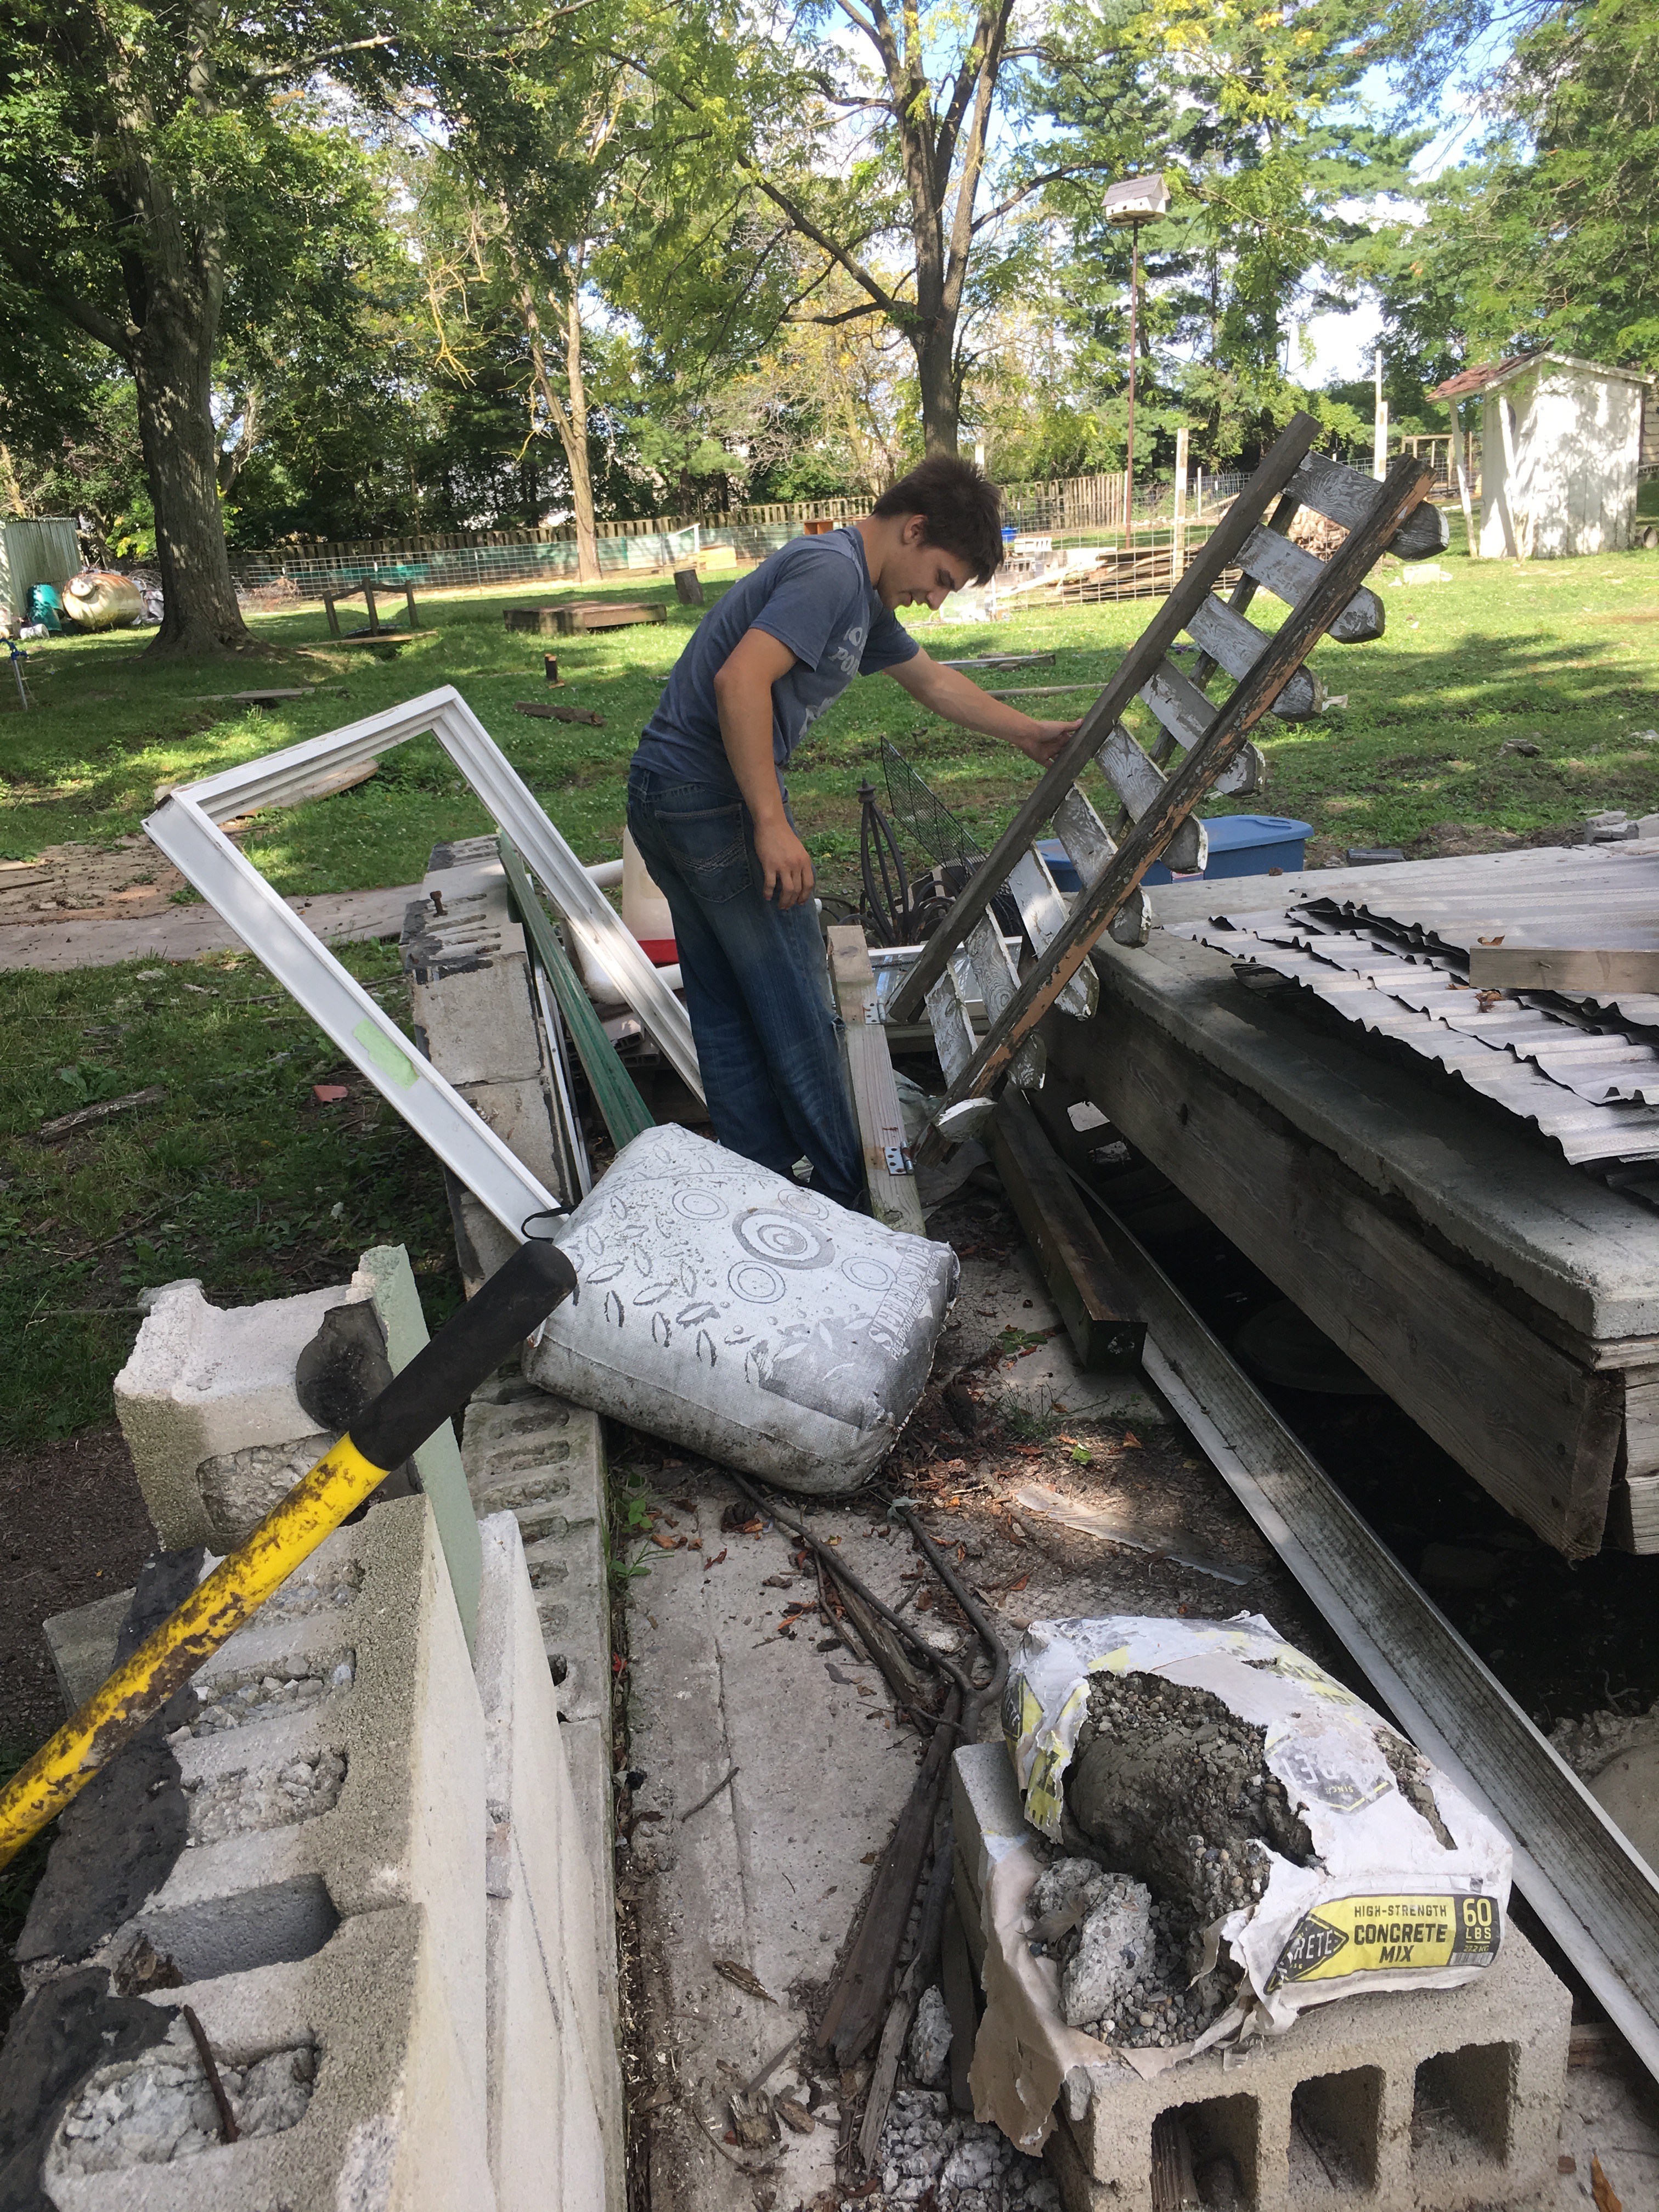
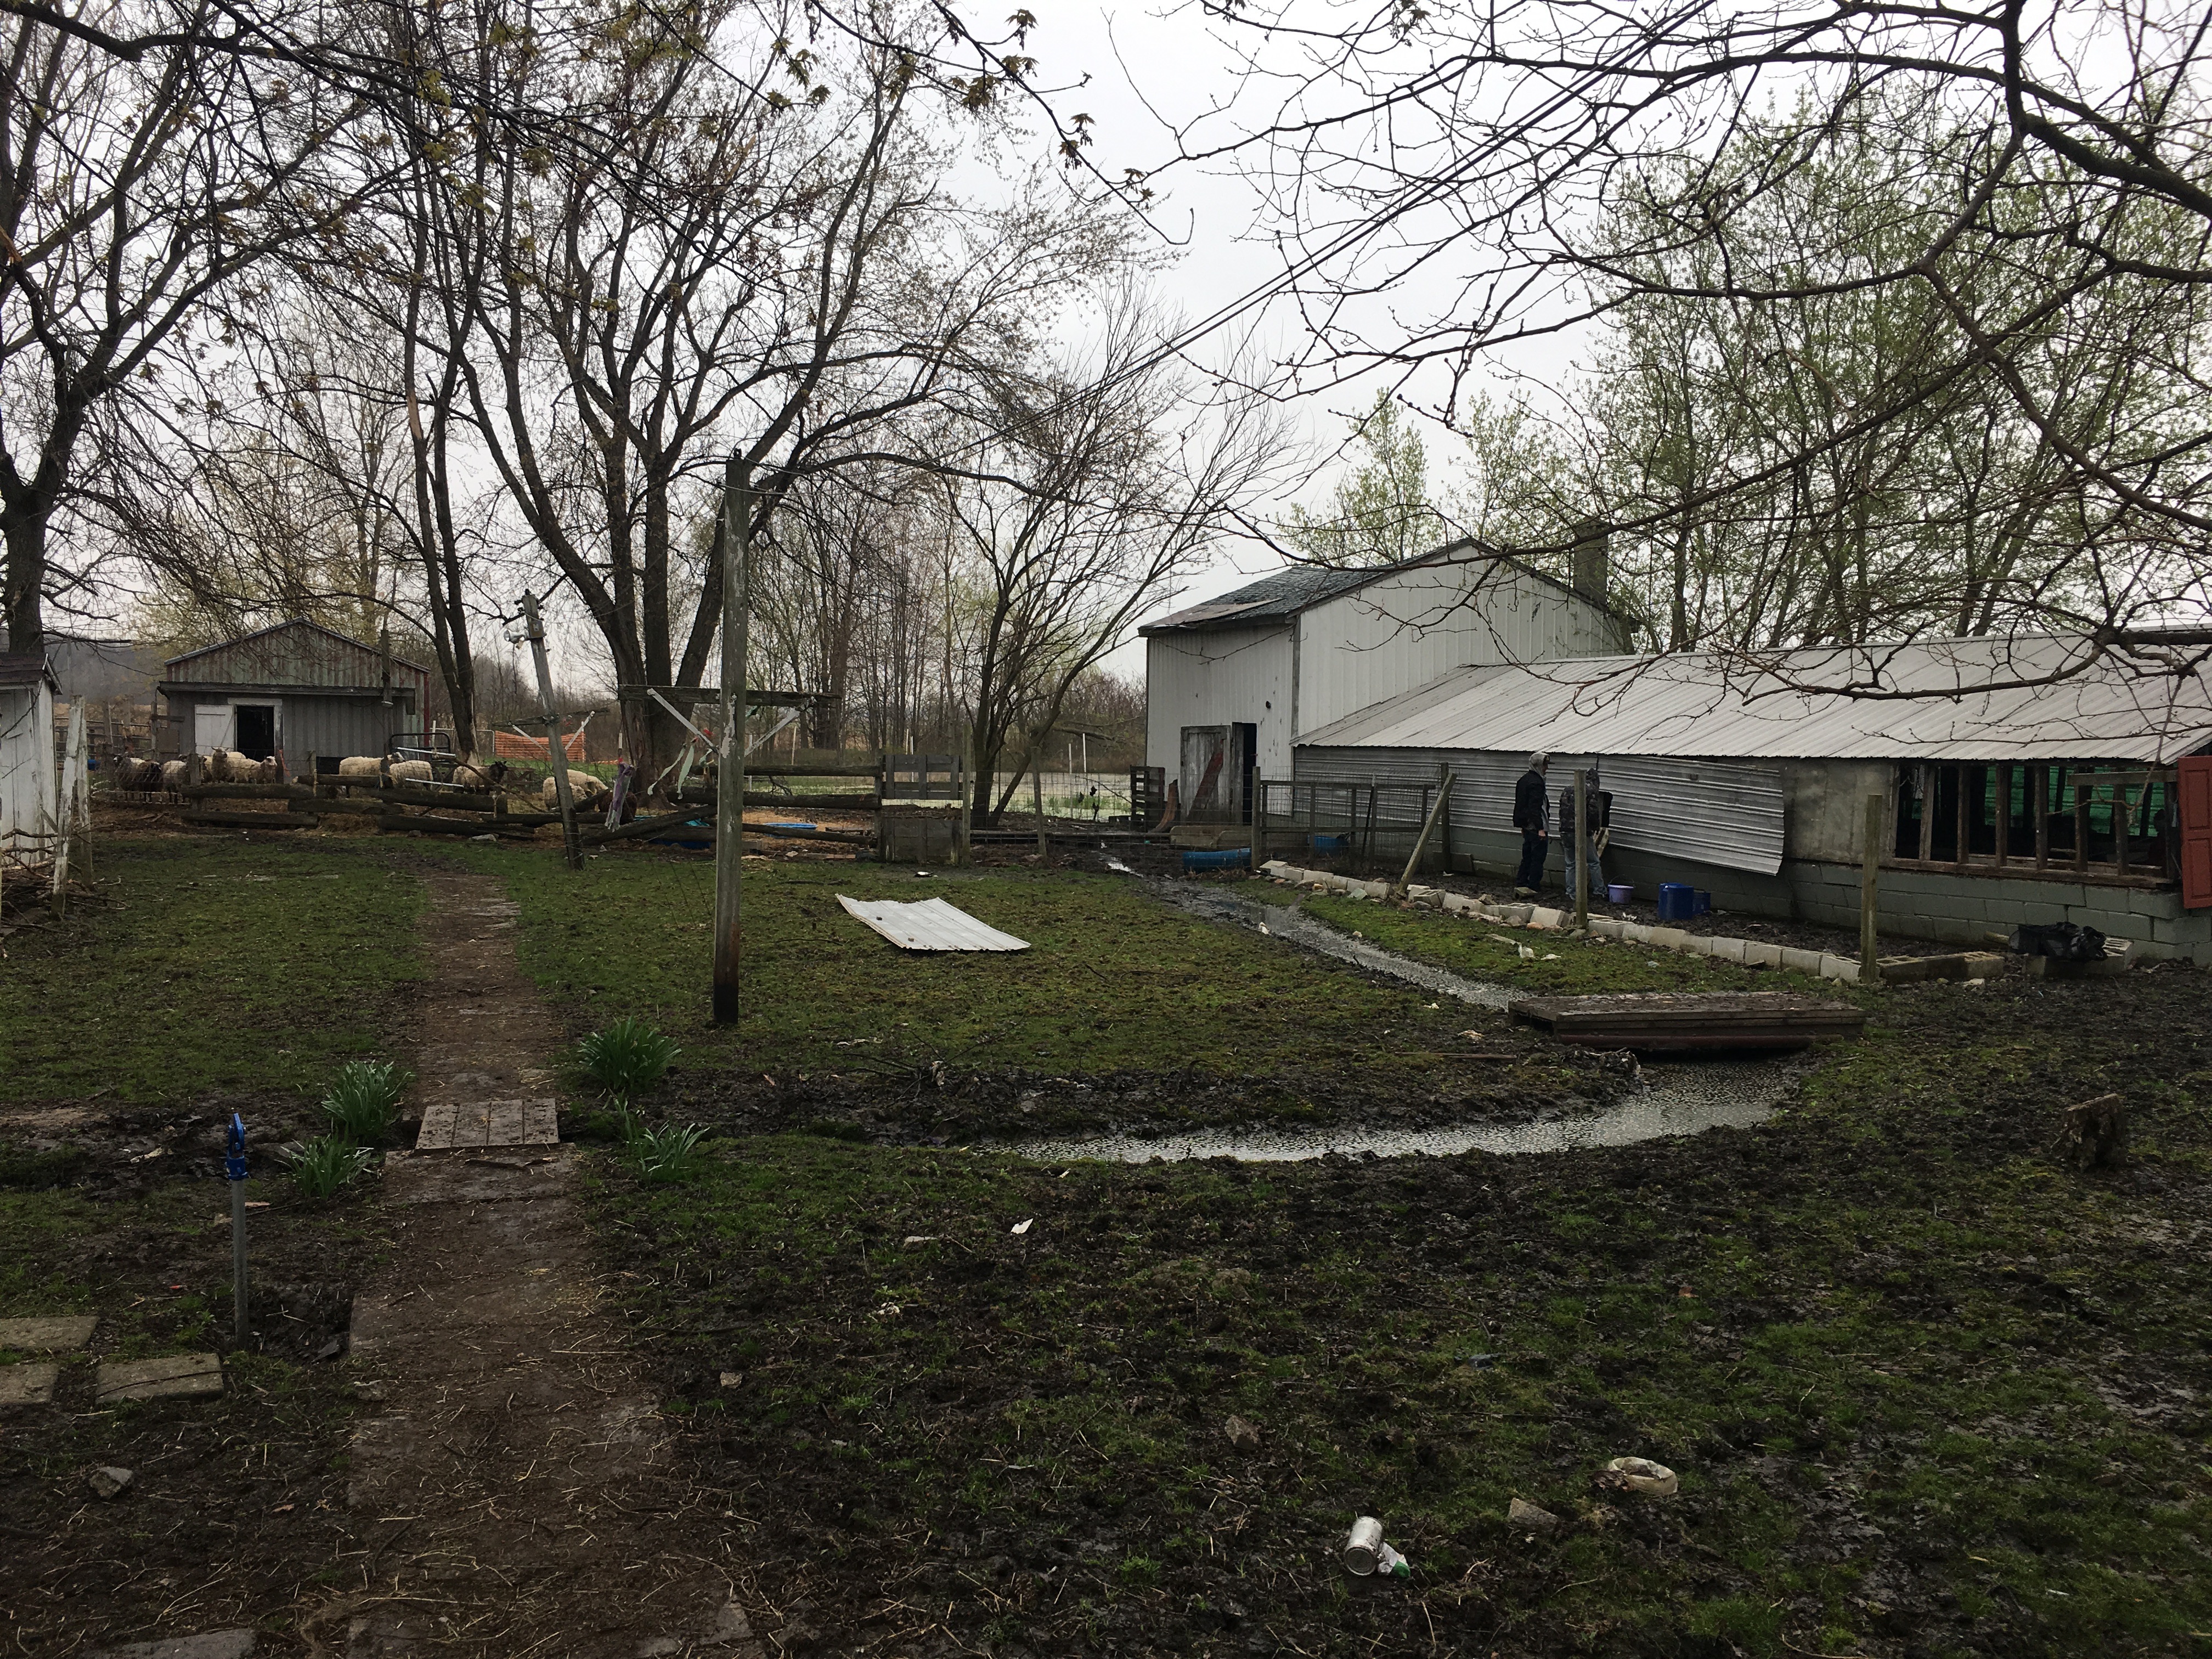
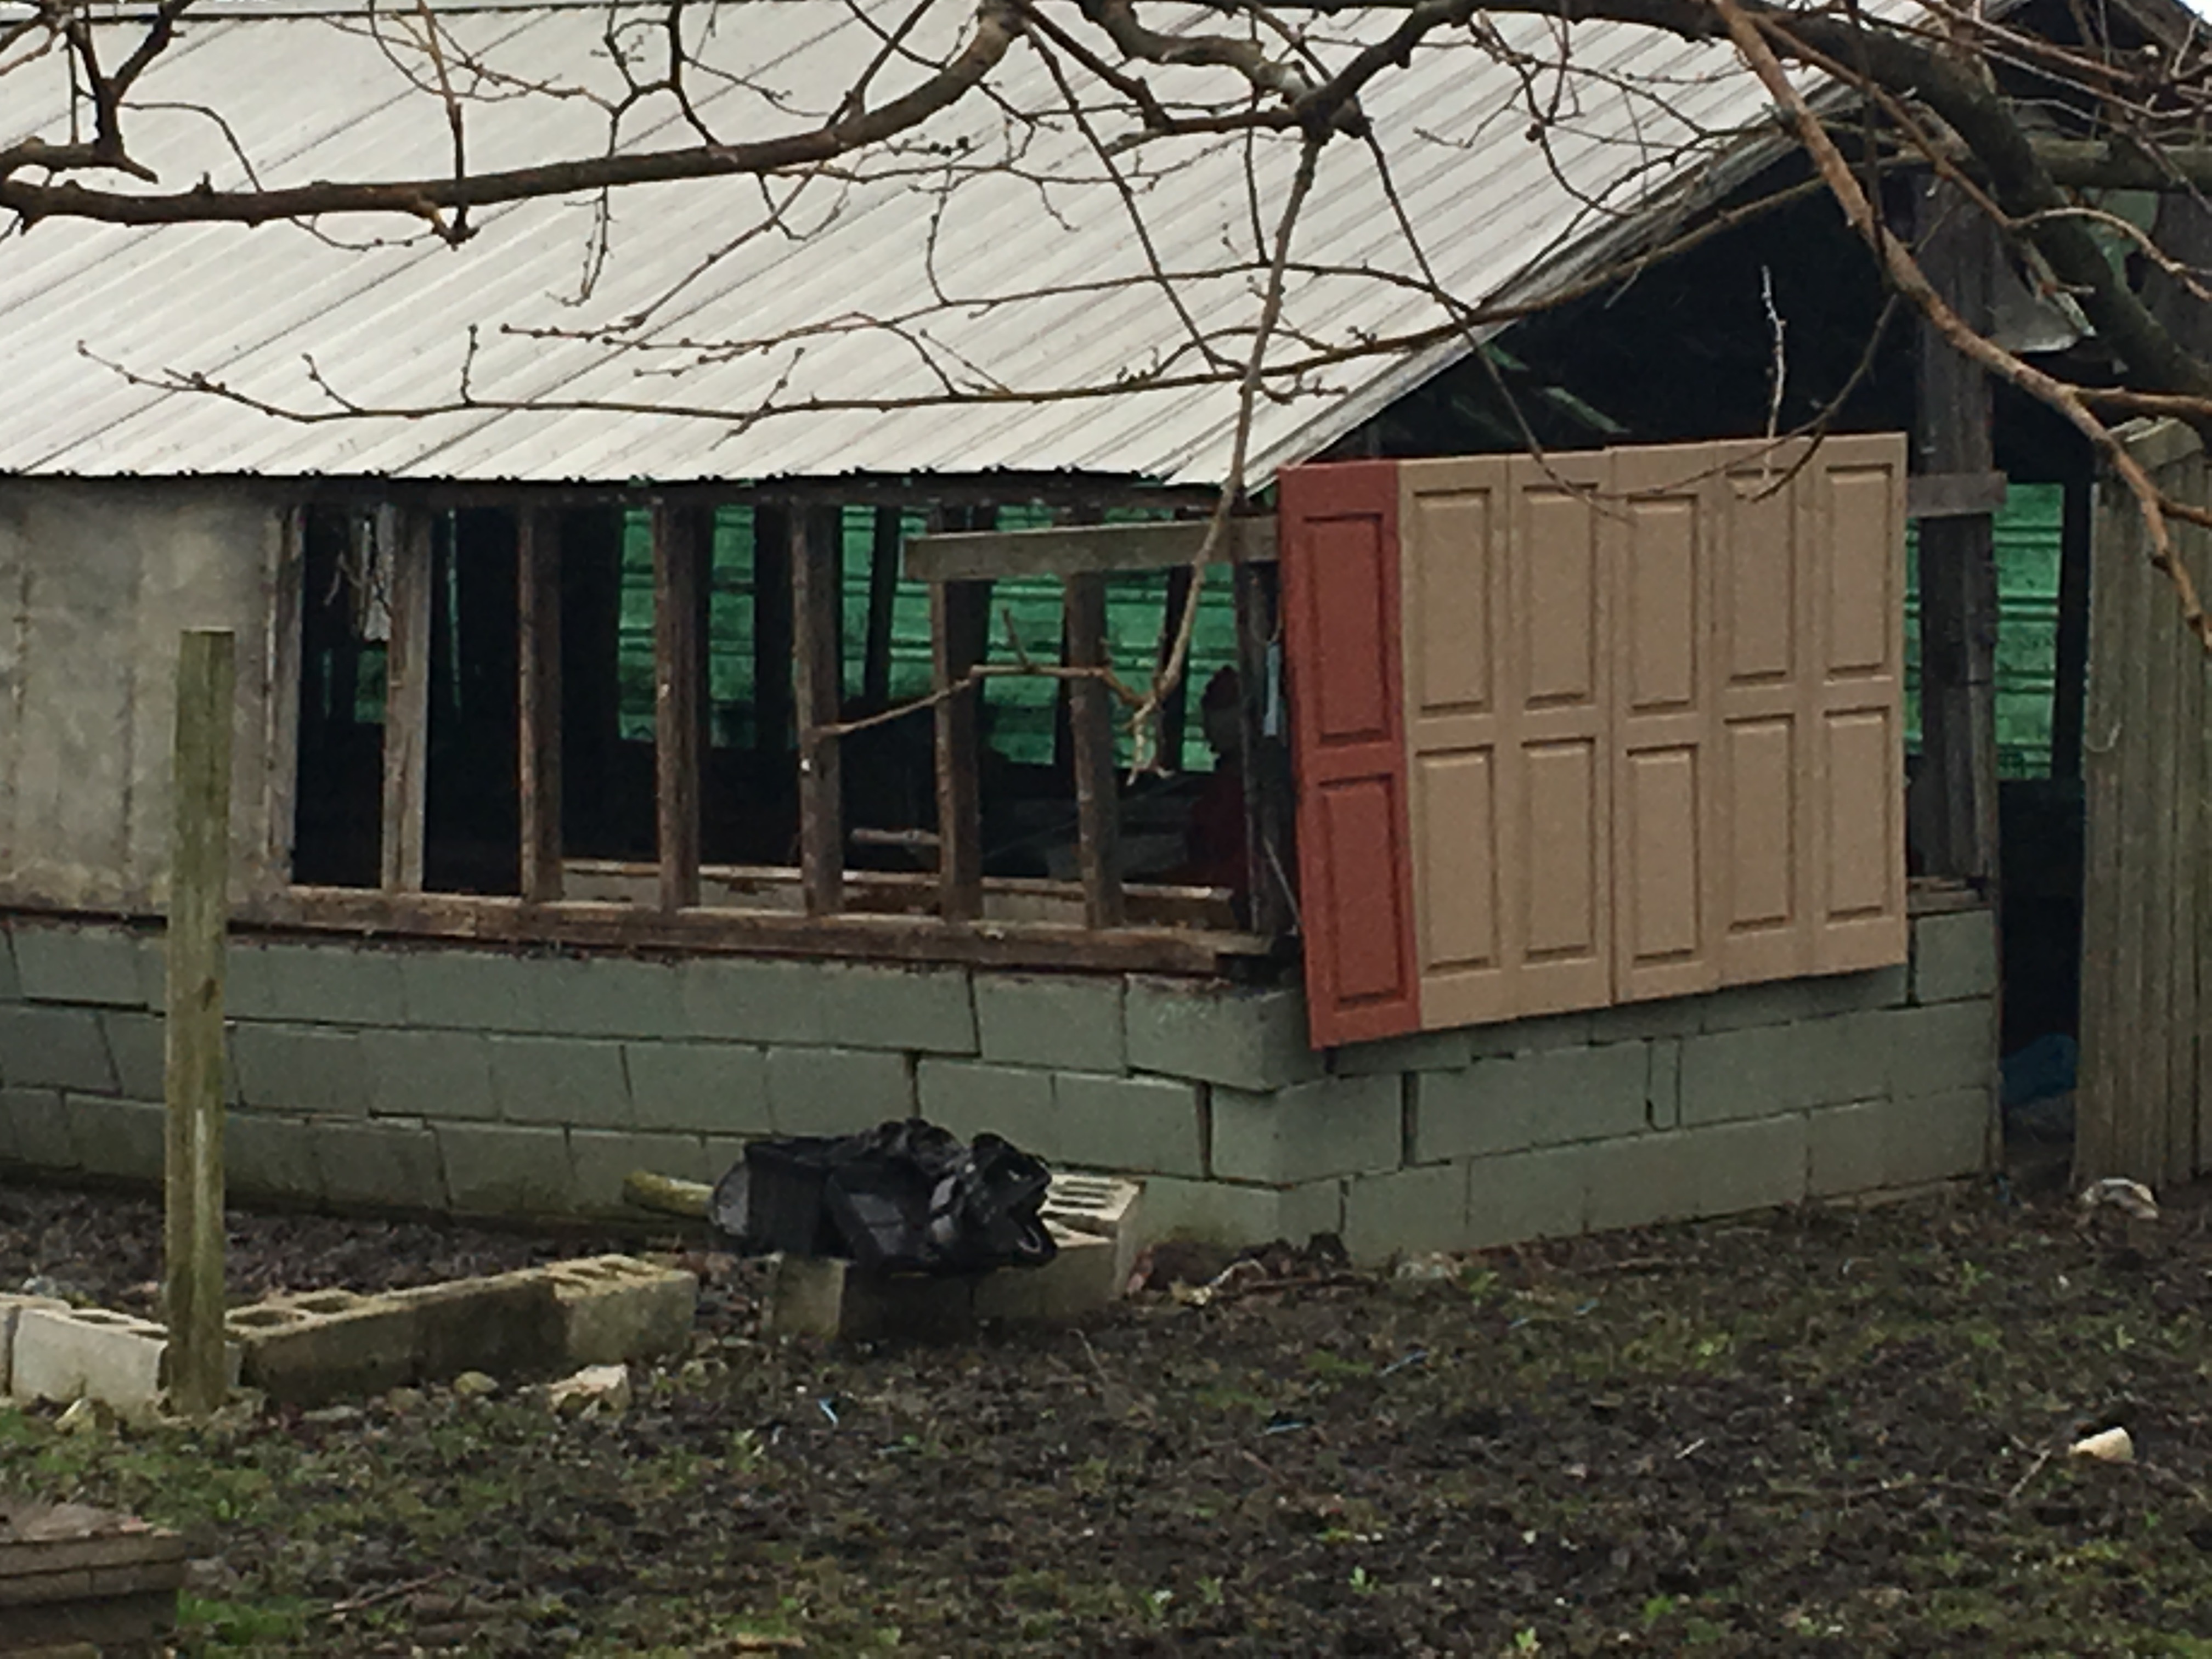
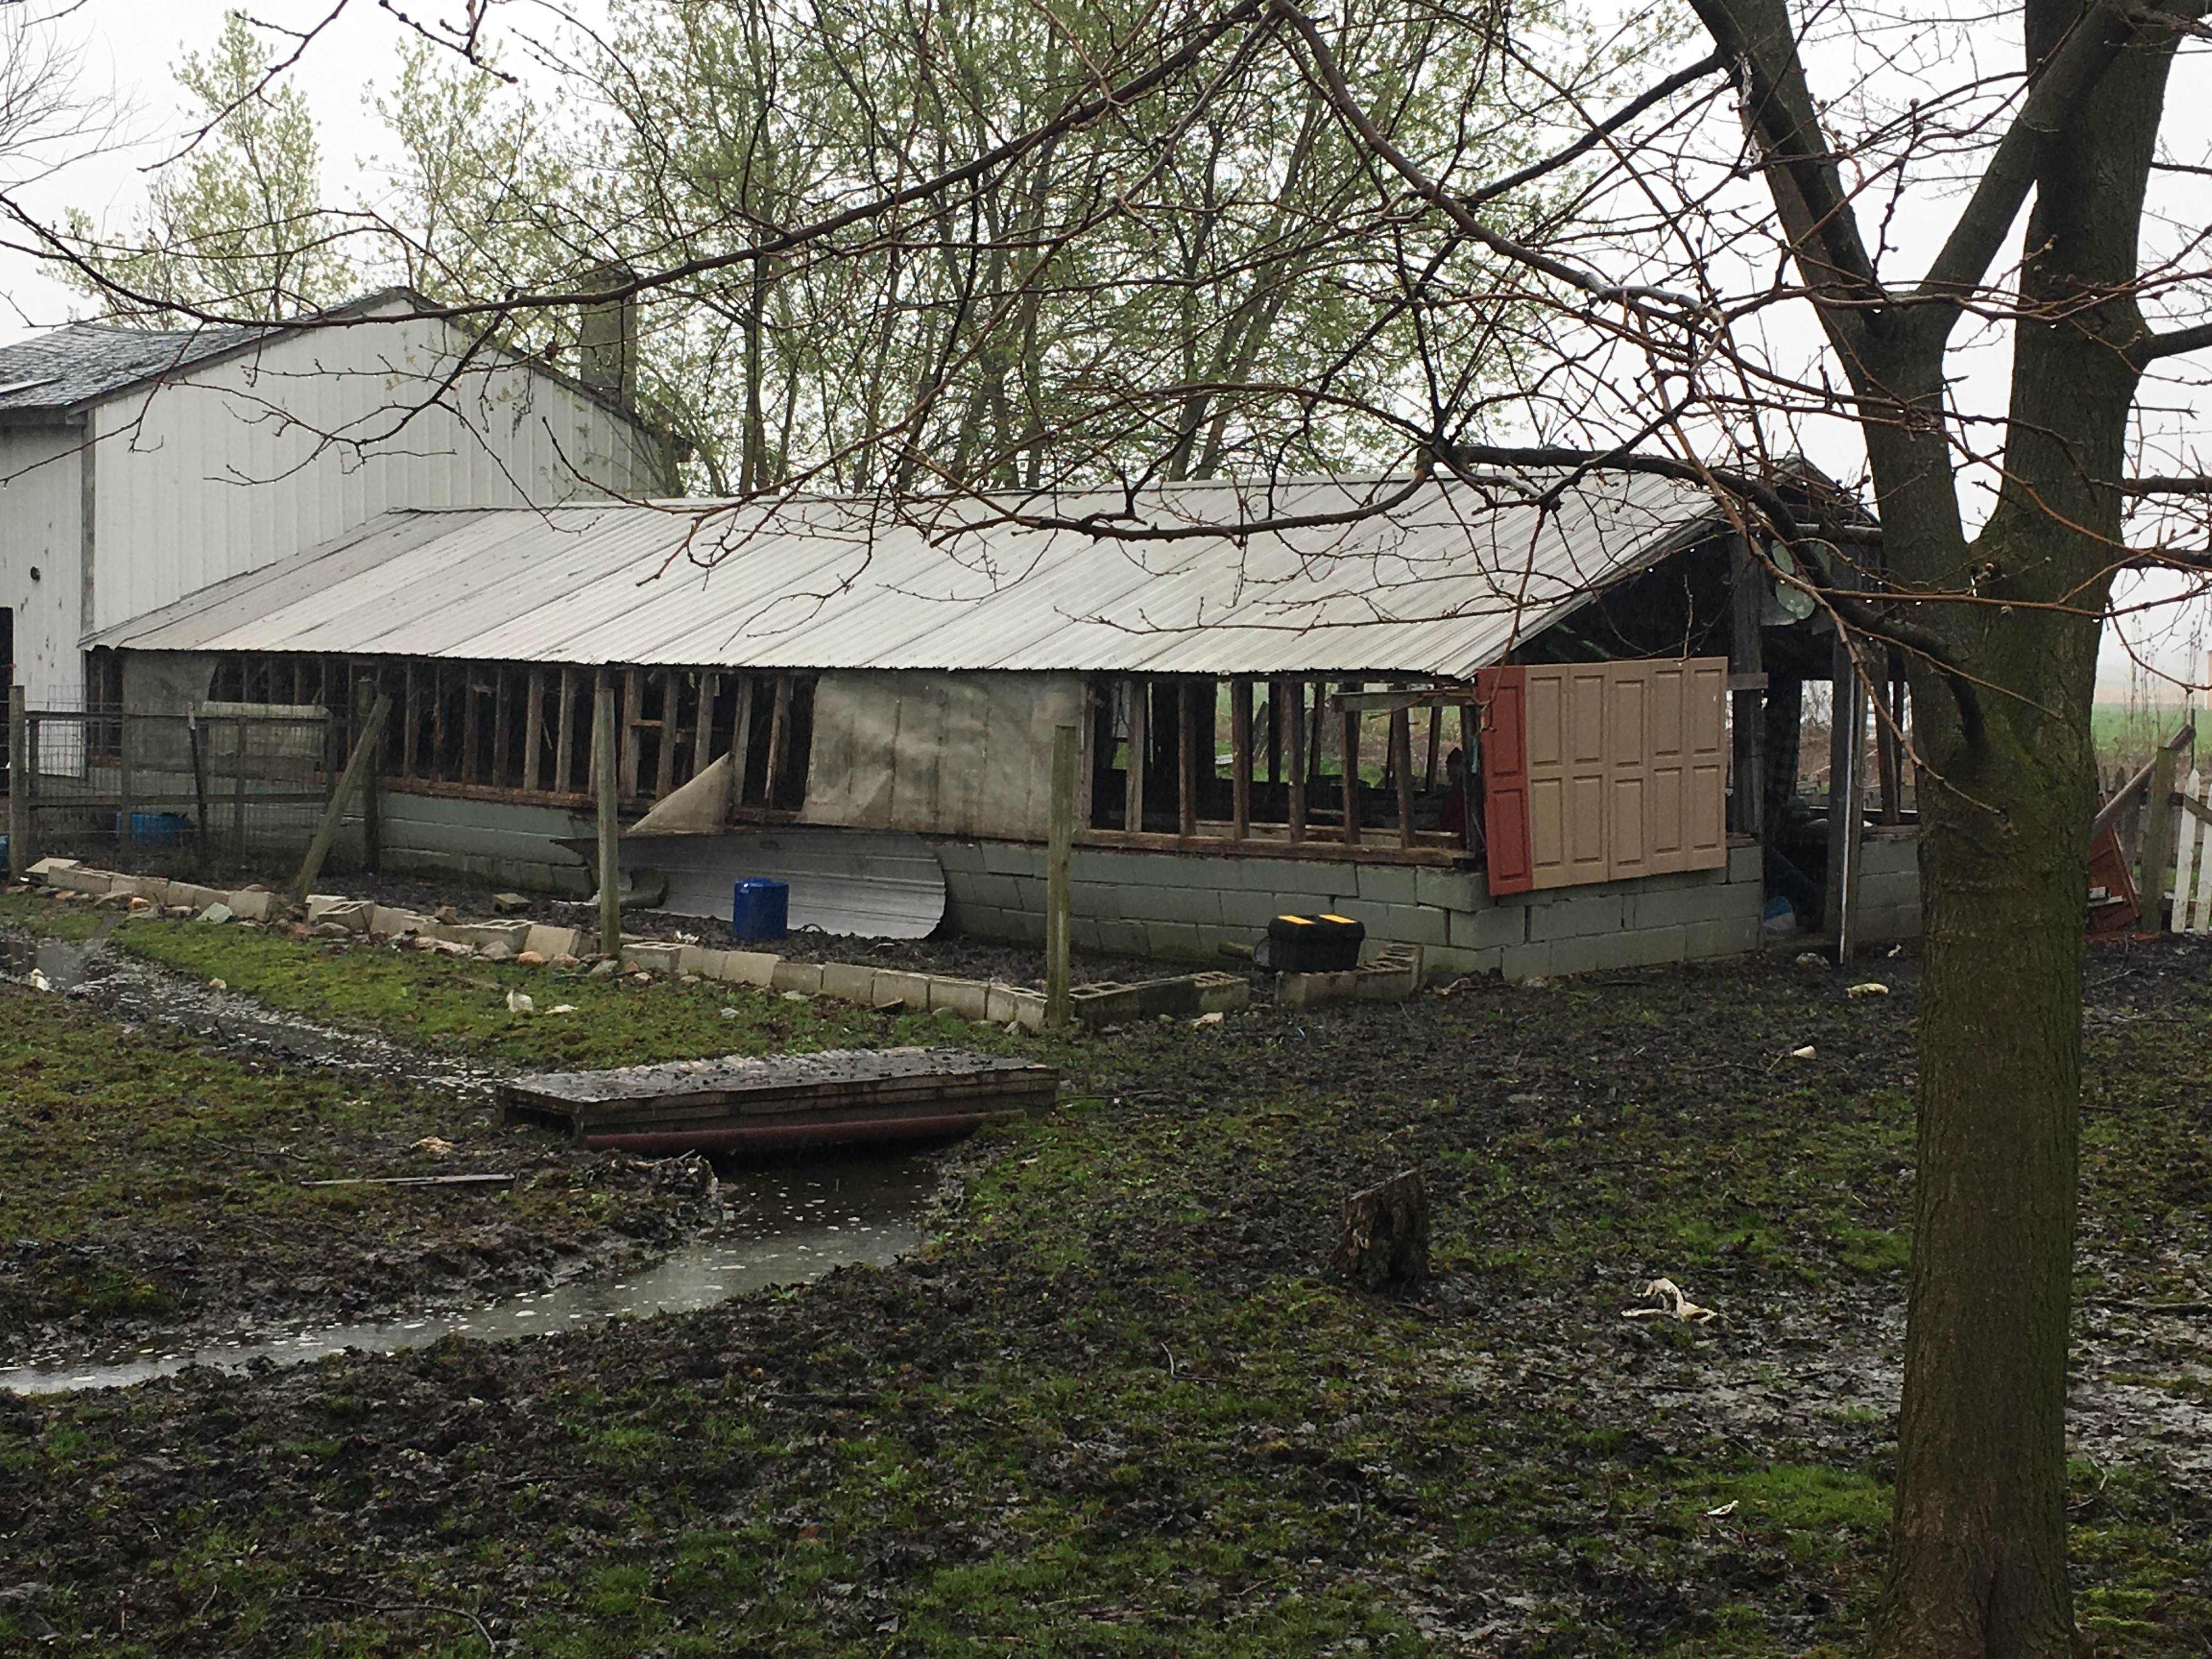
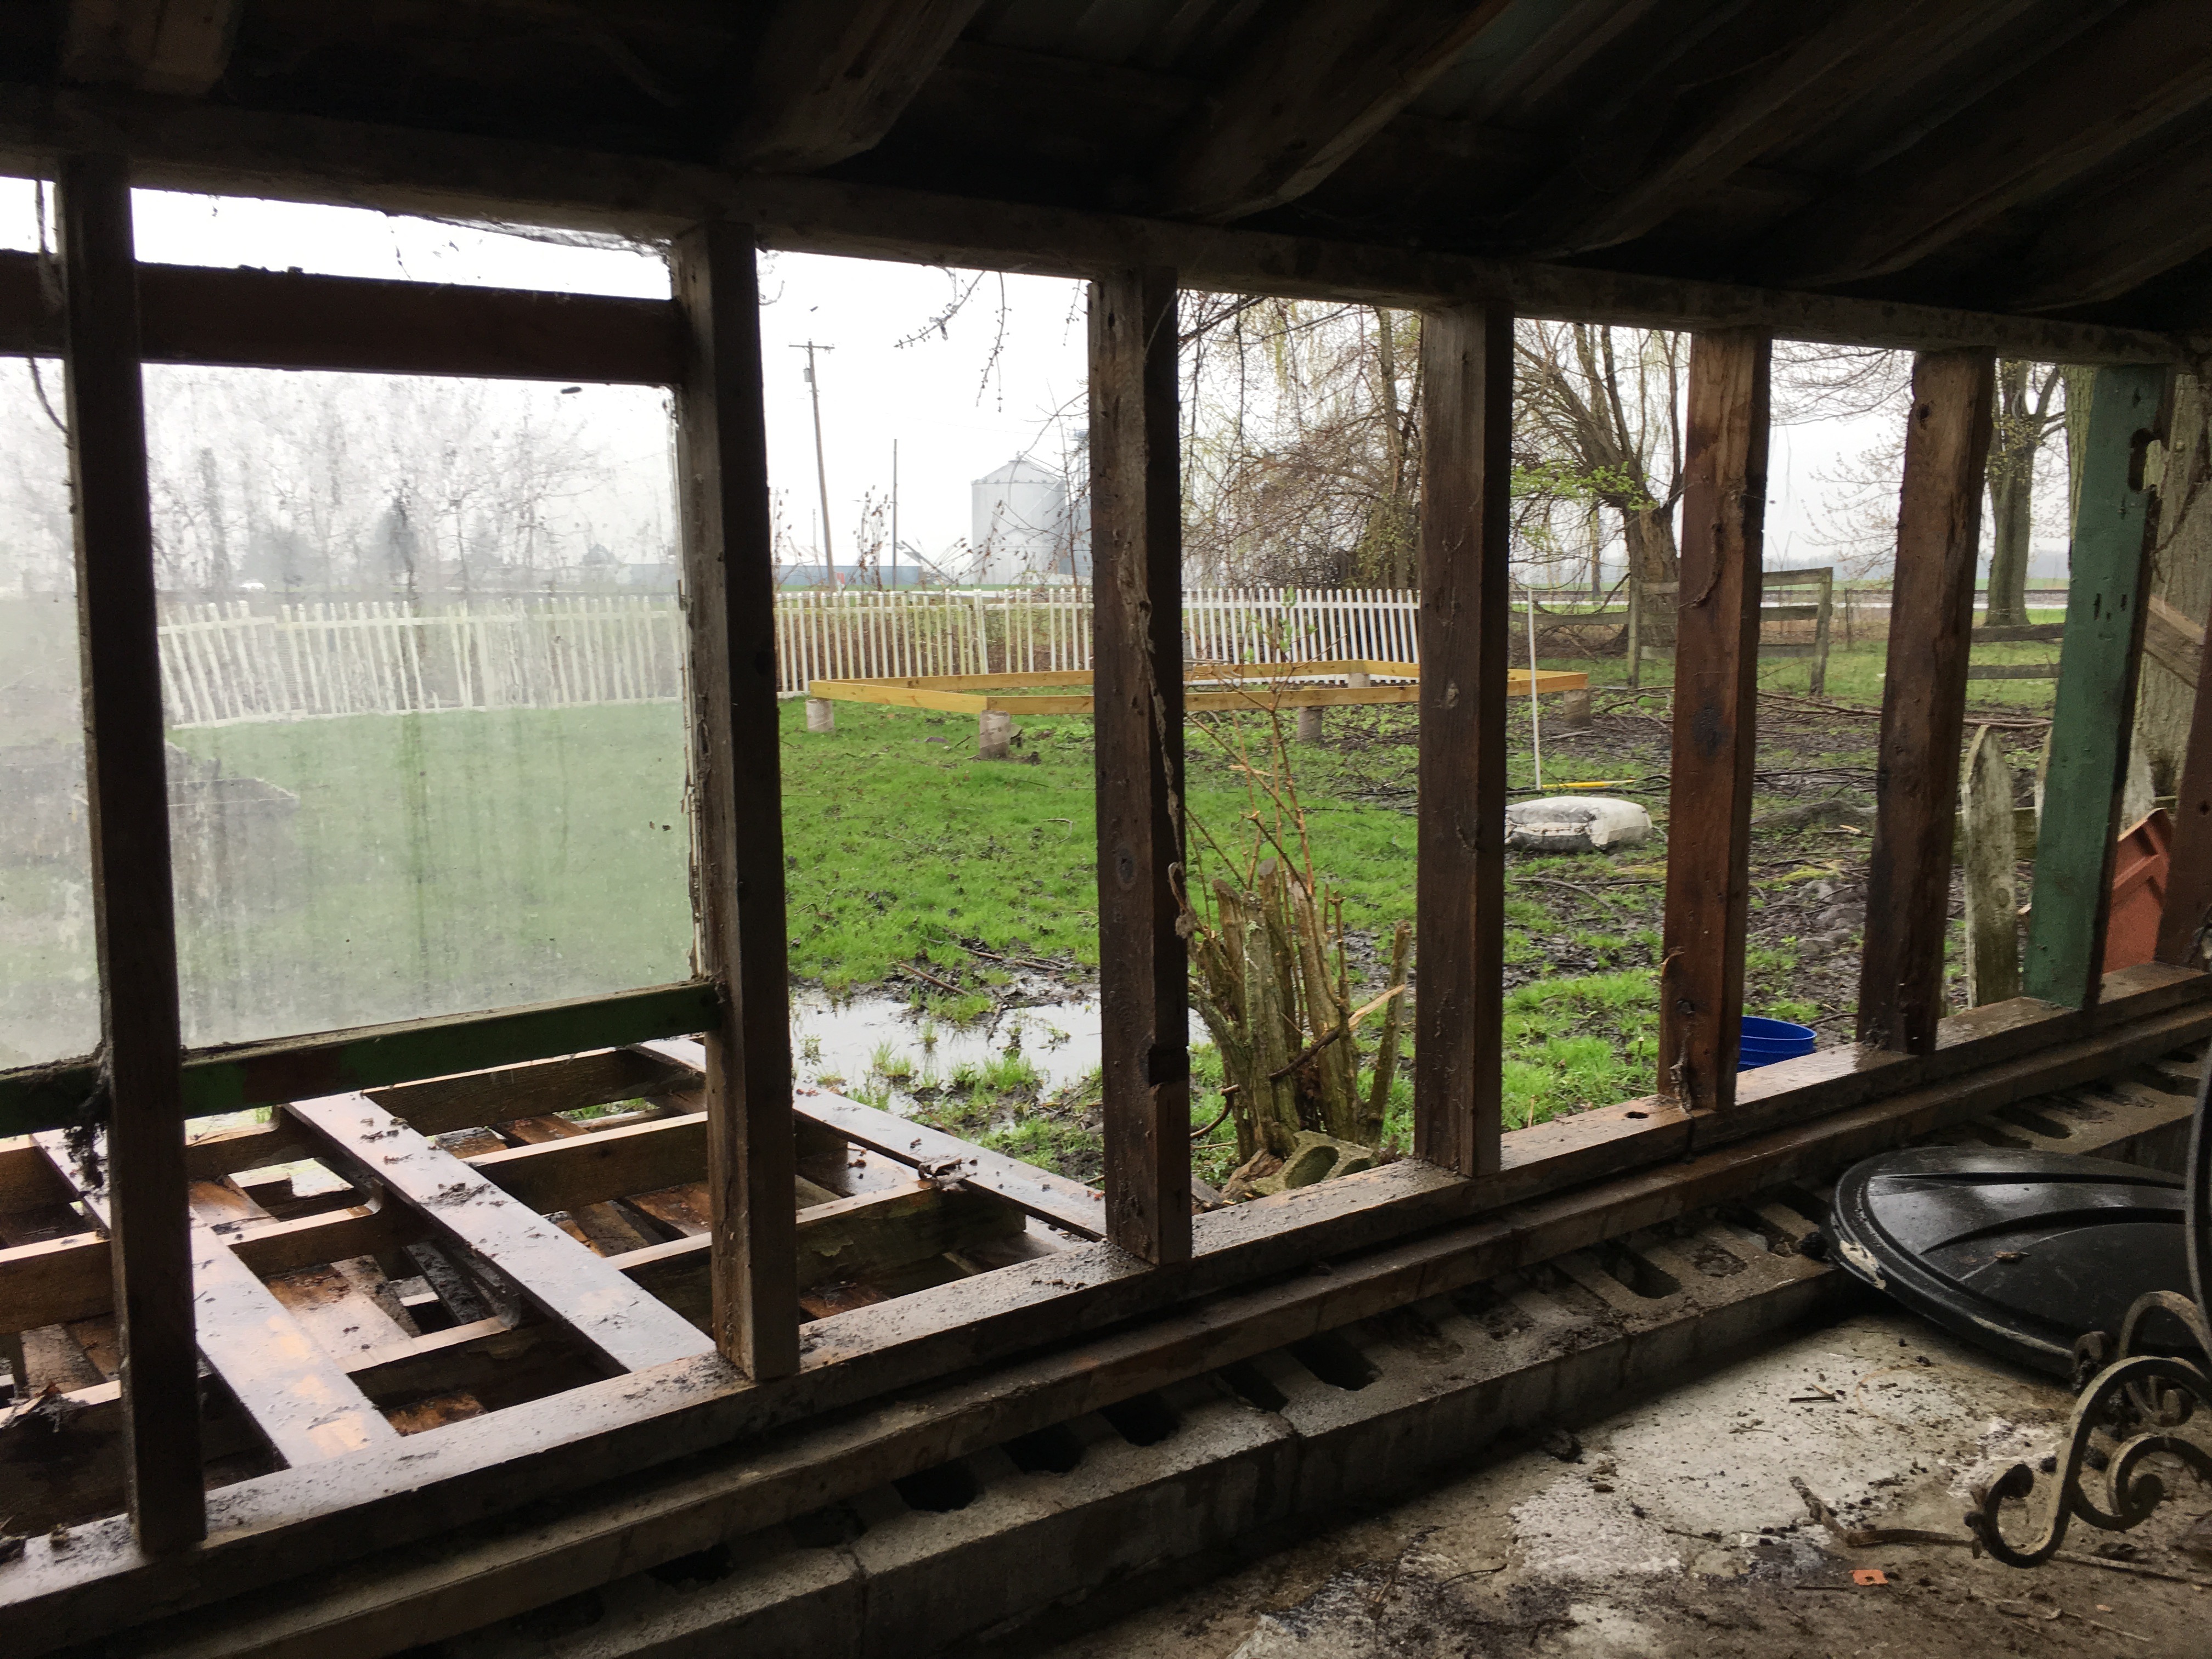
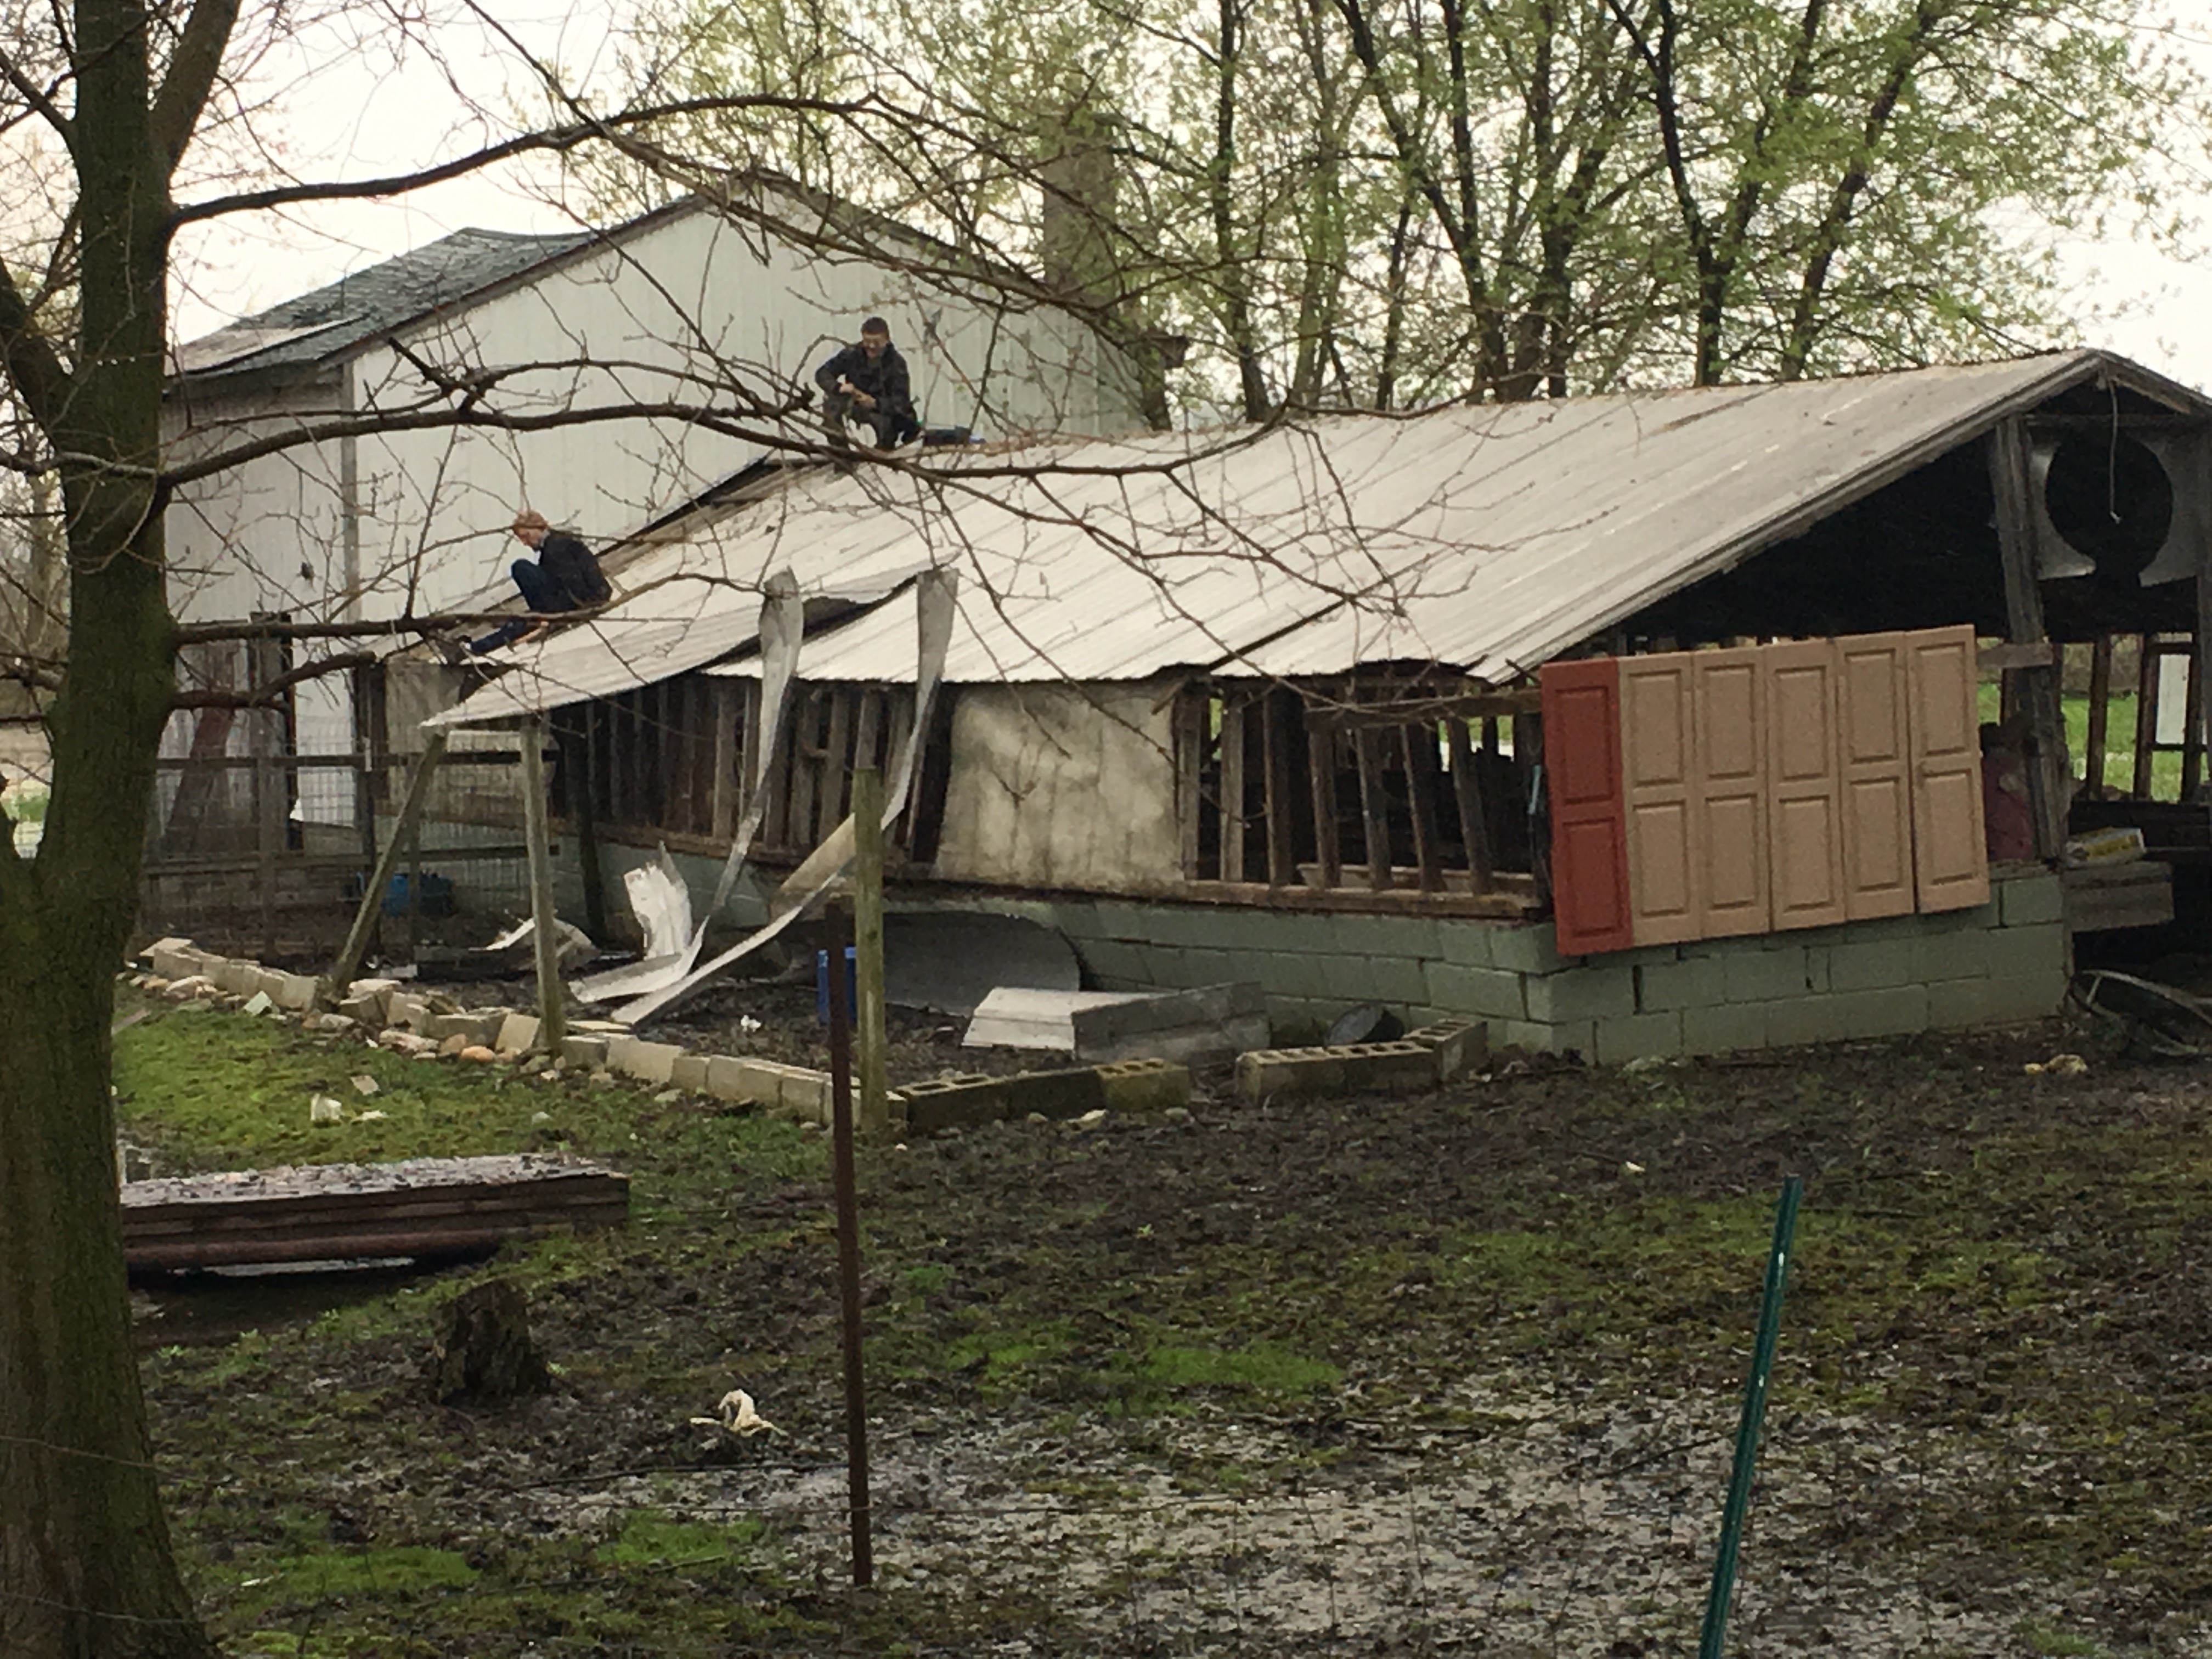
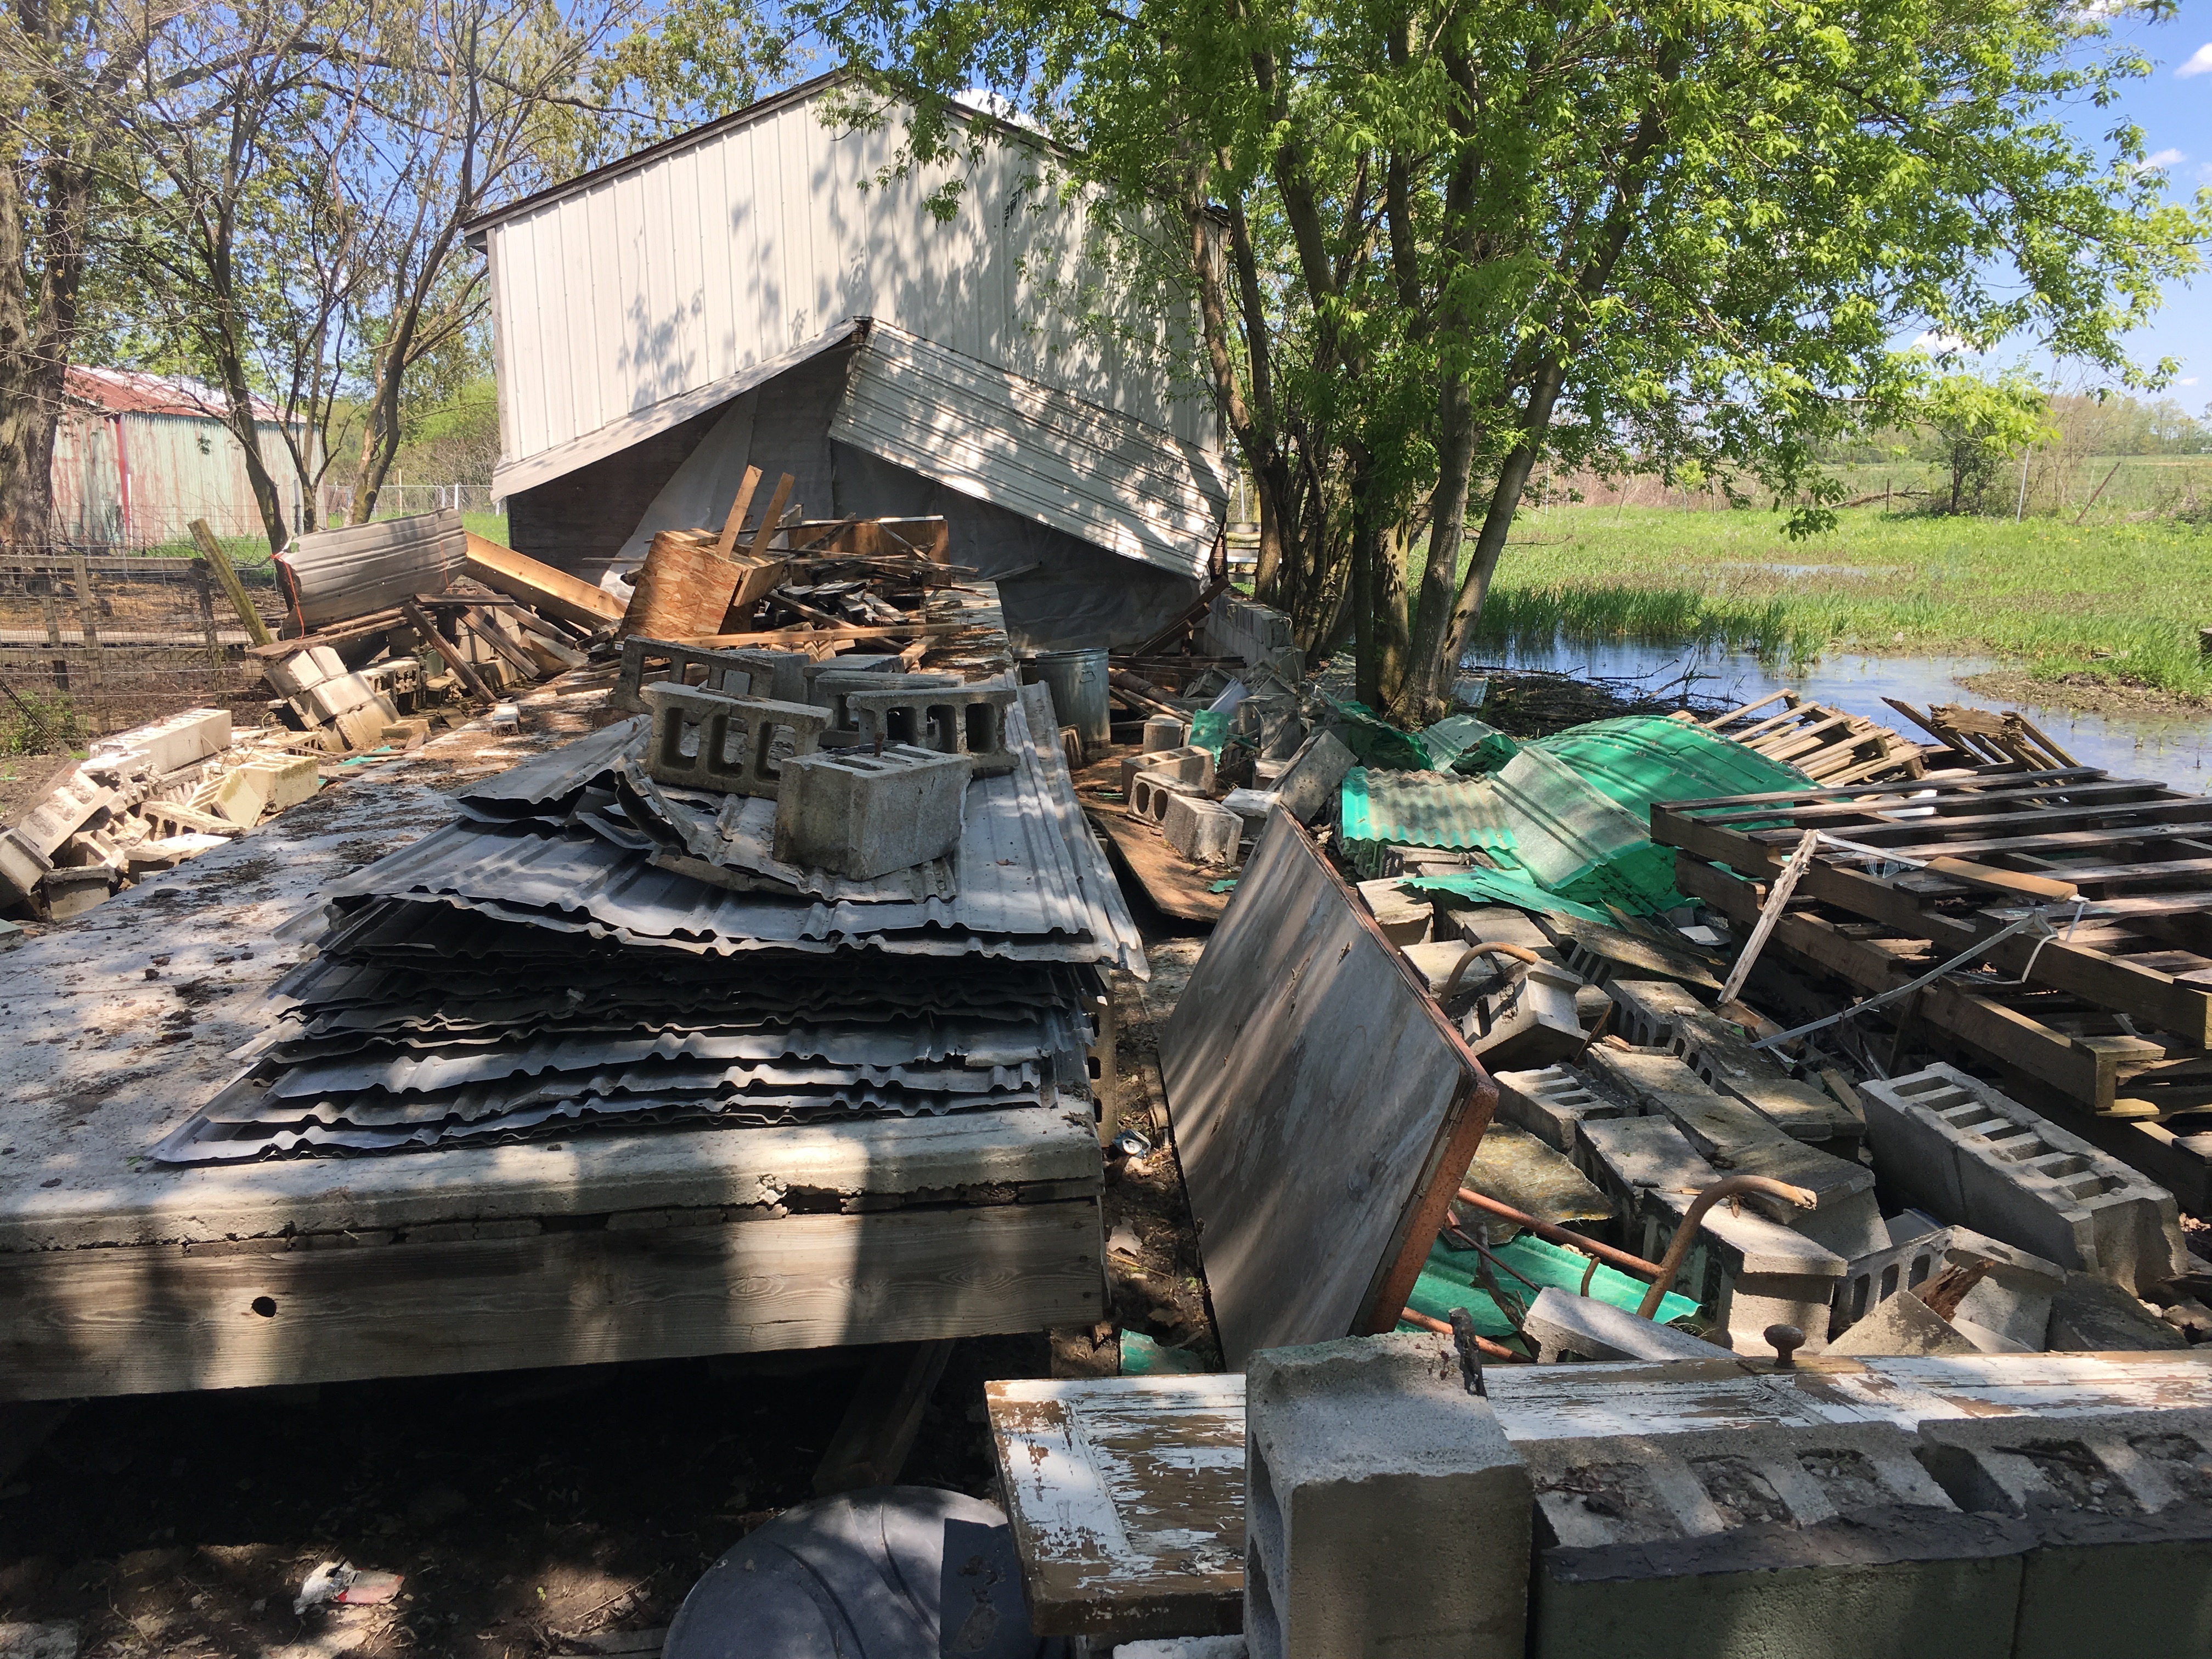
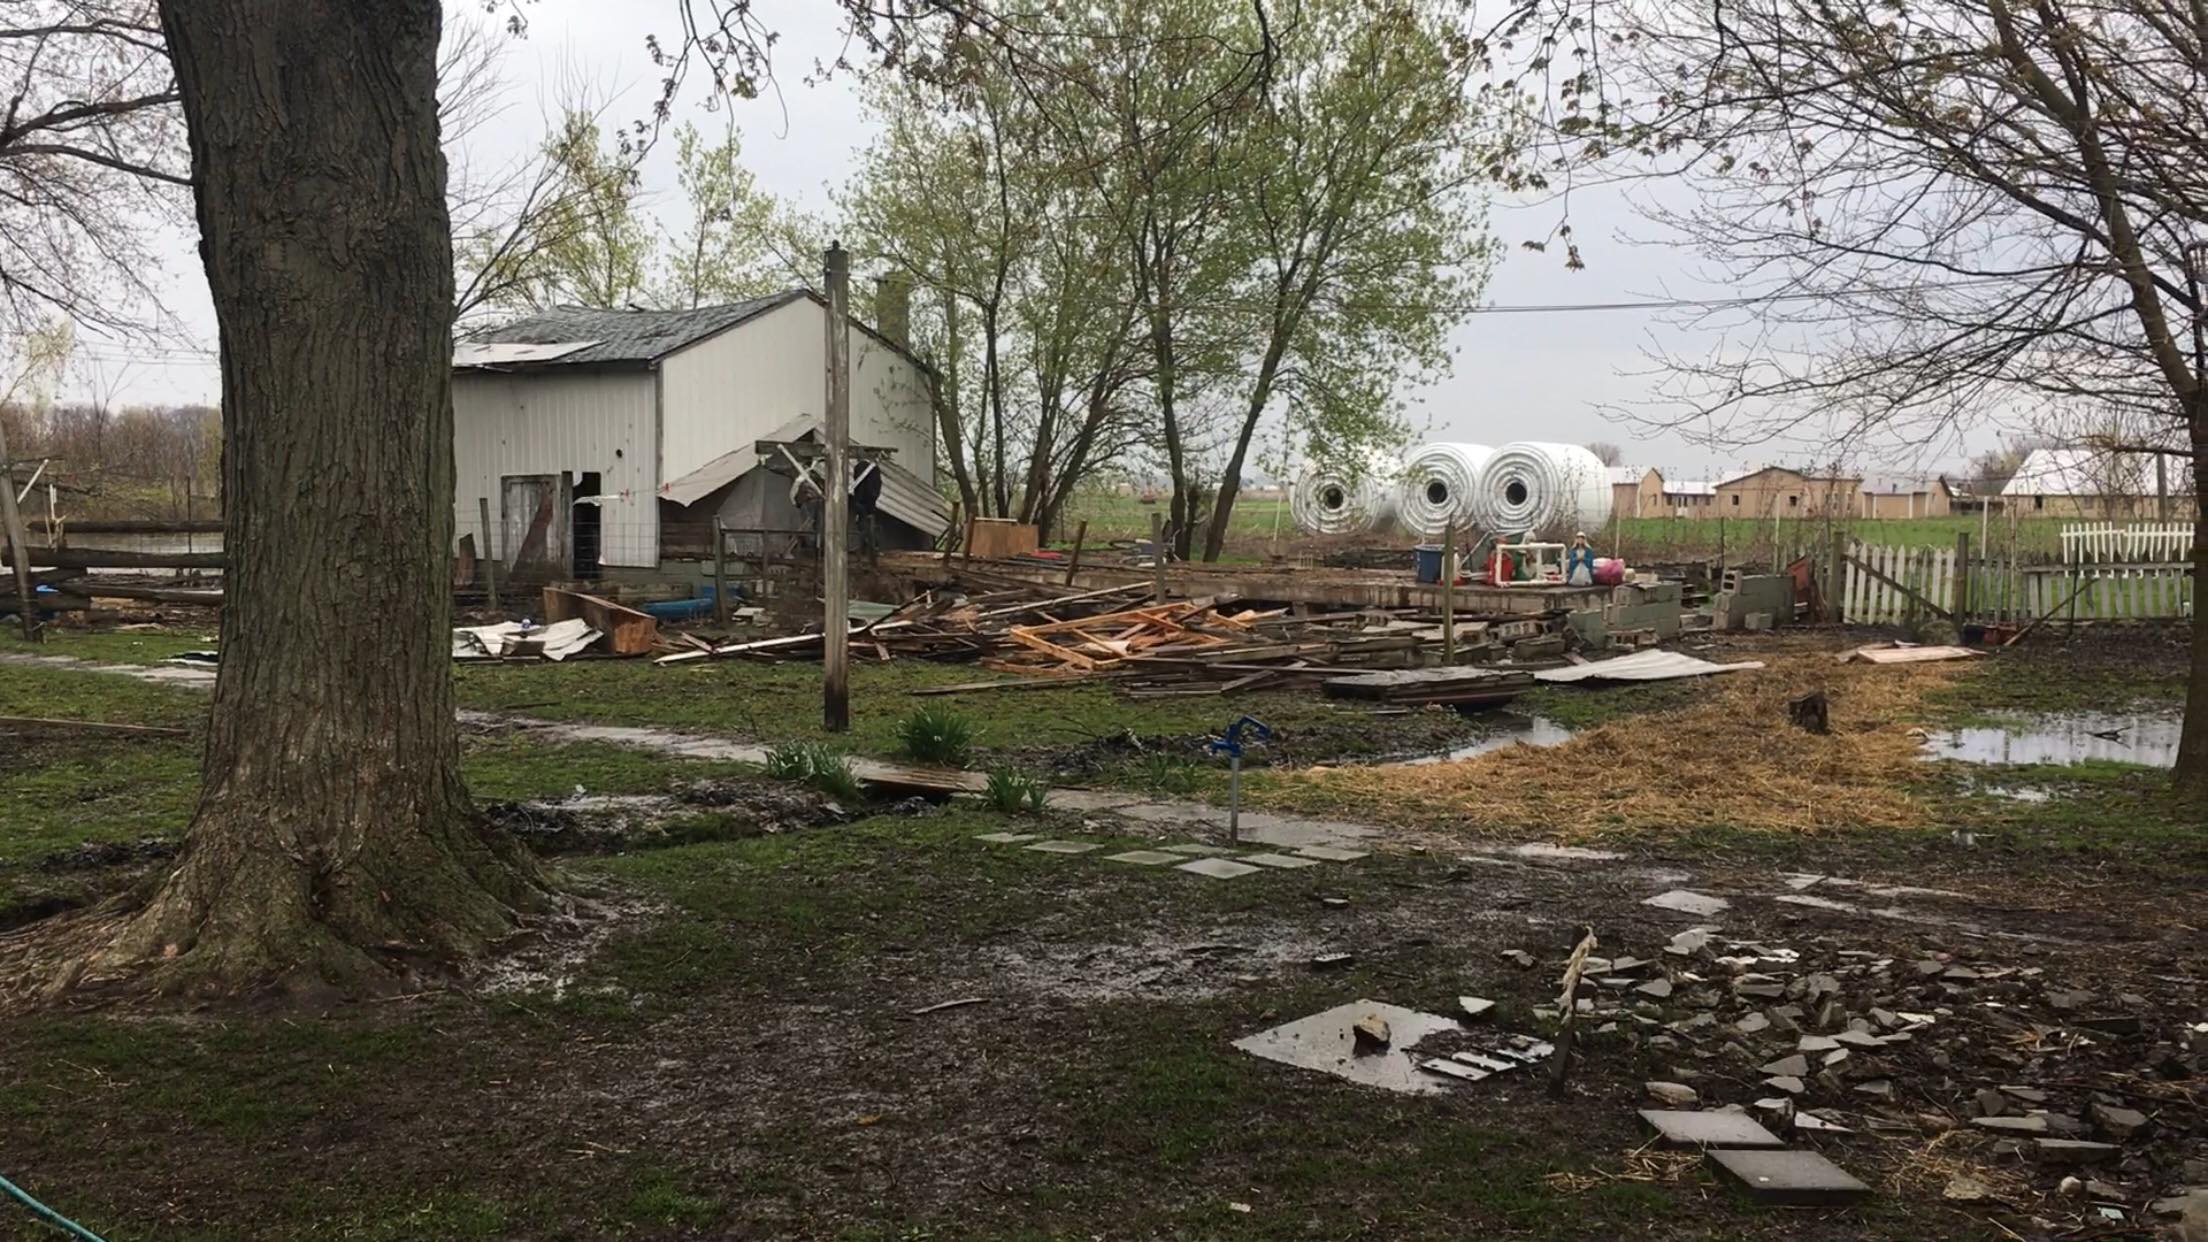
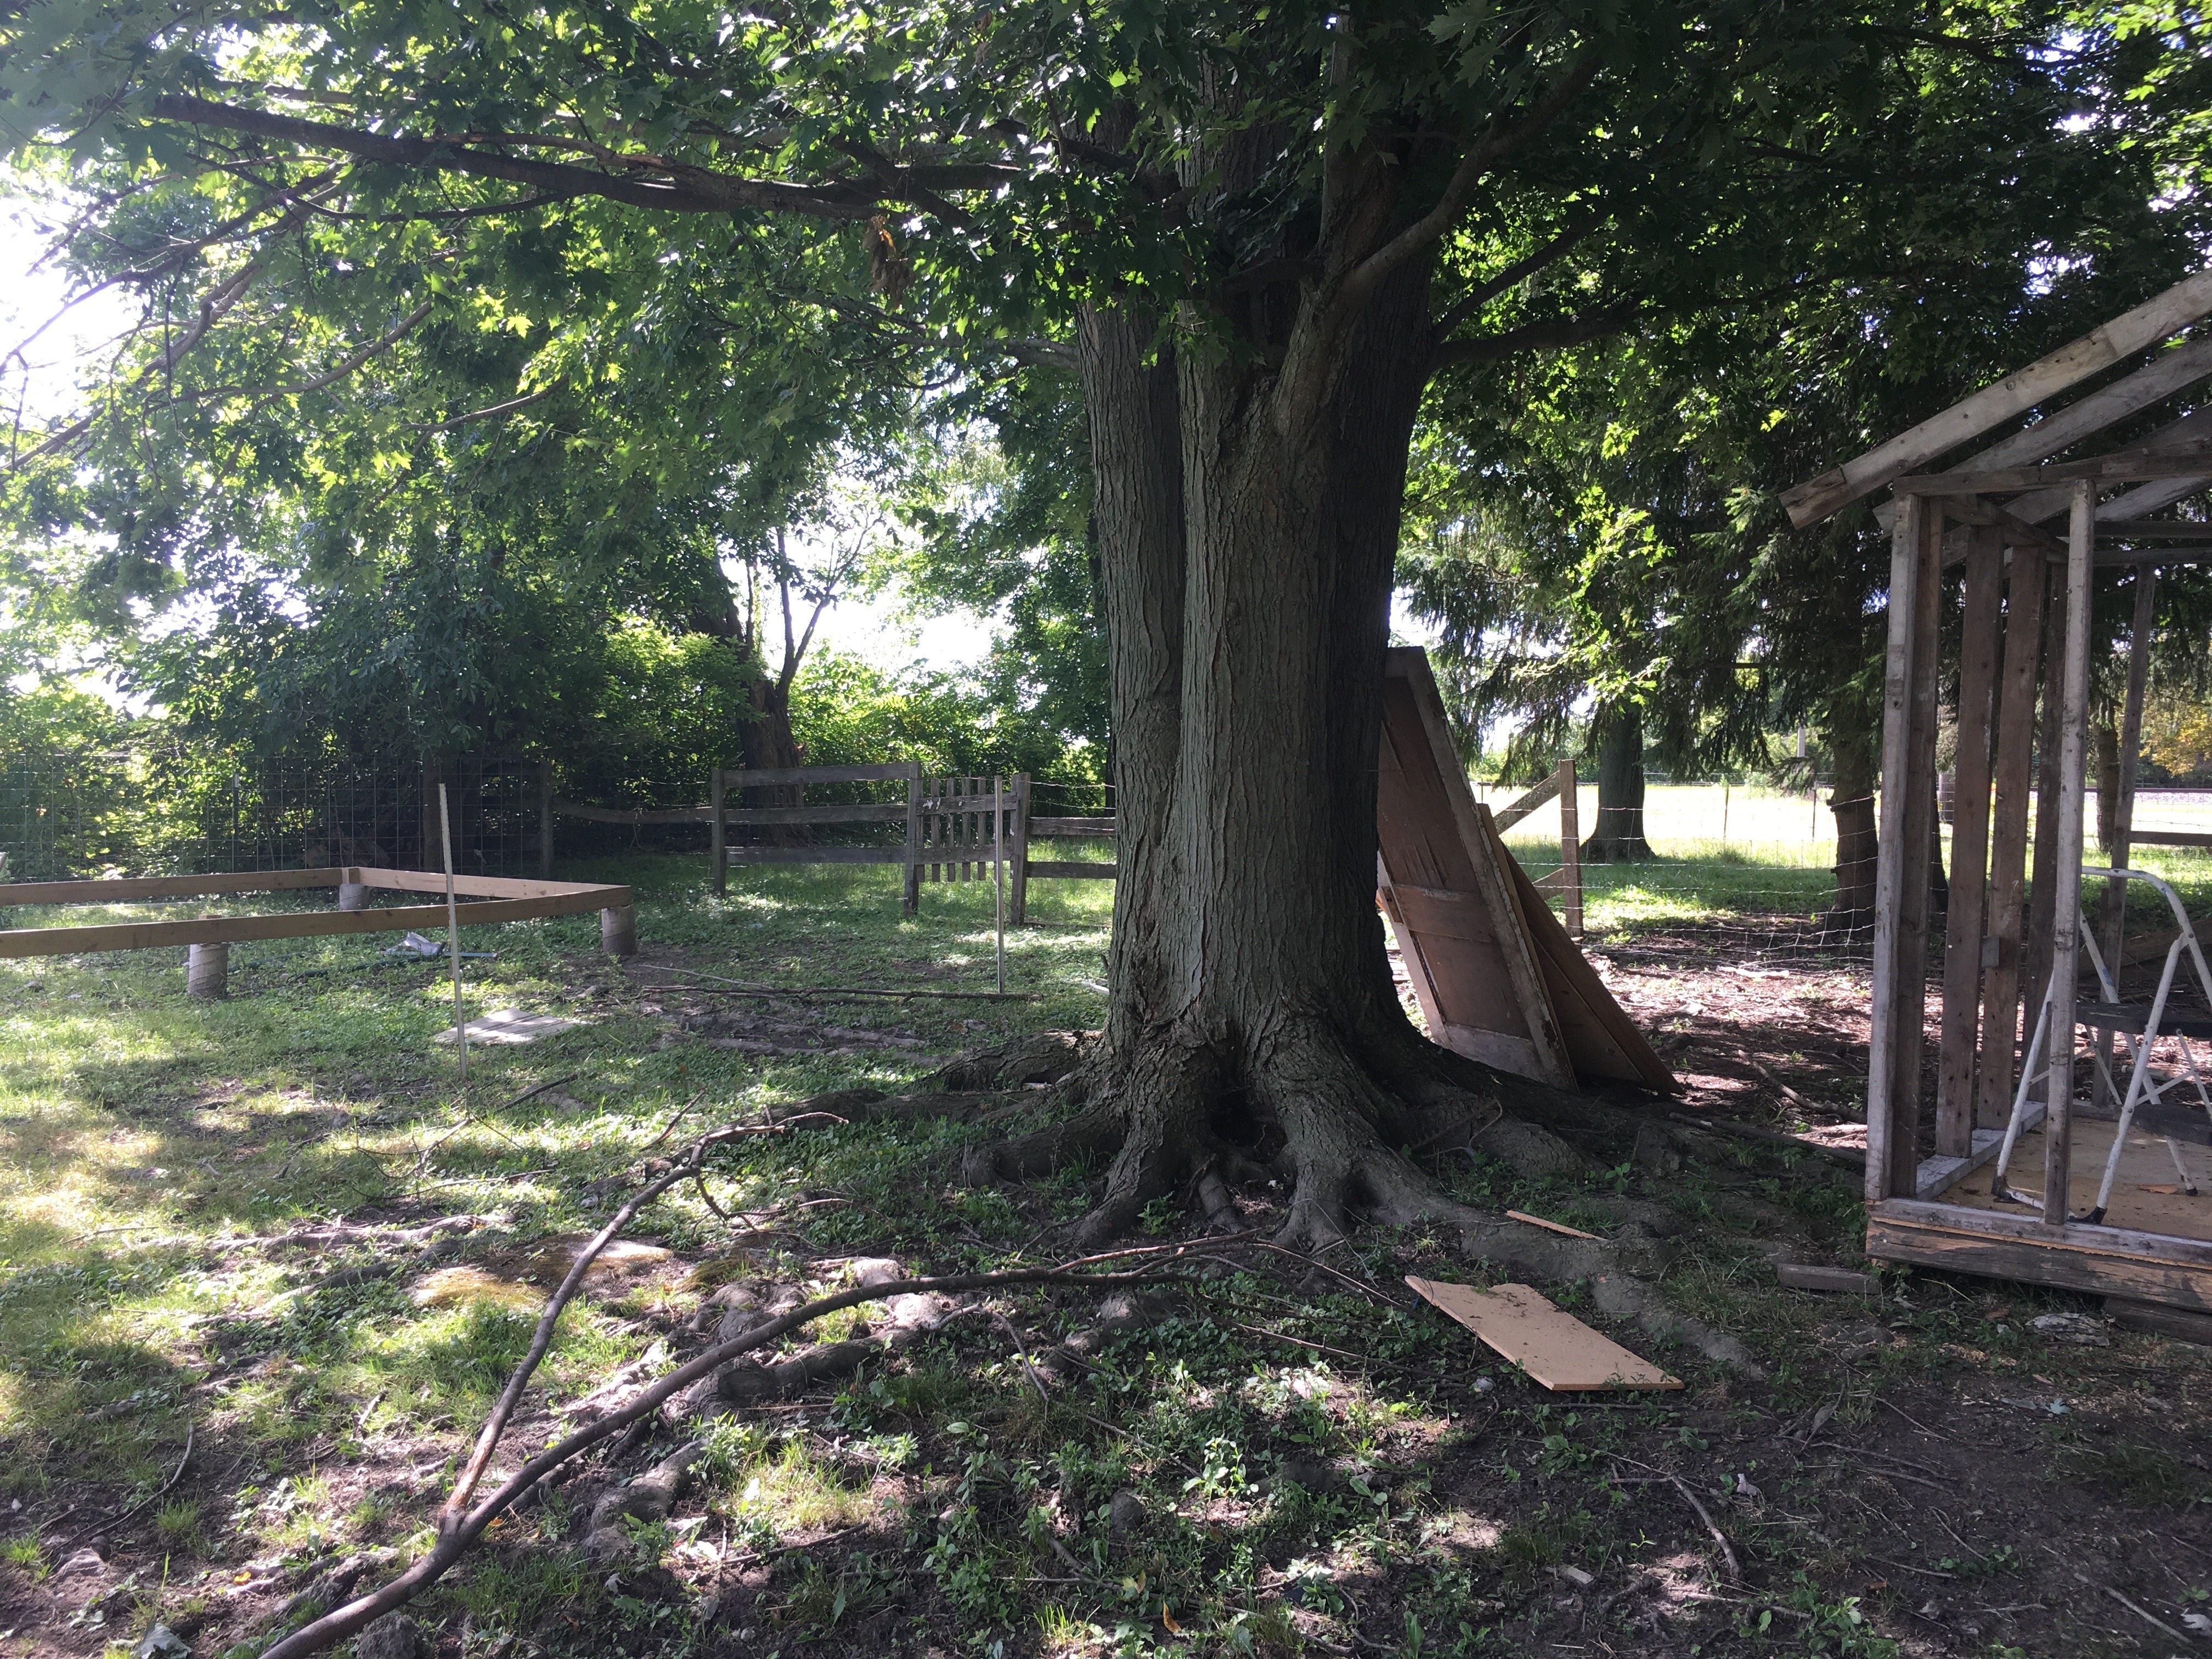
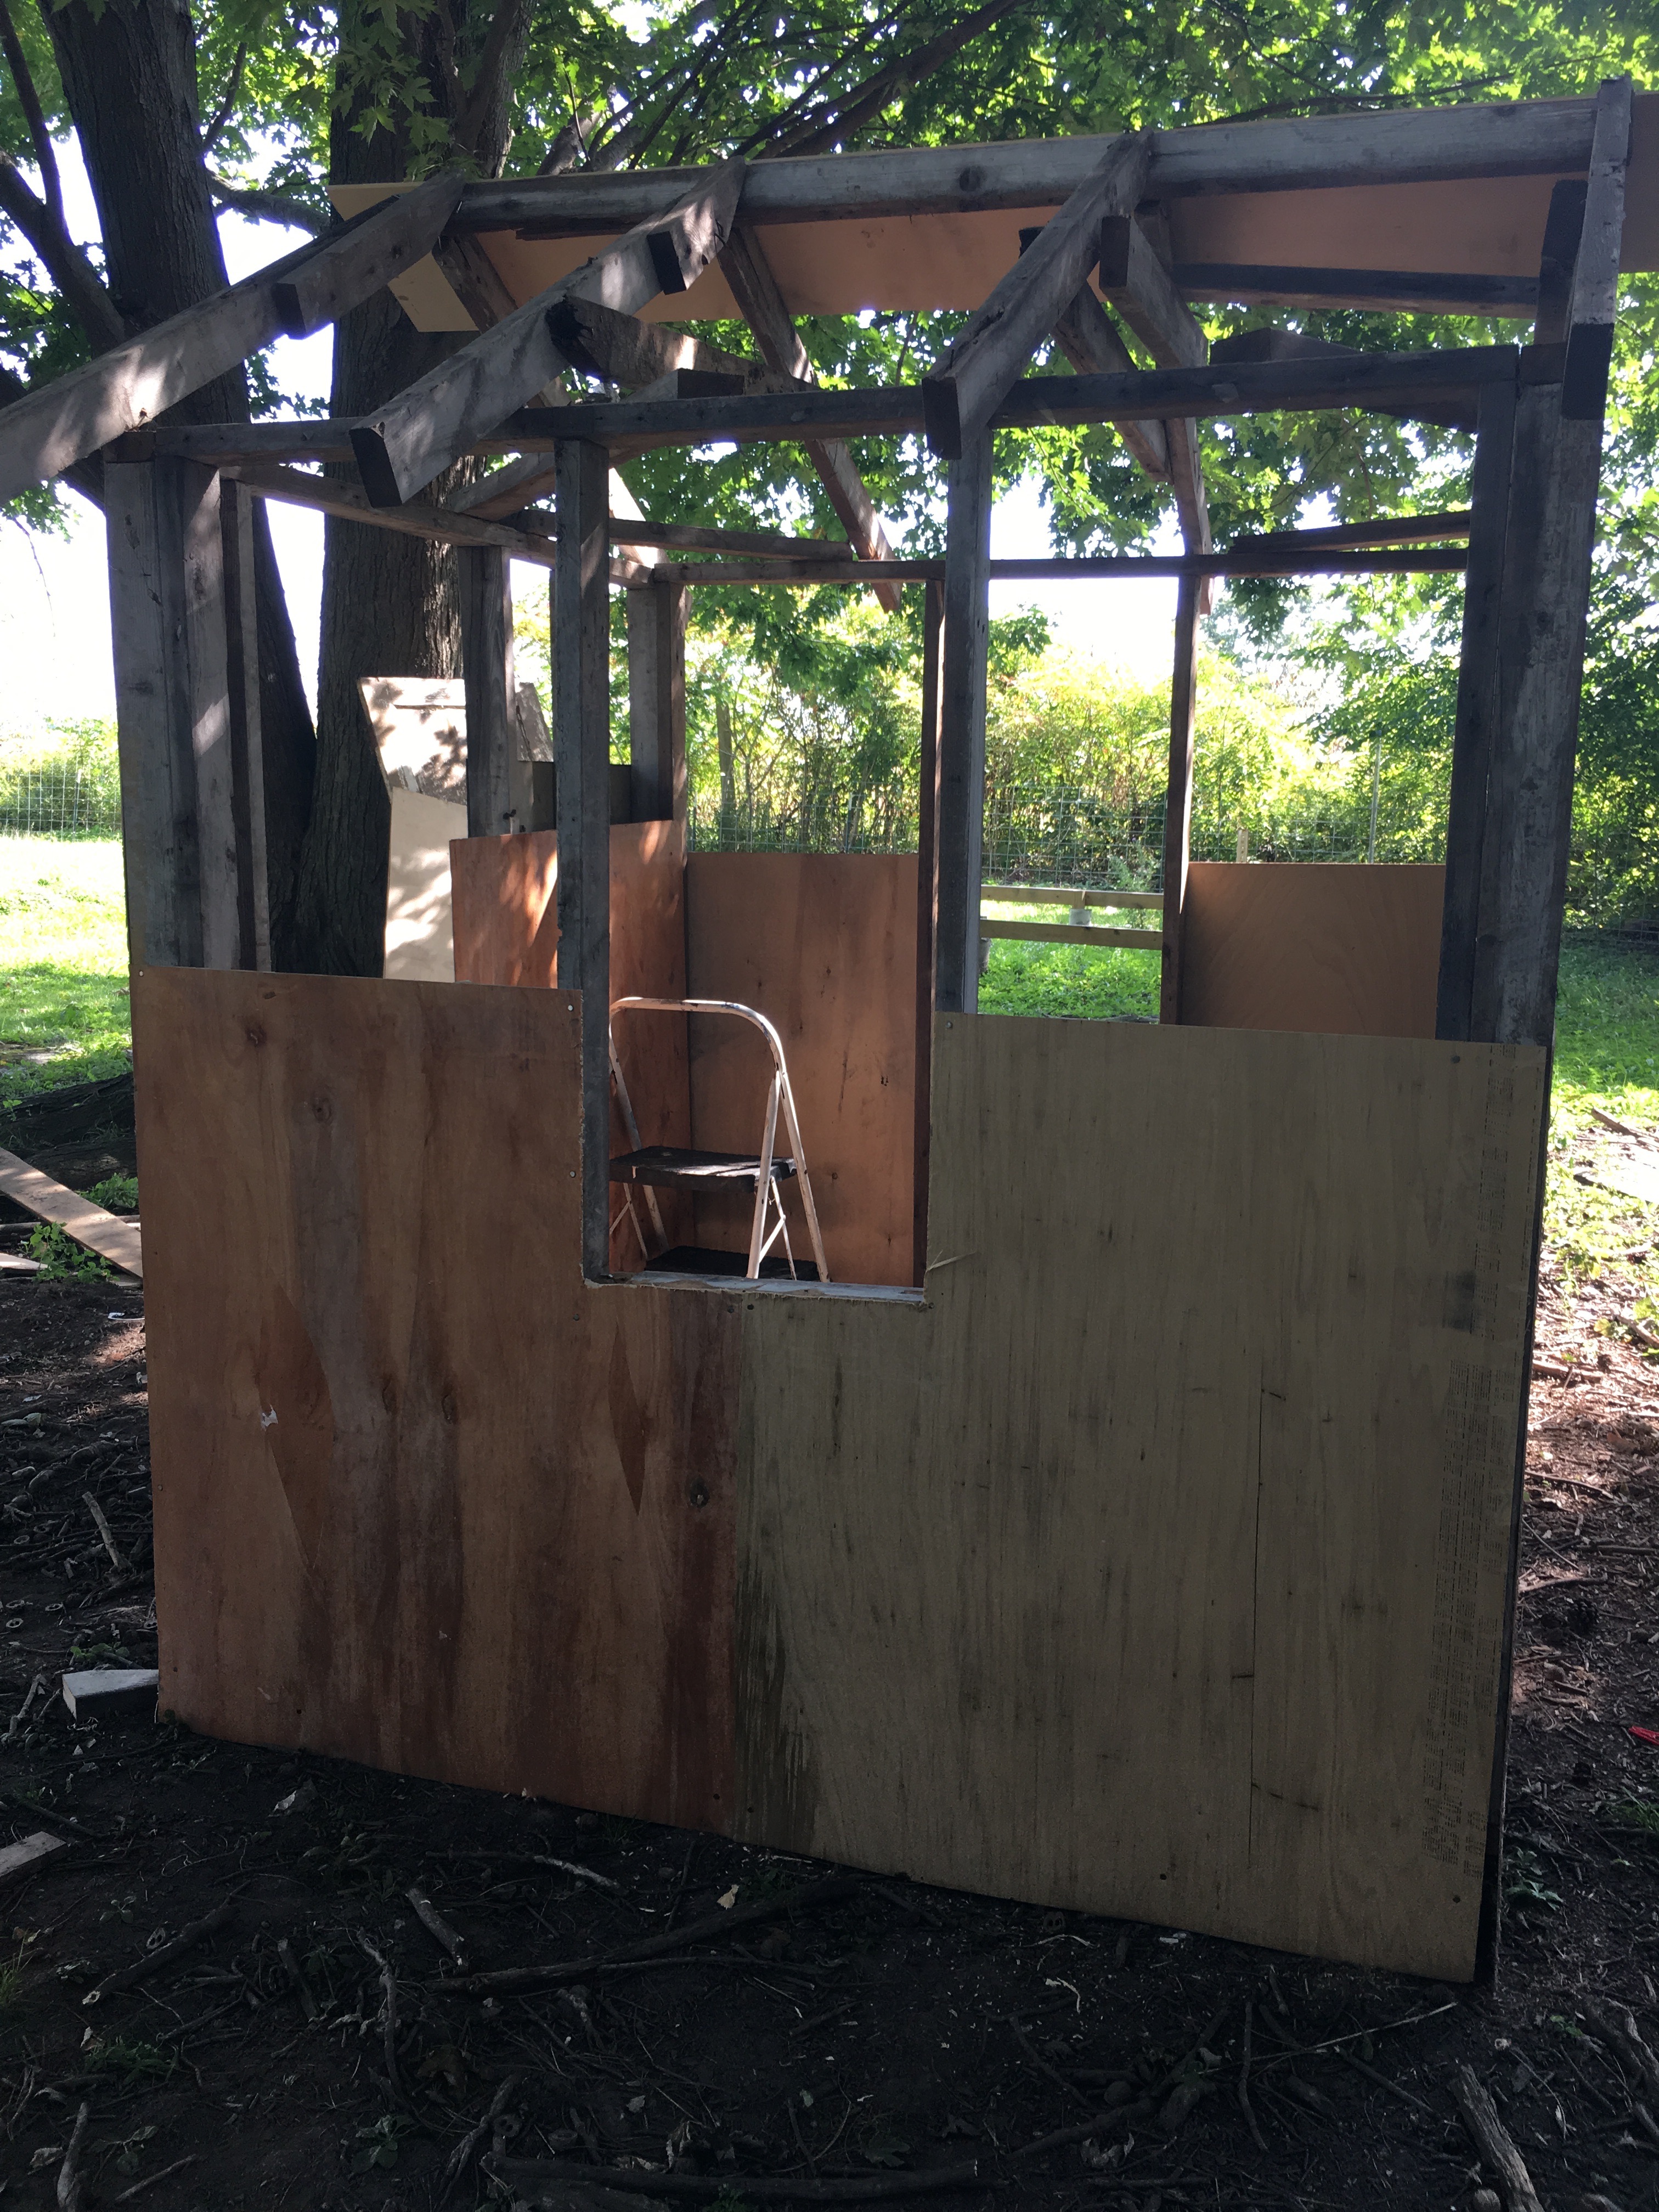
Since we have all the left over materials from tearing down the poultry barn, I thought it would be interesting to try and make the little coop all out of recycled materials, as much as possible. Our friend Brayden was up to the challenge! We decided to make it 6 foot by 6 foot and 8 feet tall, inside. With a peaked roof and an recycled door, with barn siding on the sides. I have always loved the look of cedar shingles, so the coop would be partially clad in cedar shingles. (We would have to buy those, but got a great deal at the local big box as they were discontinuing these smaller bundles. 
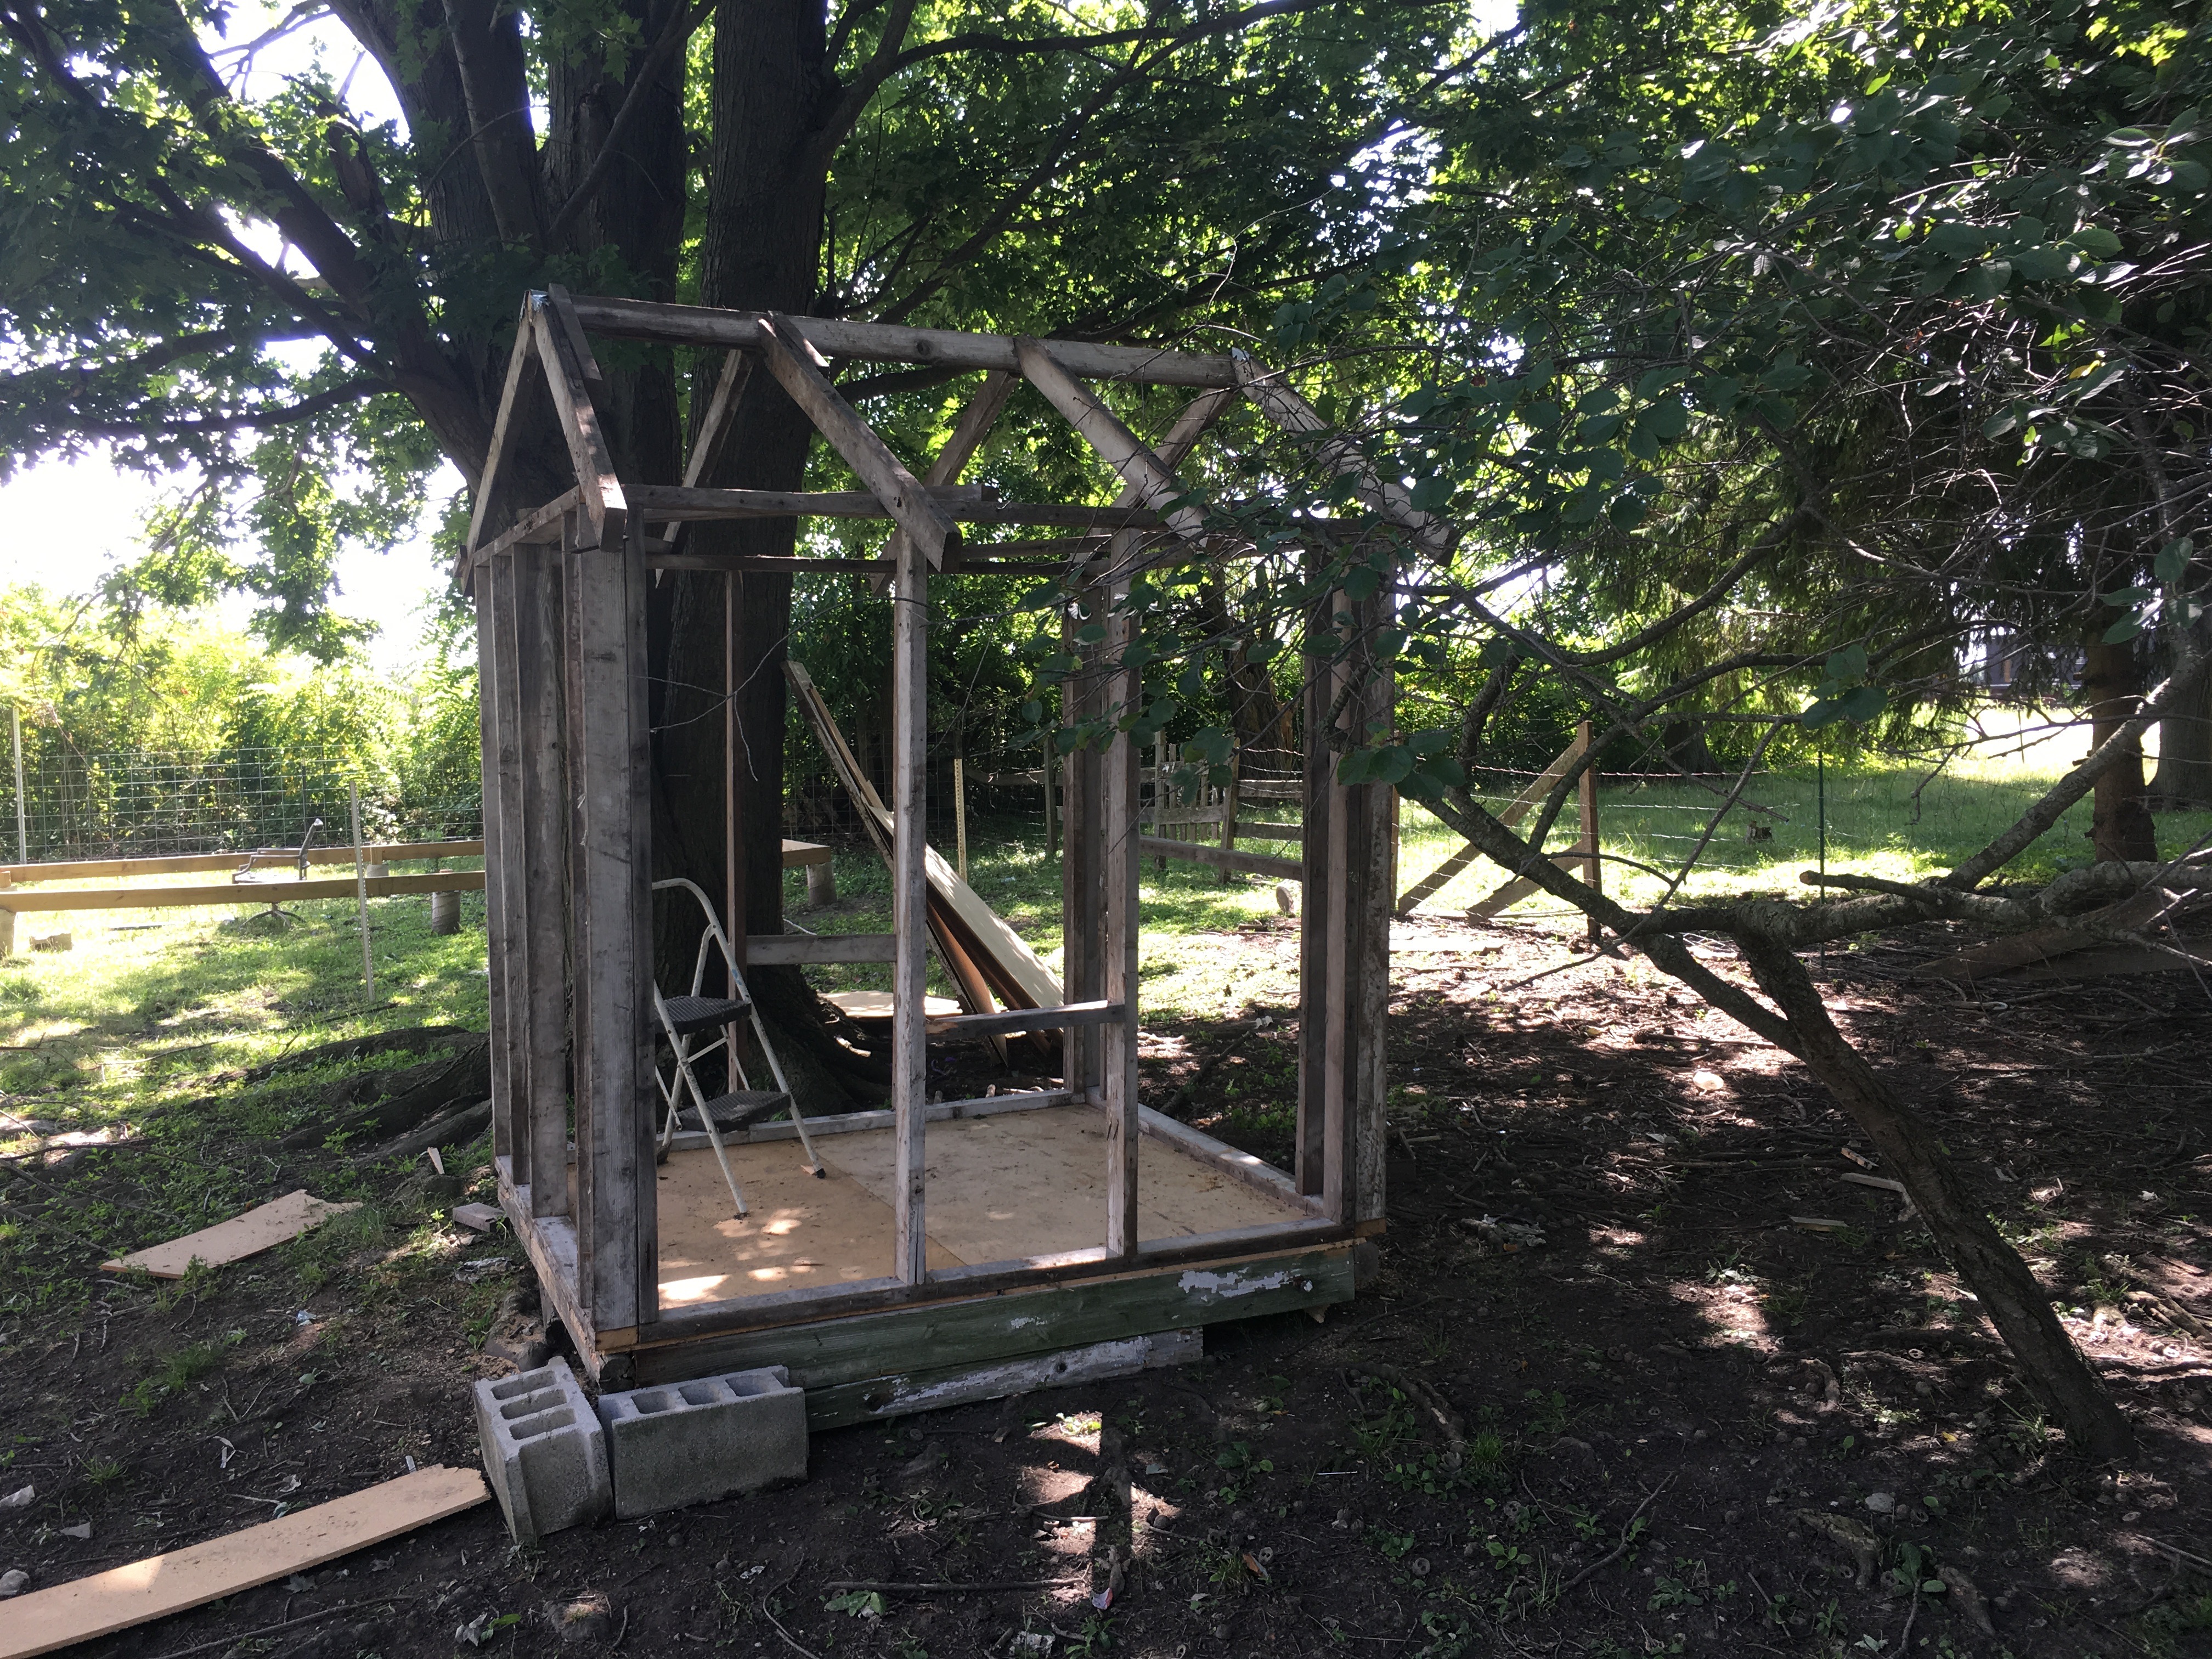
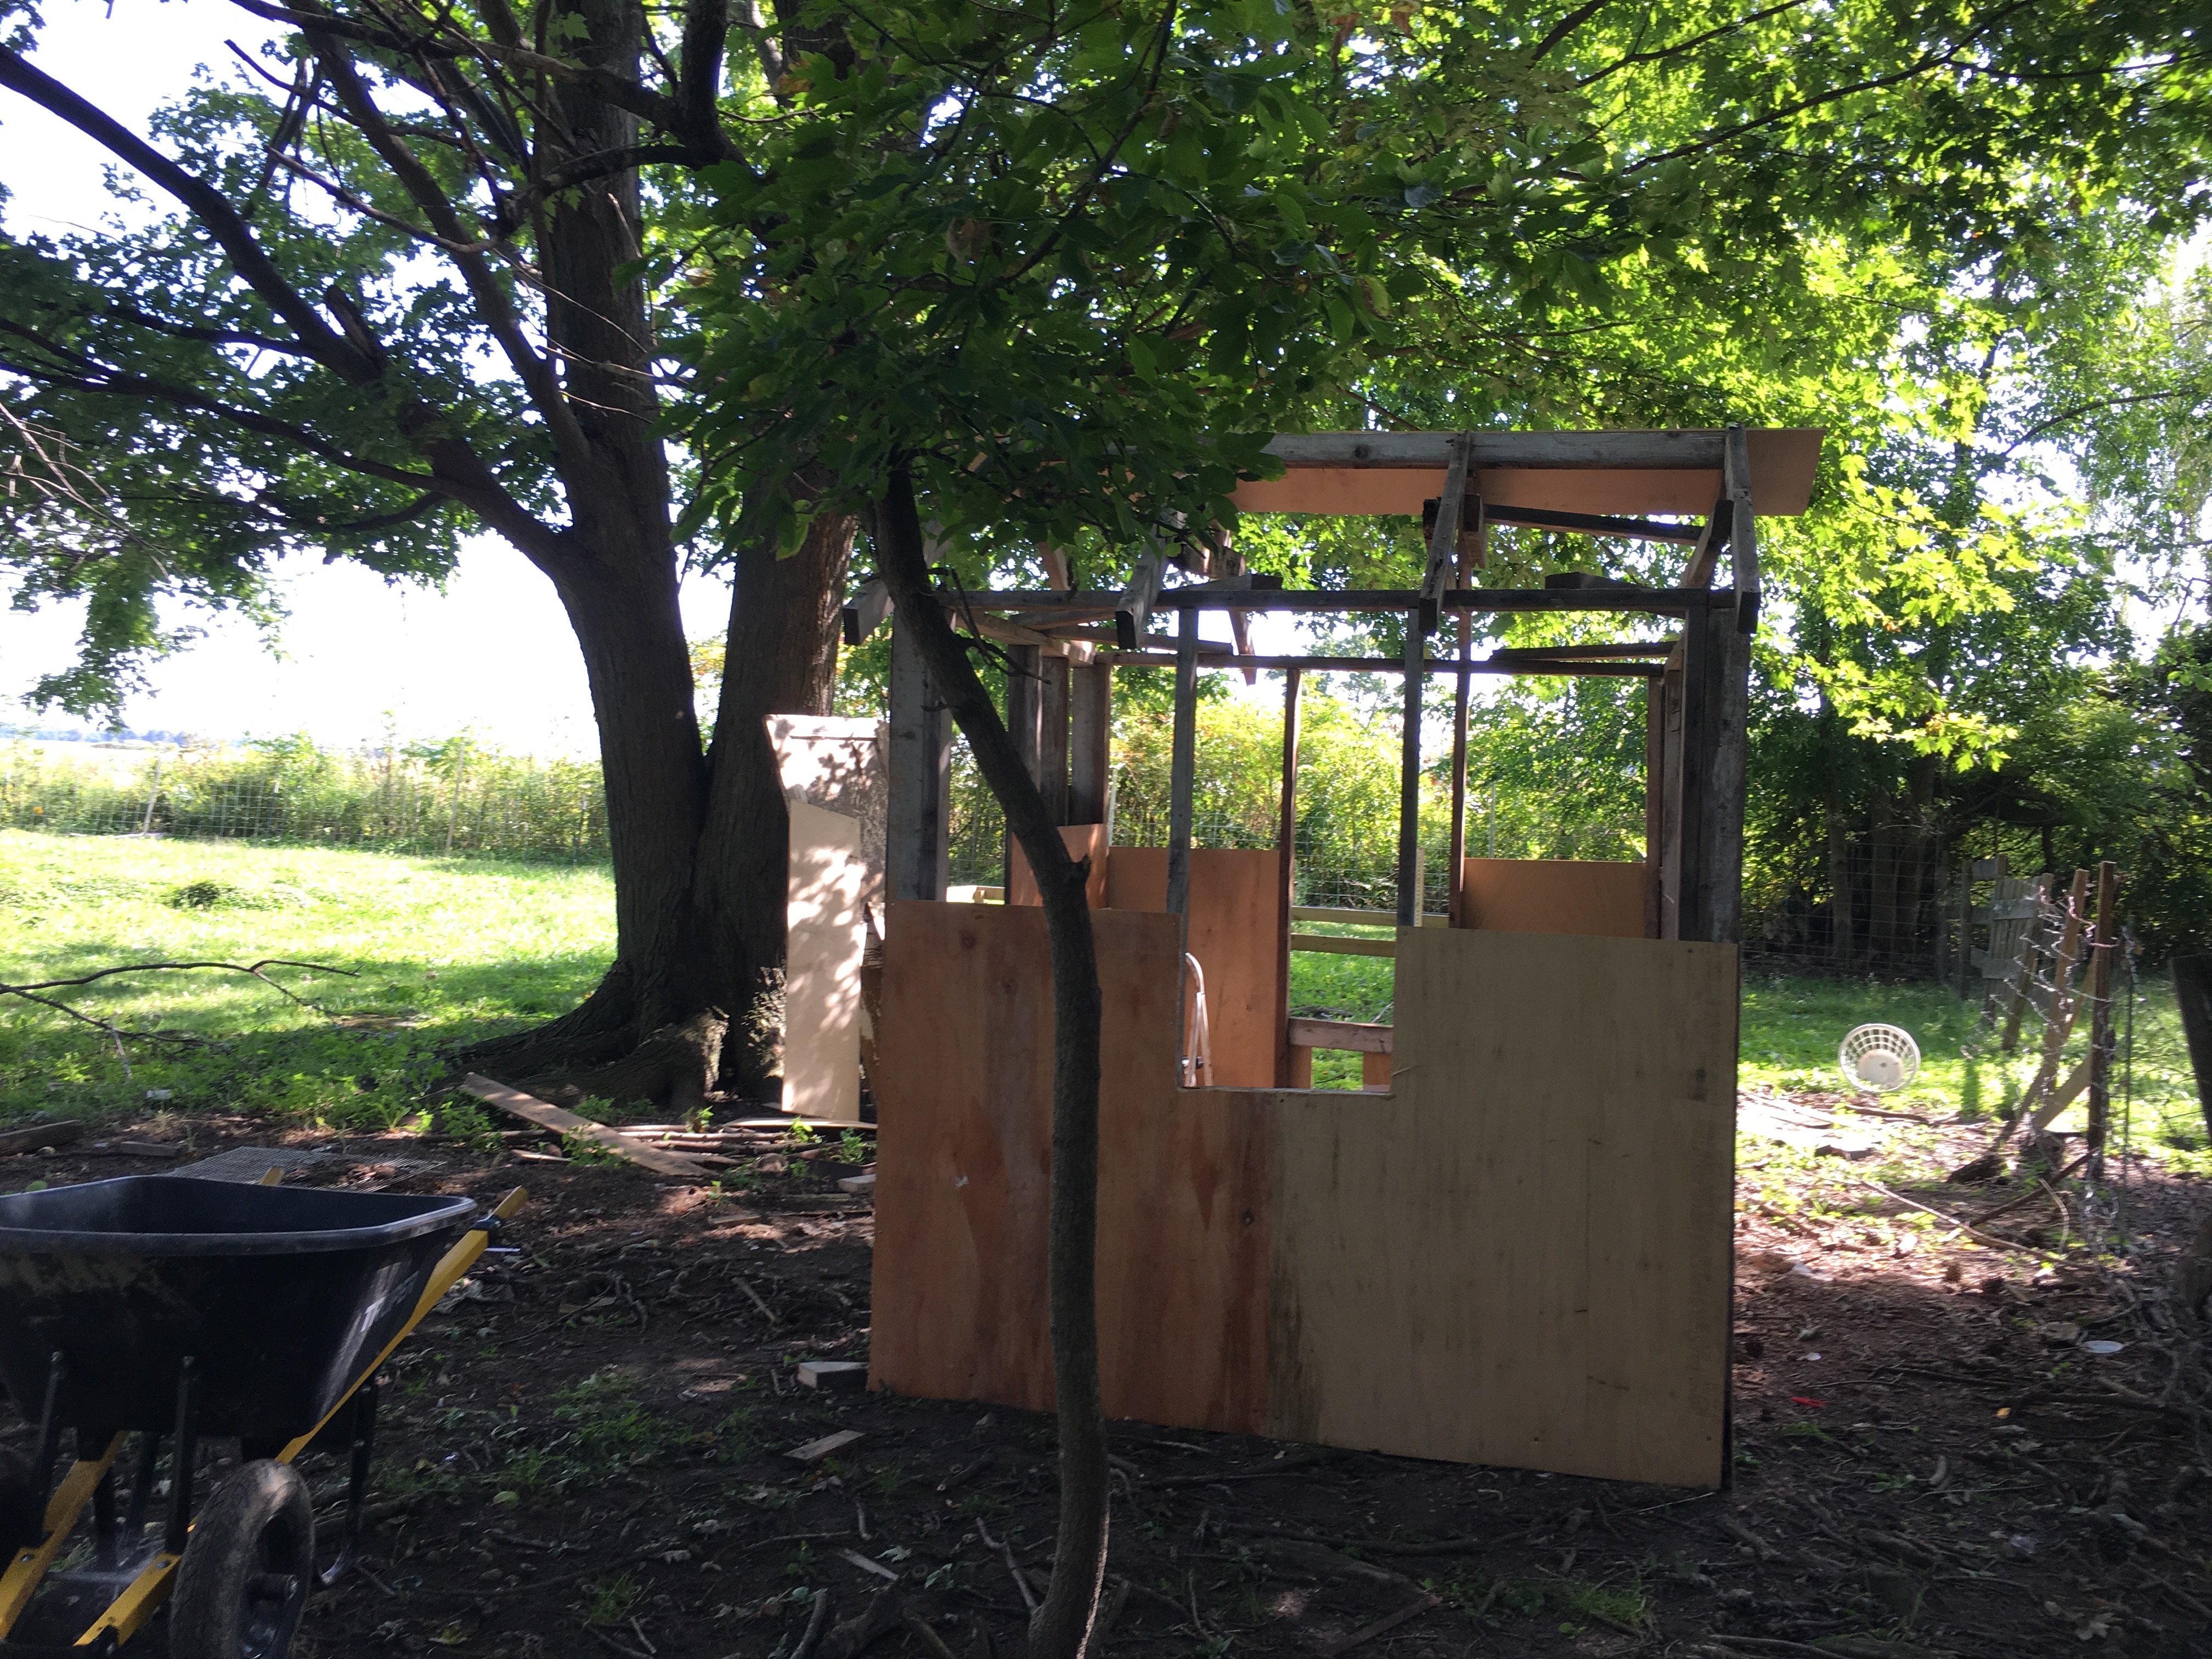
So darn cute! Just the frame was fun to watch going up. It’s close to the big house and where my cottage is going to go. I think that is perfect because it will be easy to take care of from both sources. 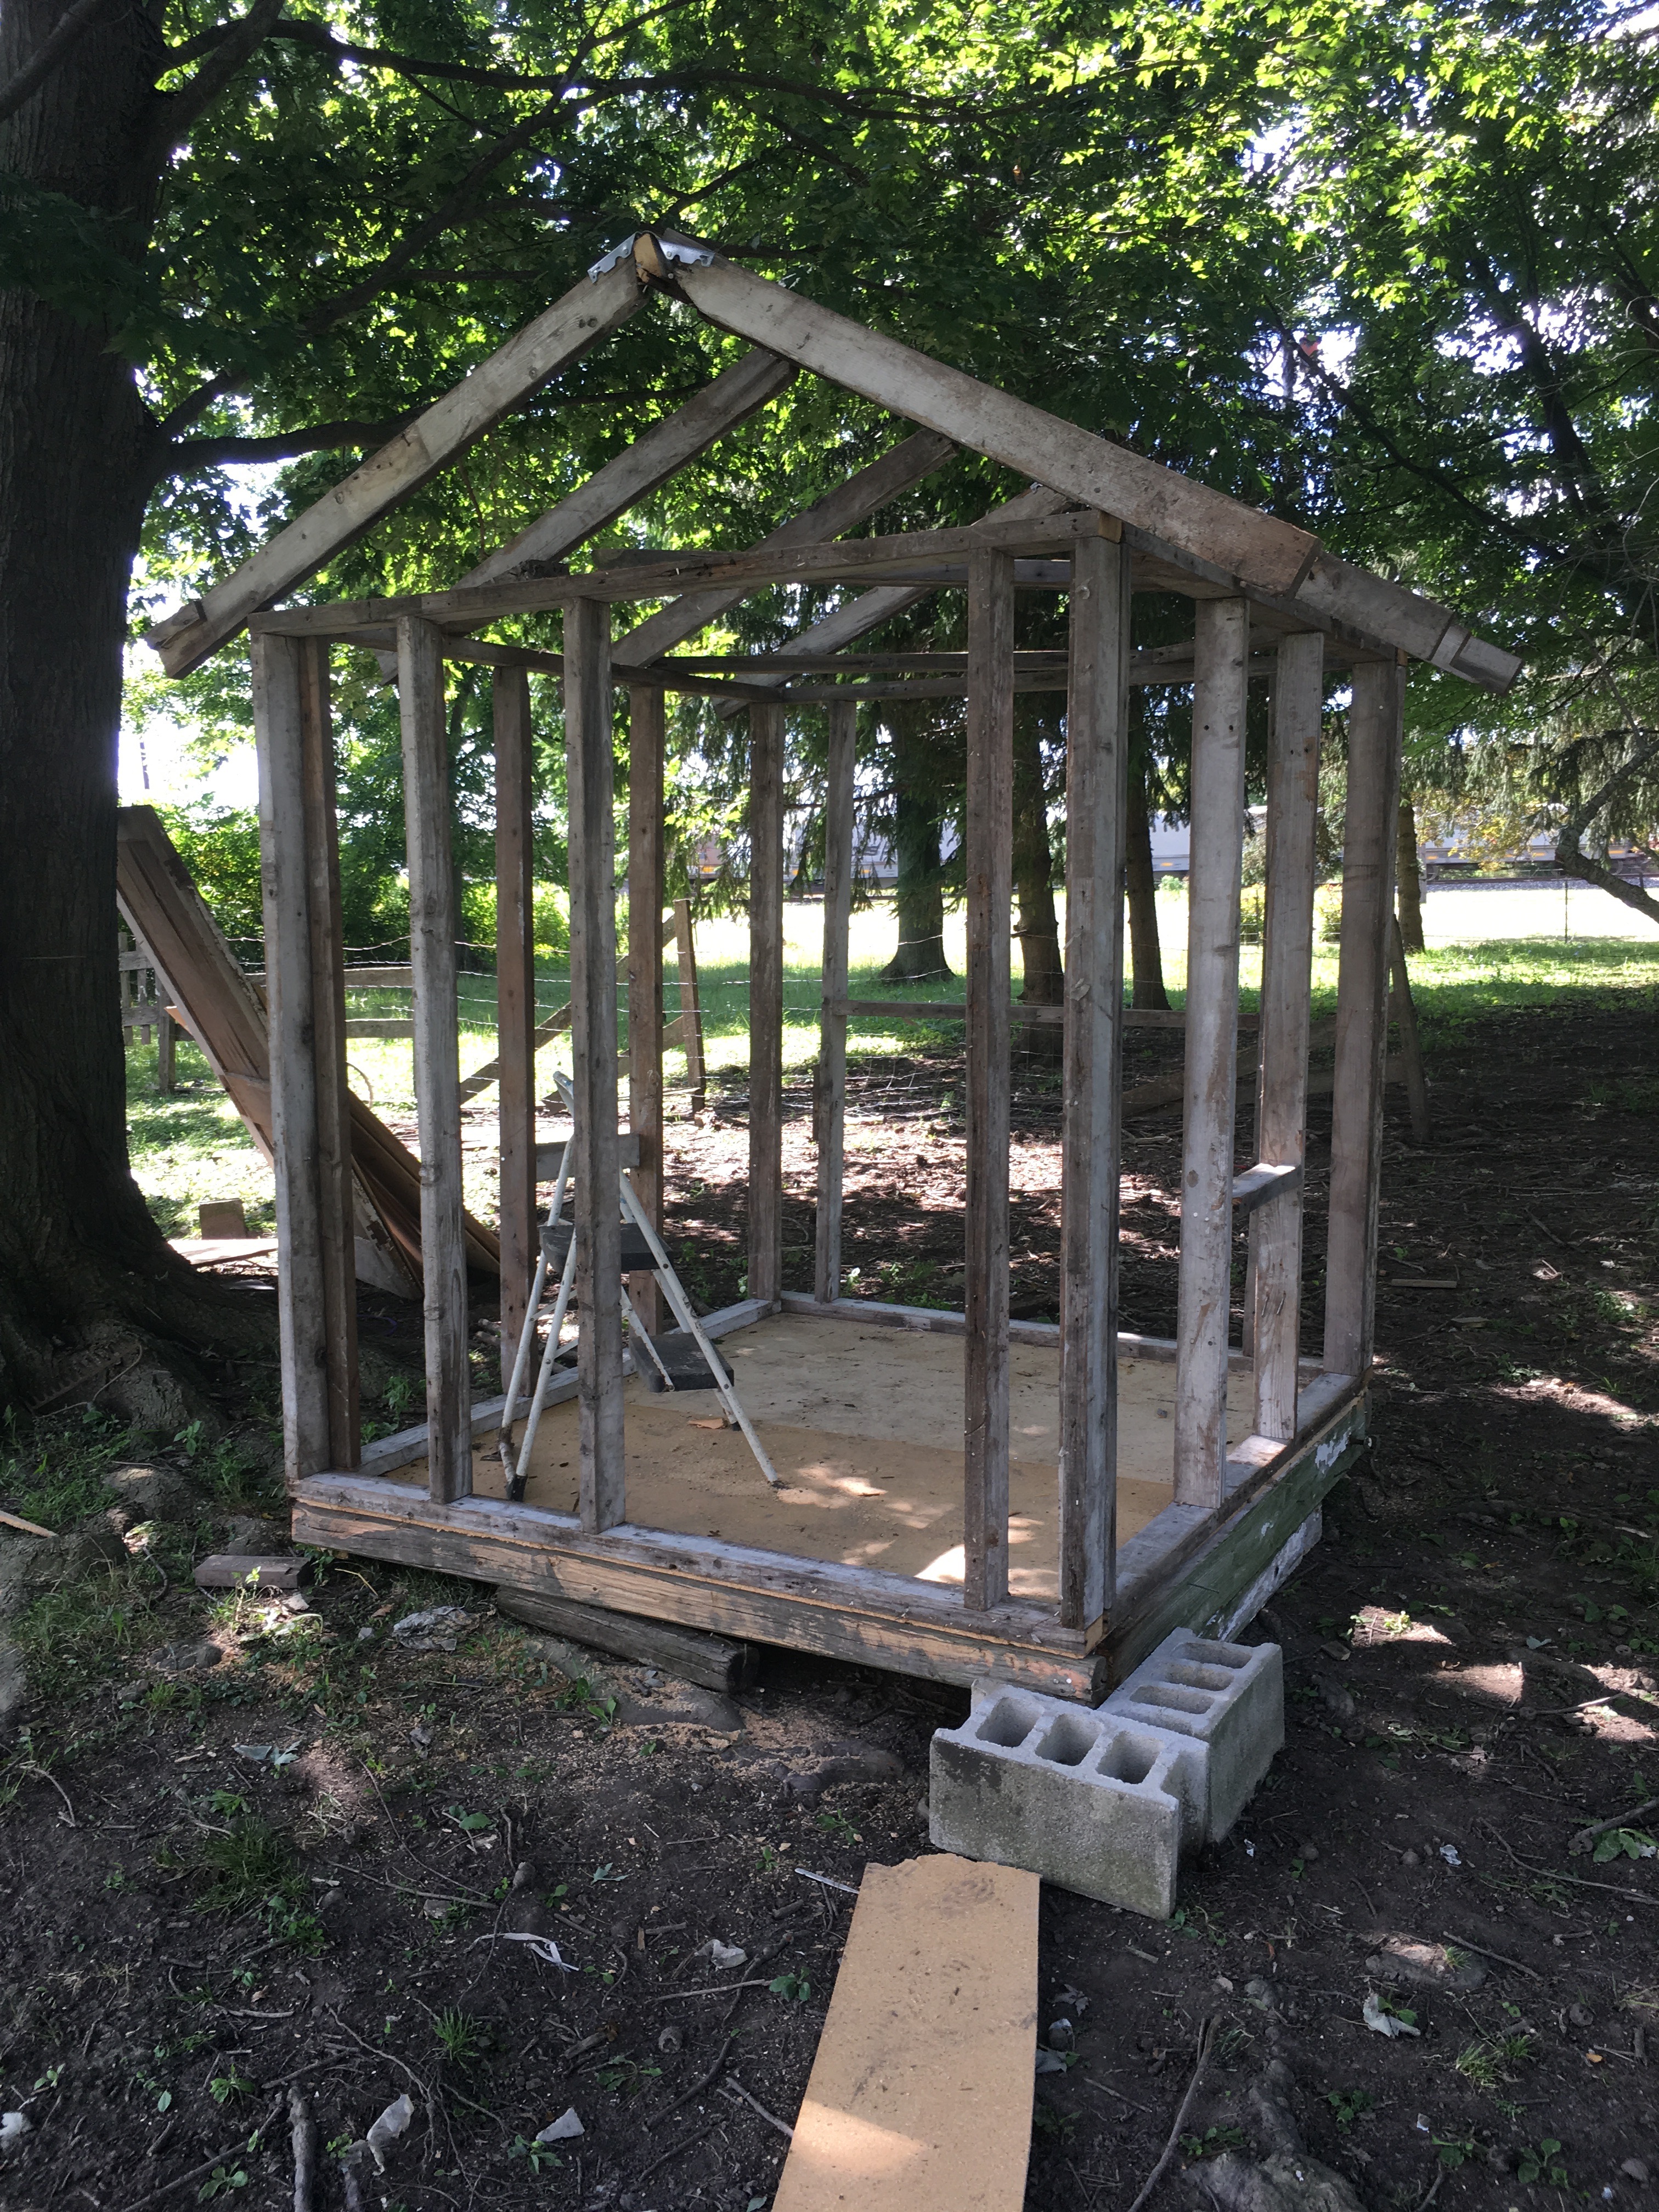
Honestly, it’s such a nice little size, it would be a darling little art studio! I can’t wait till we can get back to building in the little momyard. Momtopia? Momspace. We’re not quite sure what to call it yet, but it’s becoming my little get away compound.
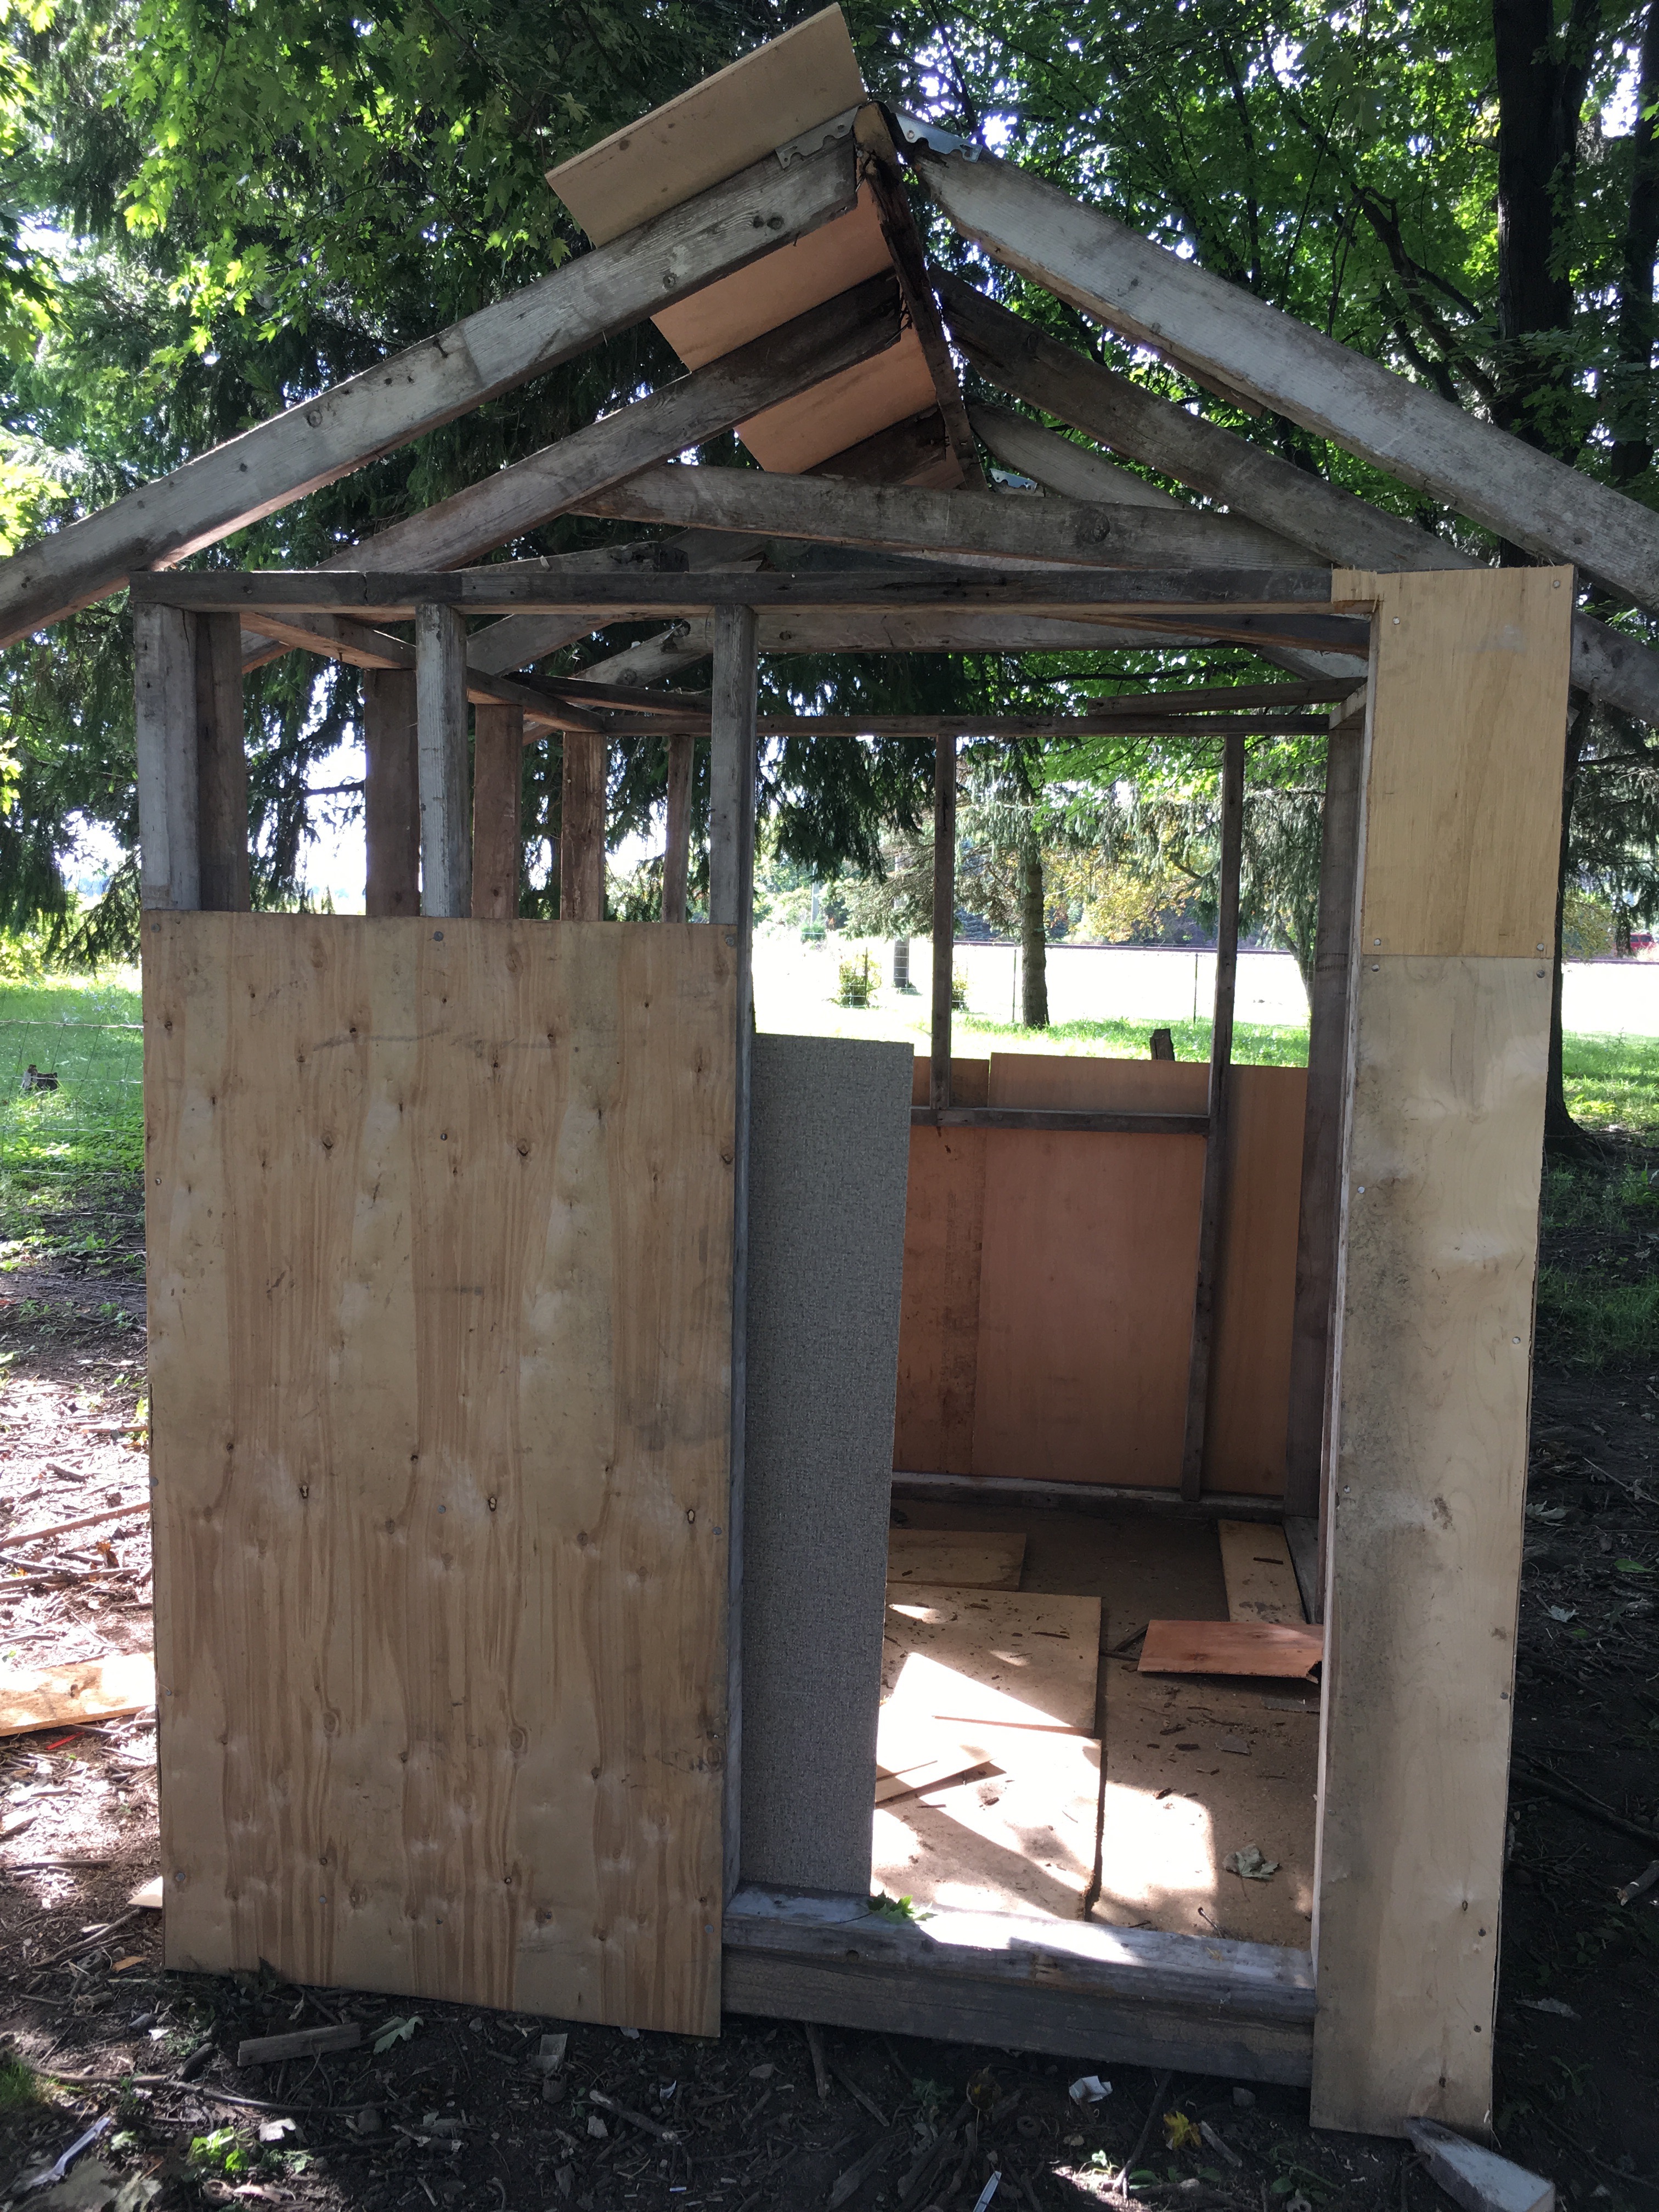
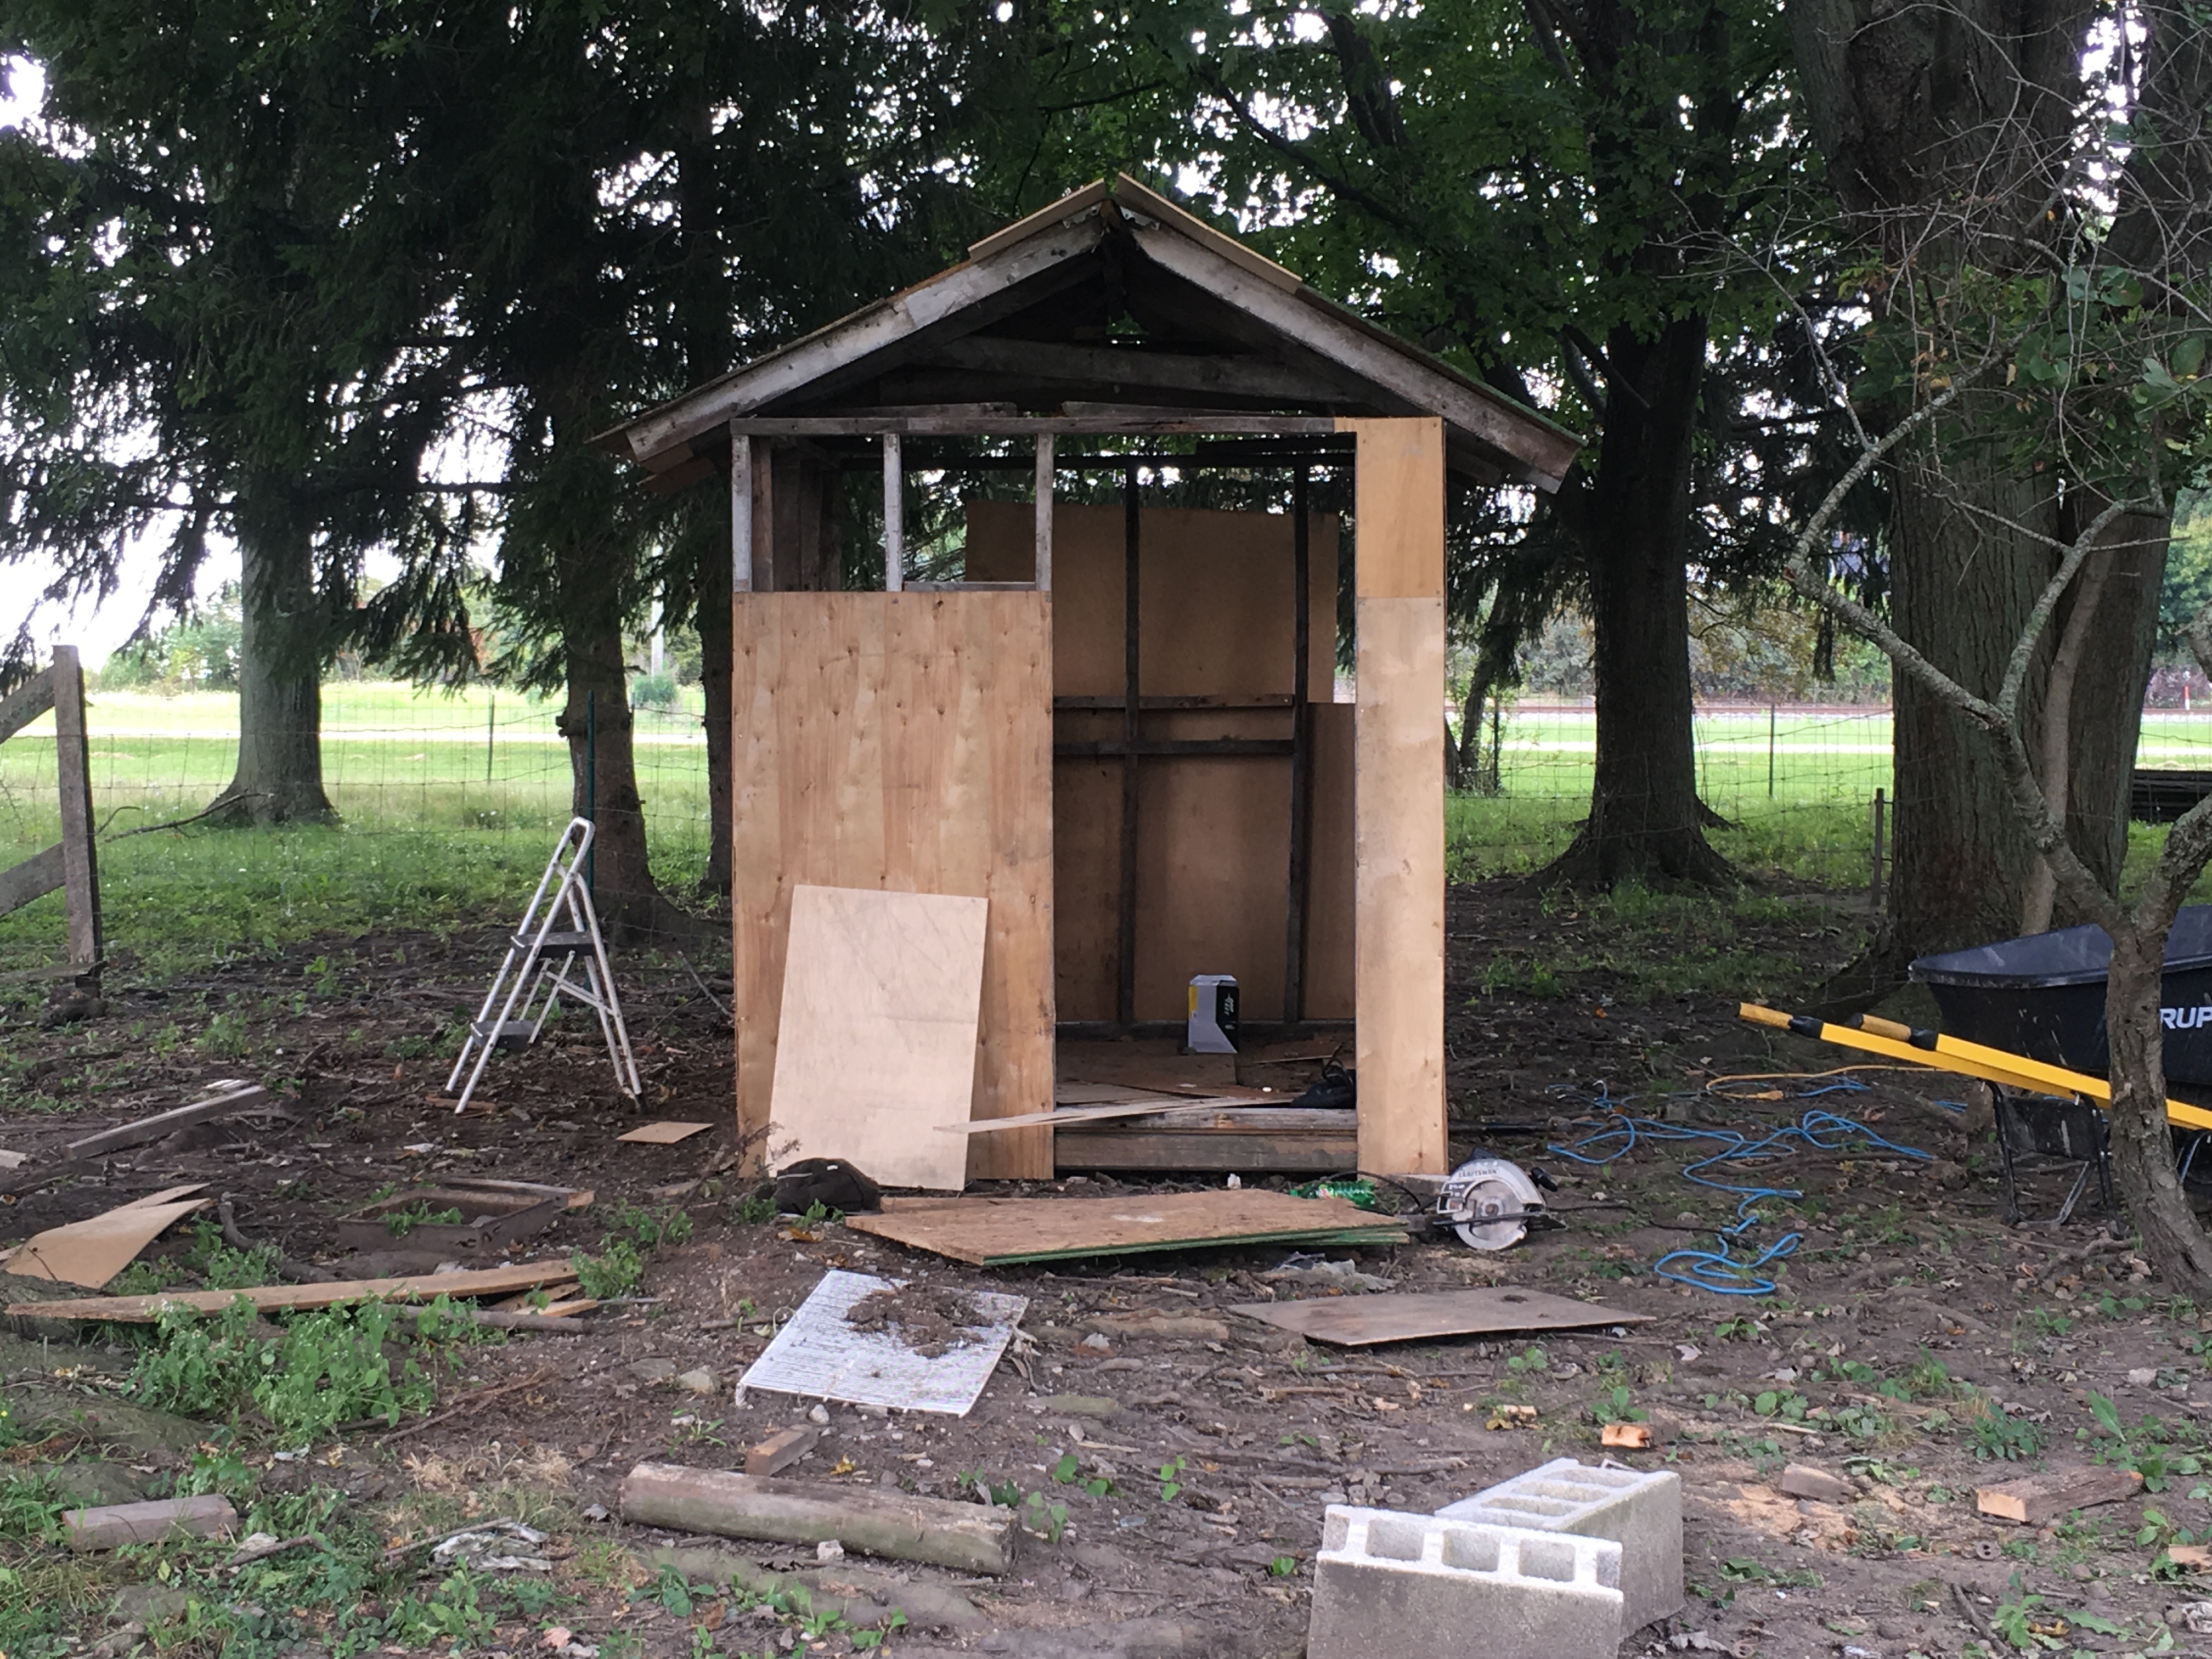
Our friends at Kencraft in Toledo where Maggie gets all her wood for her business, were kind enough to save all their pallet plywood for us! It’s the waste material that goes between the super nice lumber but it’s still pretty usable. When it was thin, we just doubled or tripled it! And actually there were enough nice pieces that Brayden was able to get it nice and closed in.


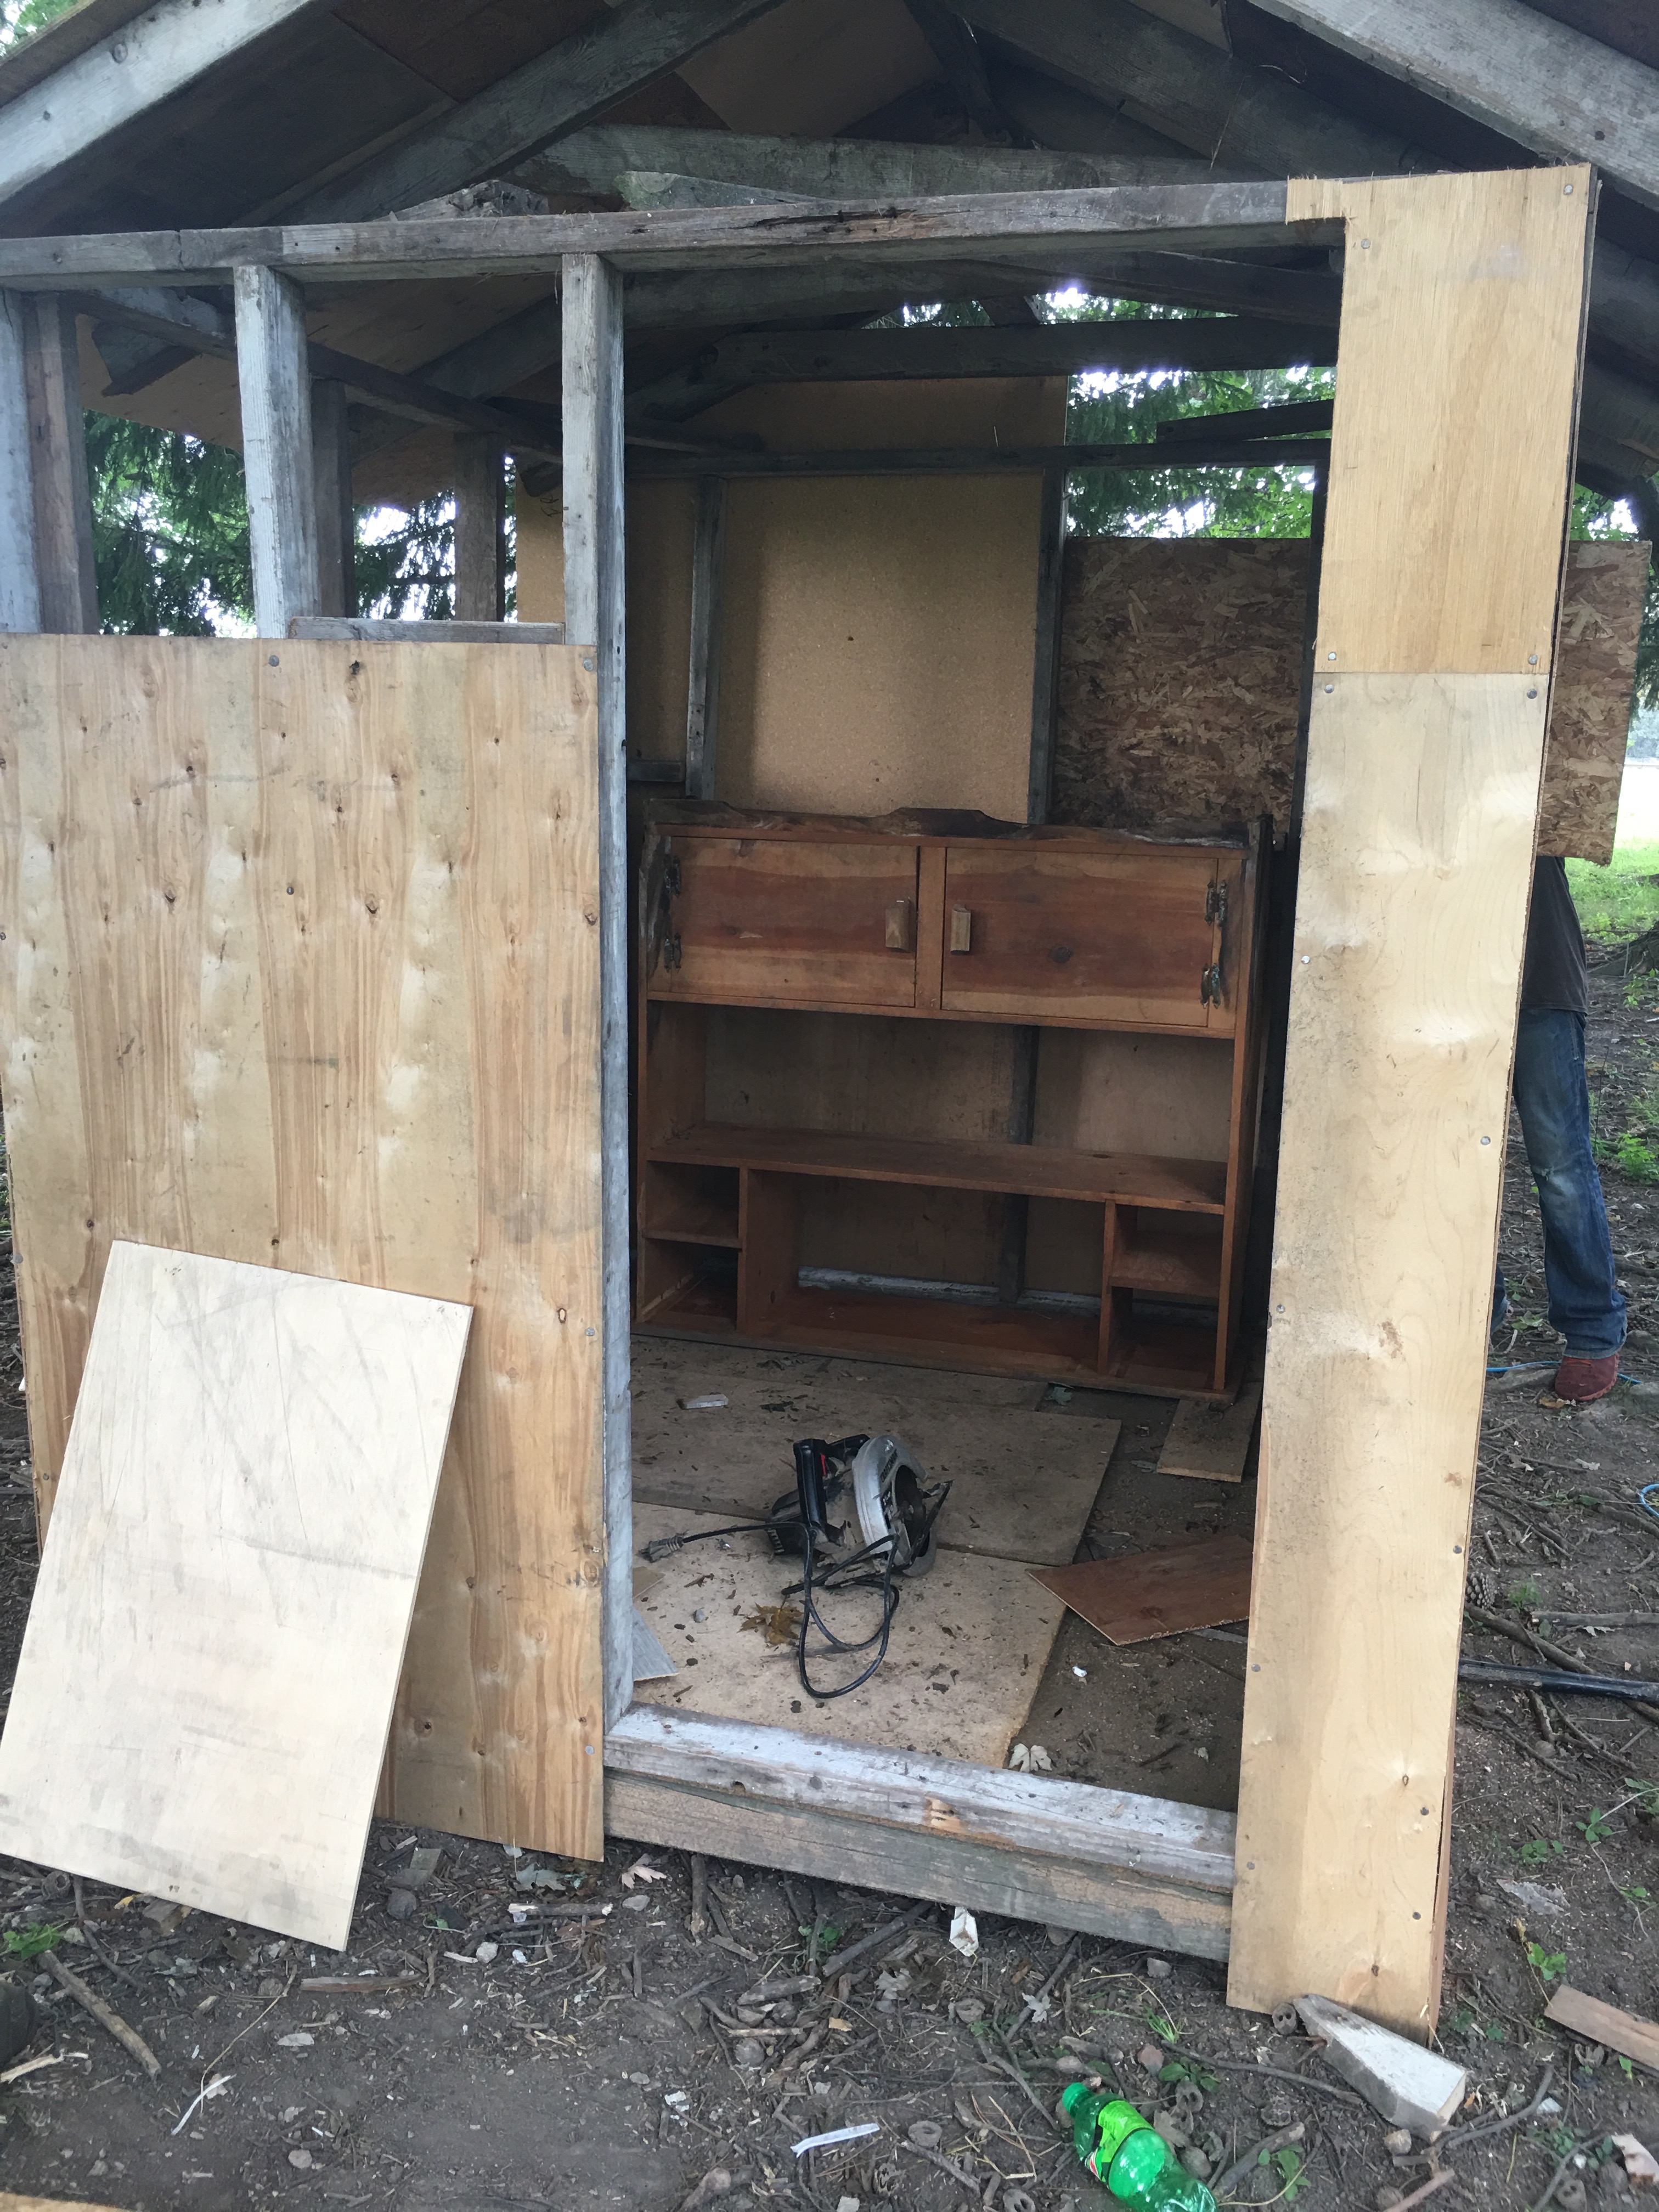
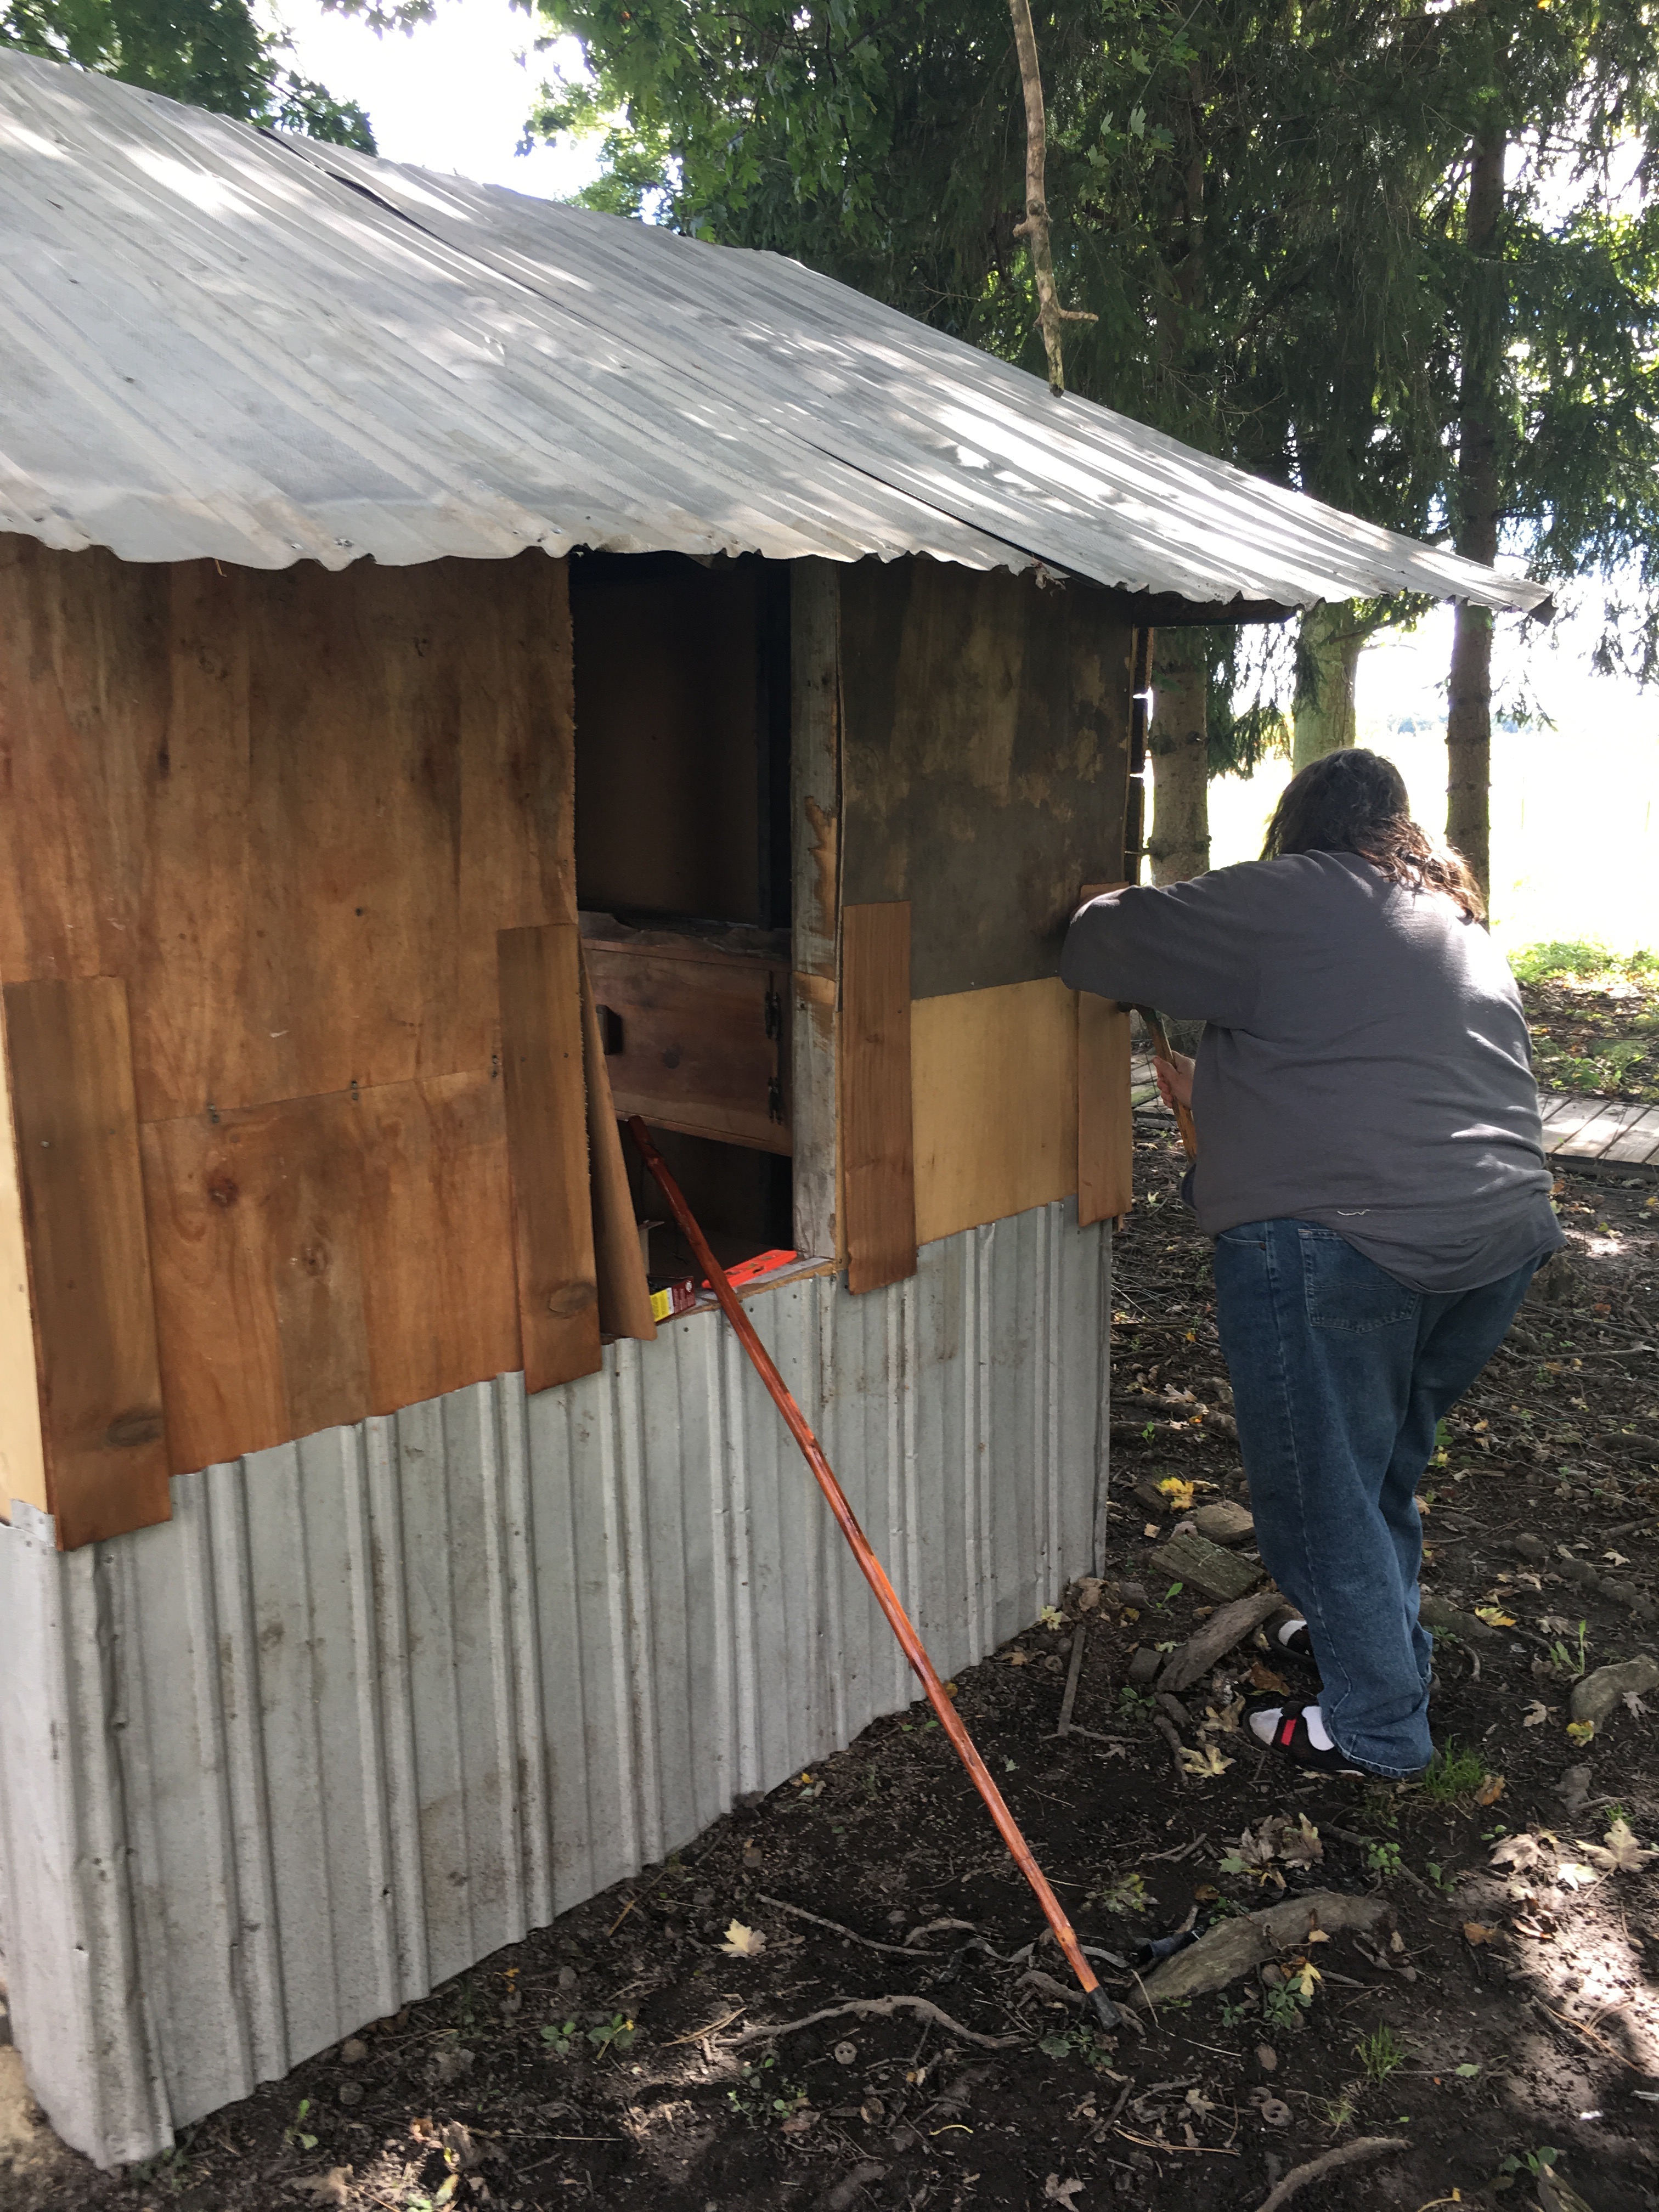
I had found this old entertainment center on the side of the road and was impressed because it was real wood and homemade instead of some sort of particle board thing. I think it will make a great wall for chicken laying boxes in there! Don’t you? I love the two little cabinets in the top, I can keep some of my chicken supplies in there and keep them safe.
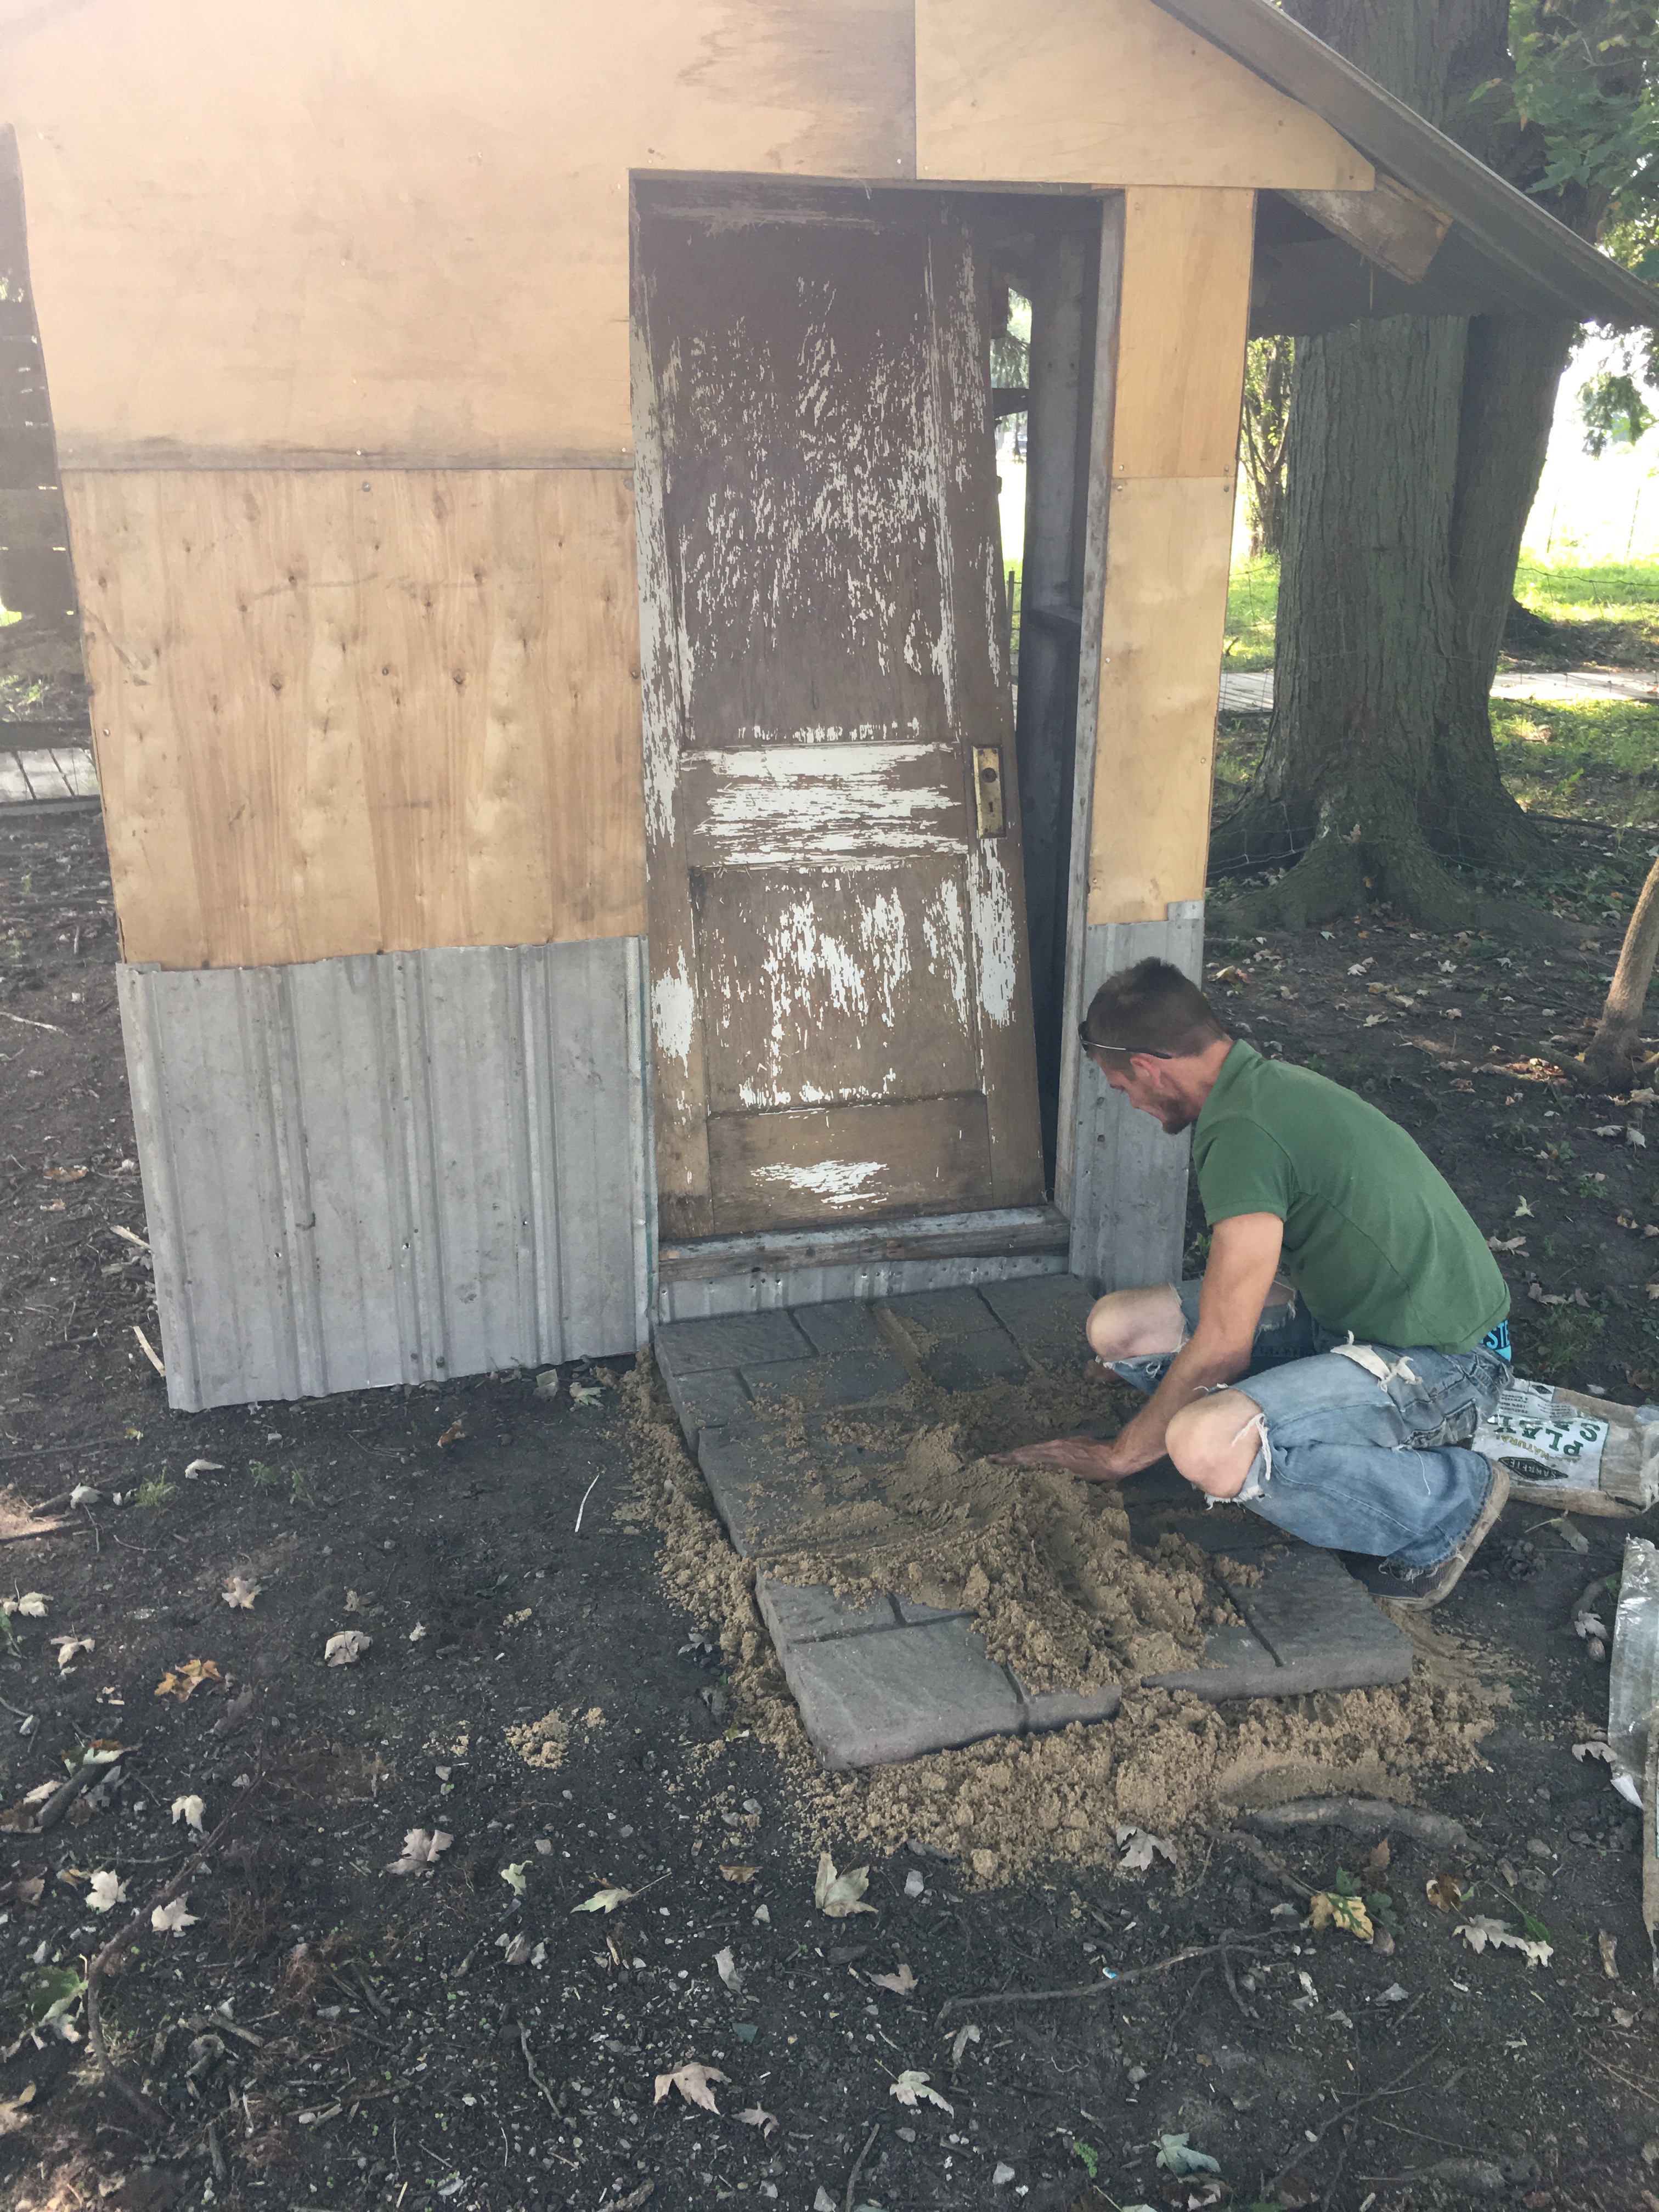
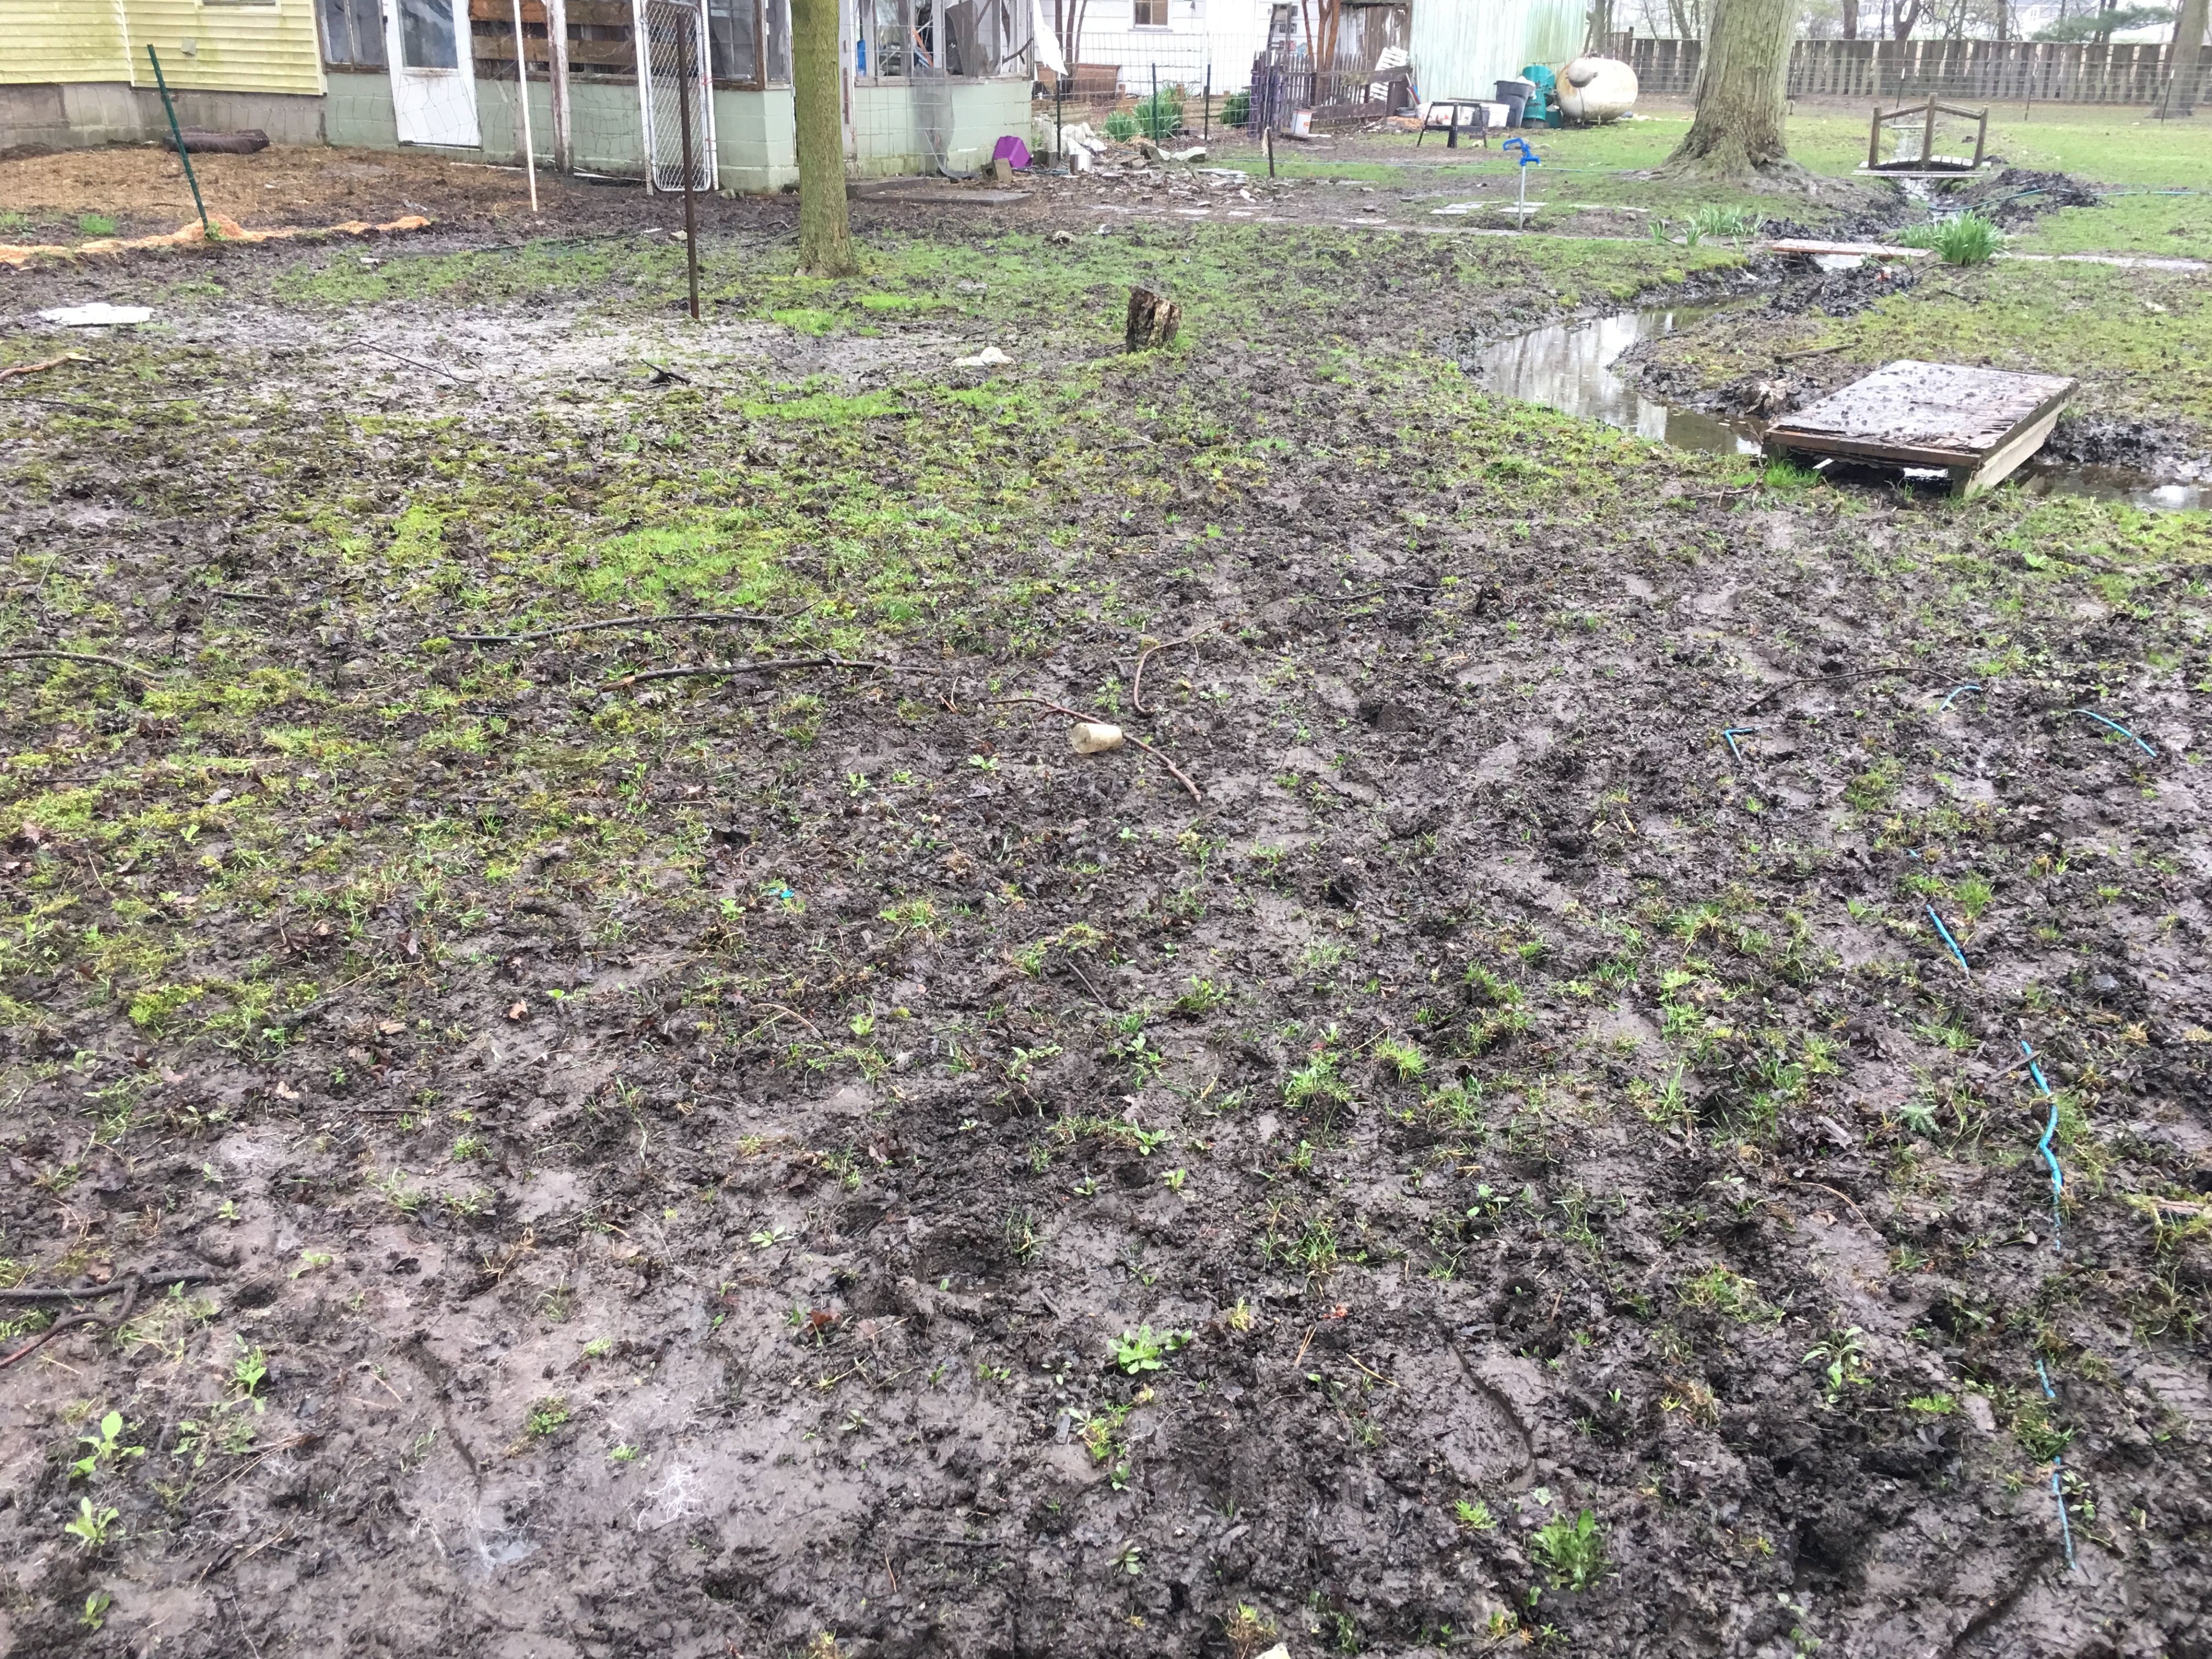
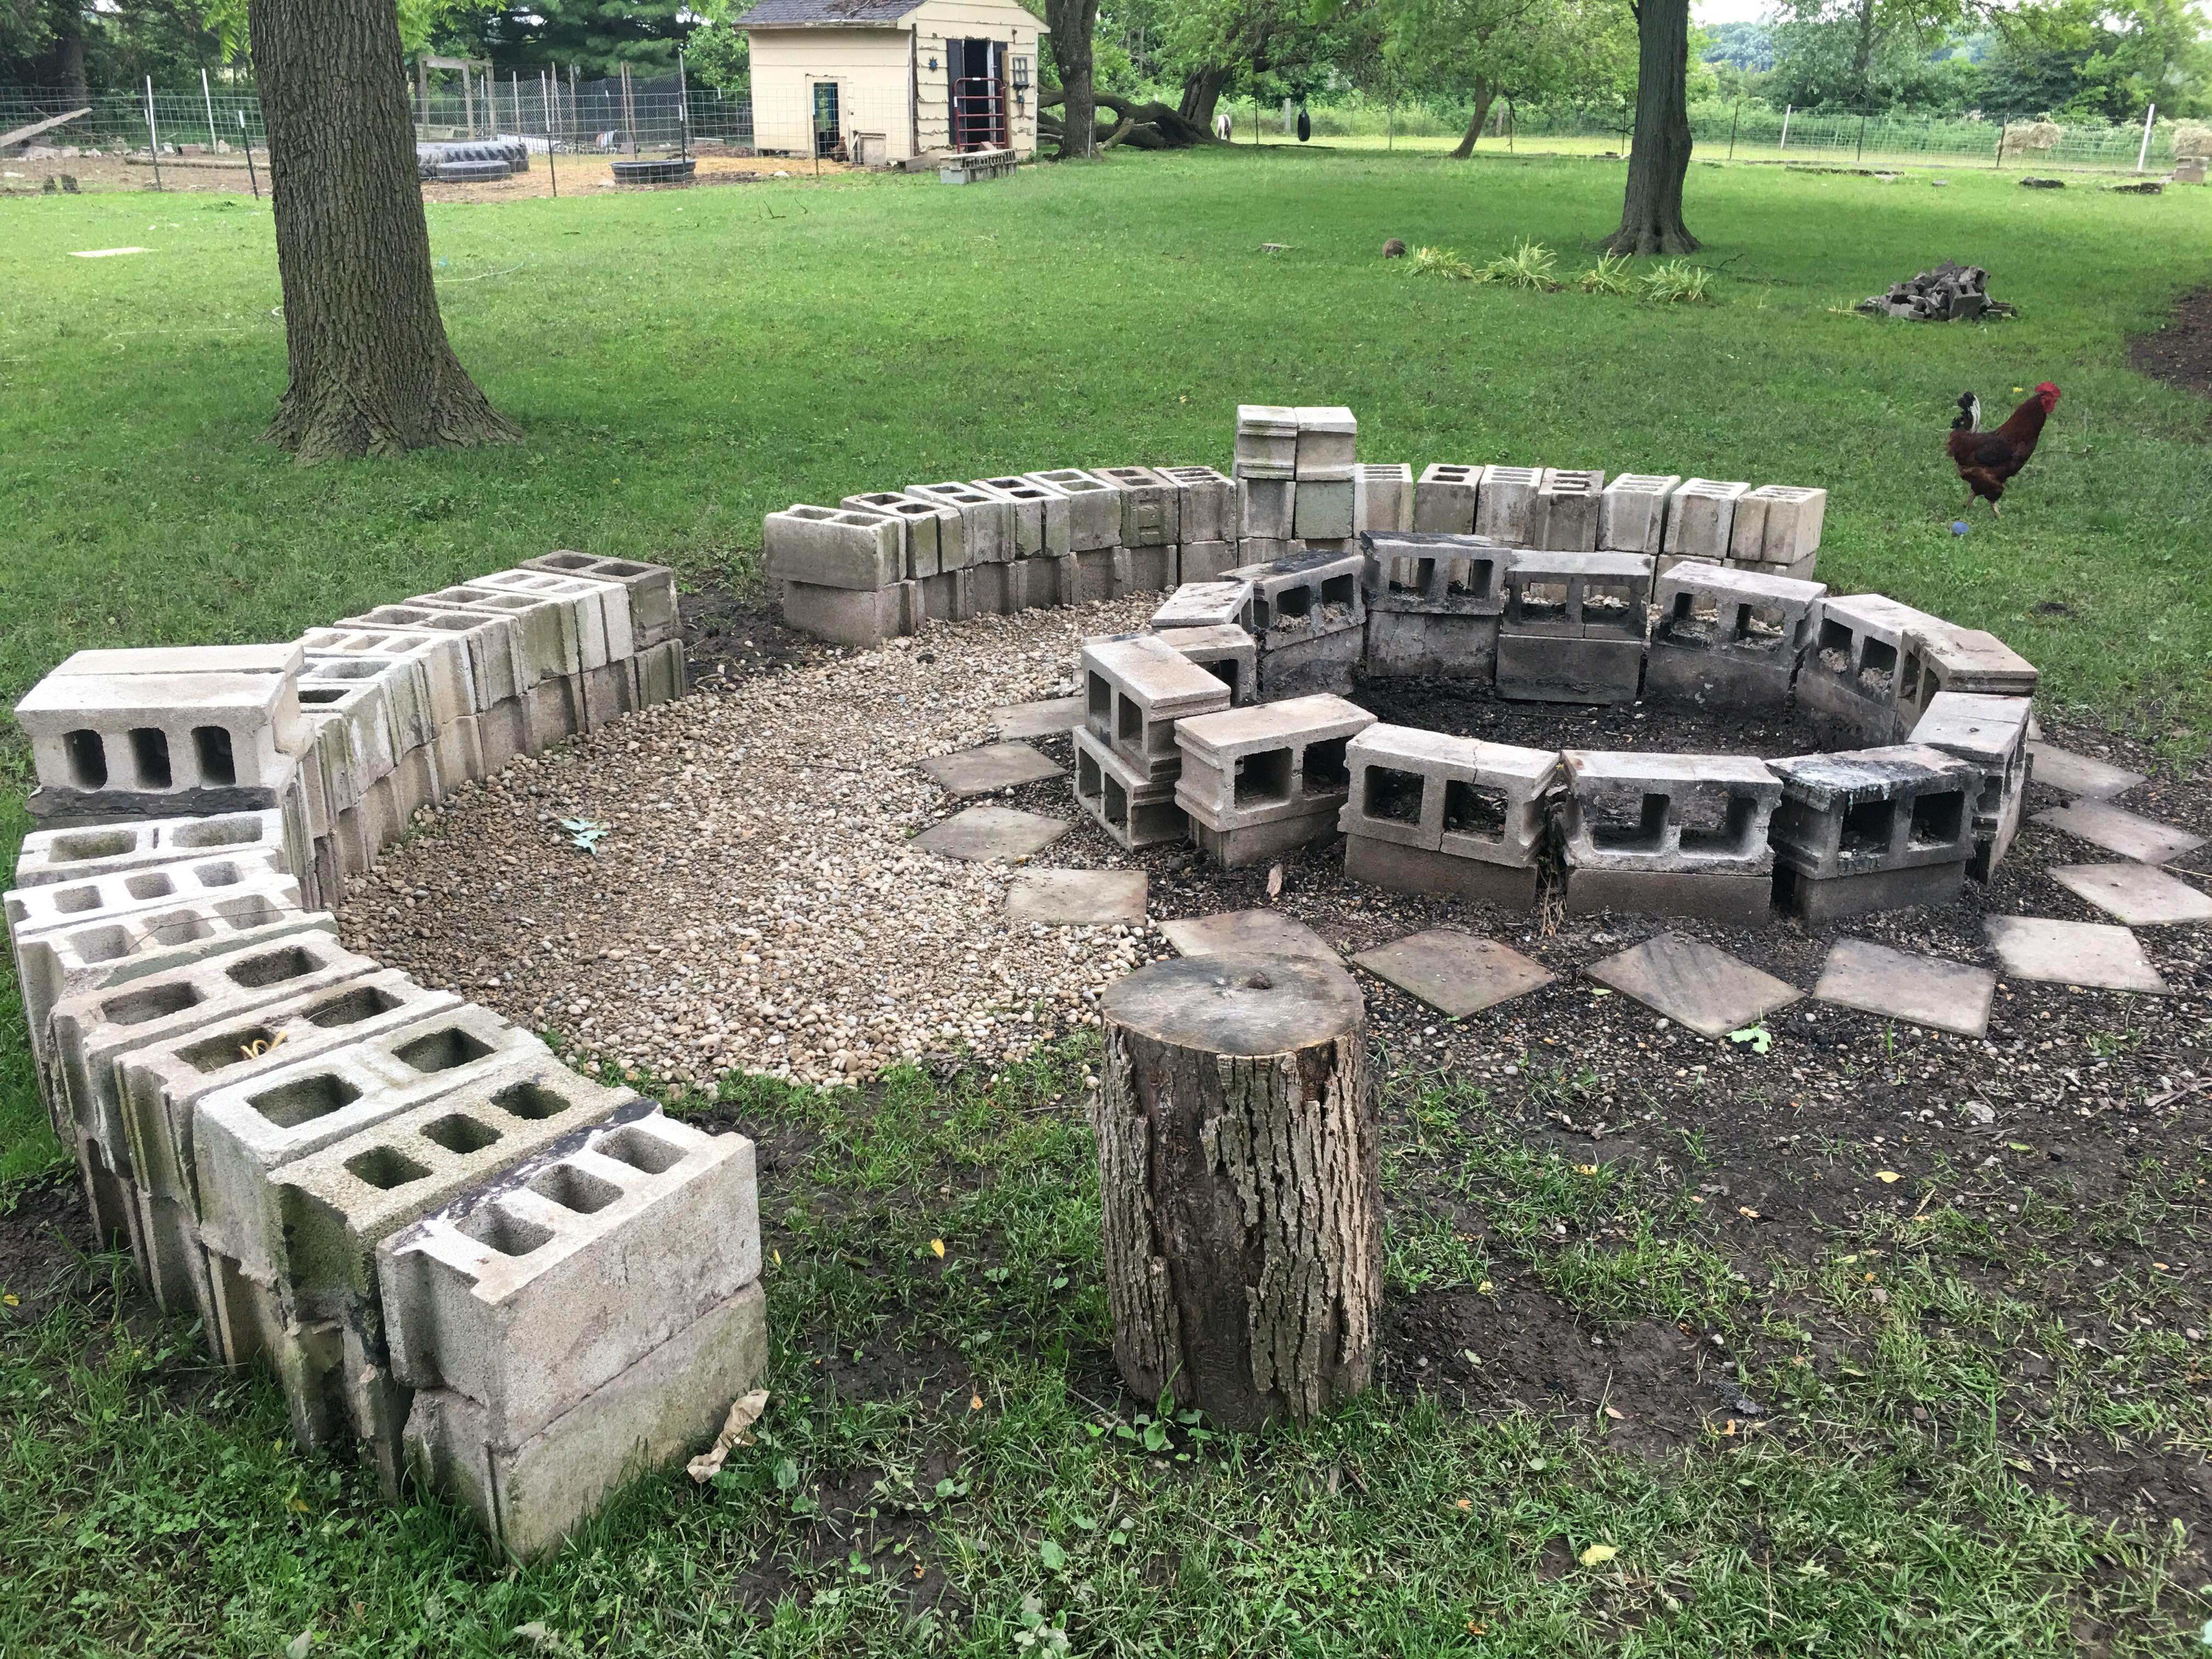
All the tin is on the sides and the roof and the door fits, just not quite on the hinges yet. We recycled these stepping stones for the front porch area from another place on the homestead. I did buy a bag of play sand to fill in the cracks but it was only $2.00 This will help to keep it less muddy and all when entering the little coop. I think I will want to lay down a nice walkway to the coop so that in the muddy spring, it’s still easy to get to and not treacherous and filthy.

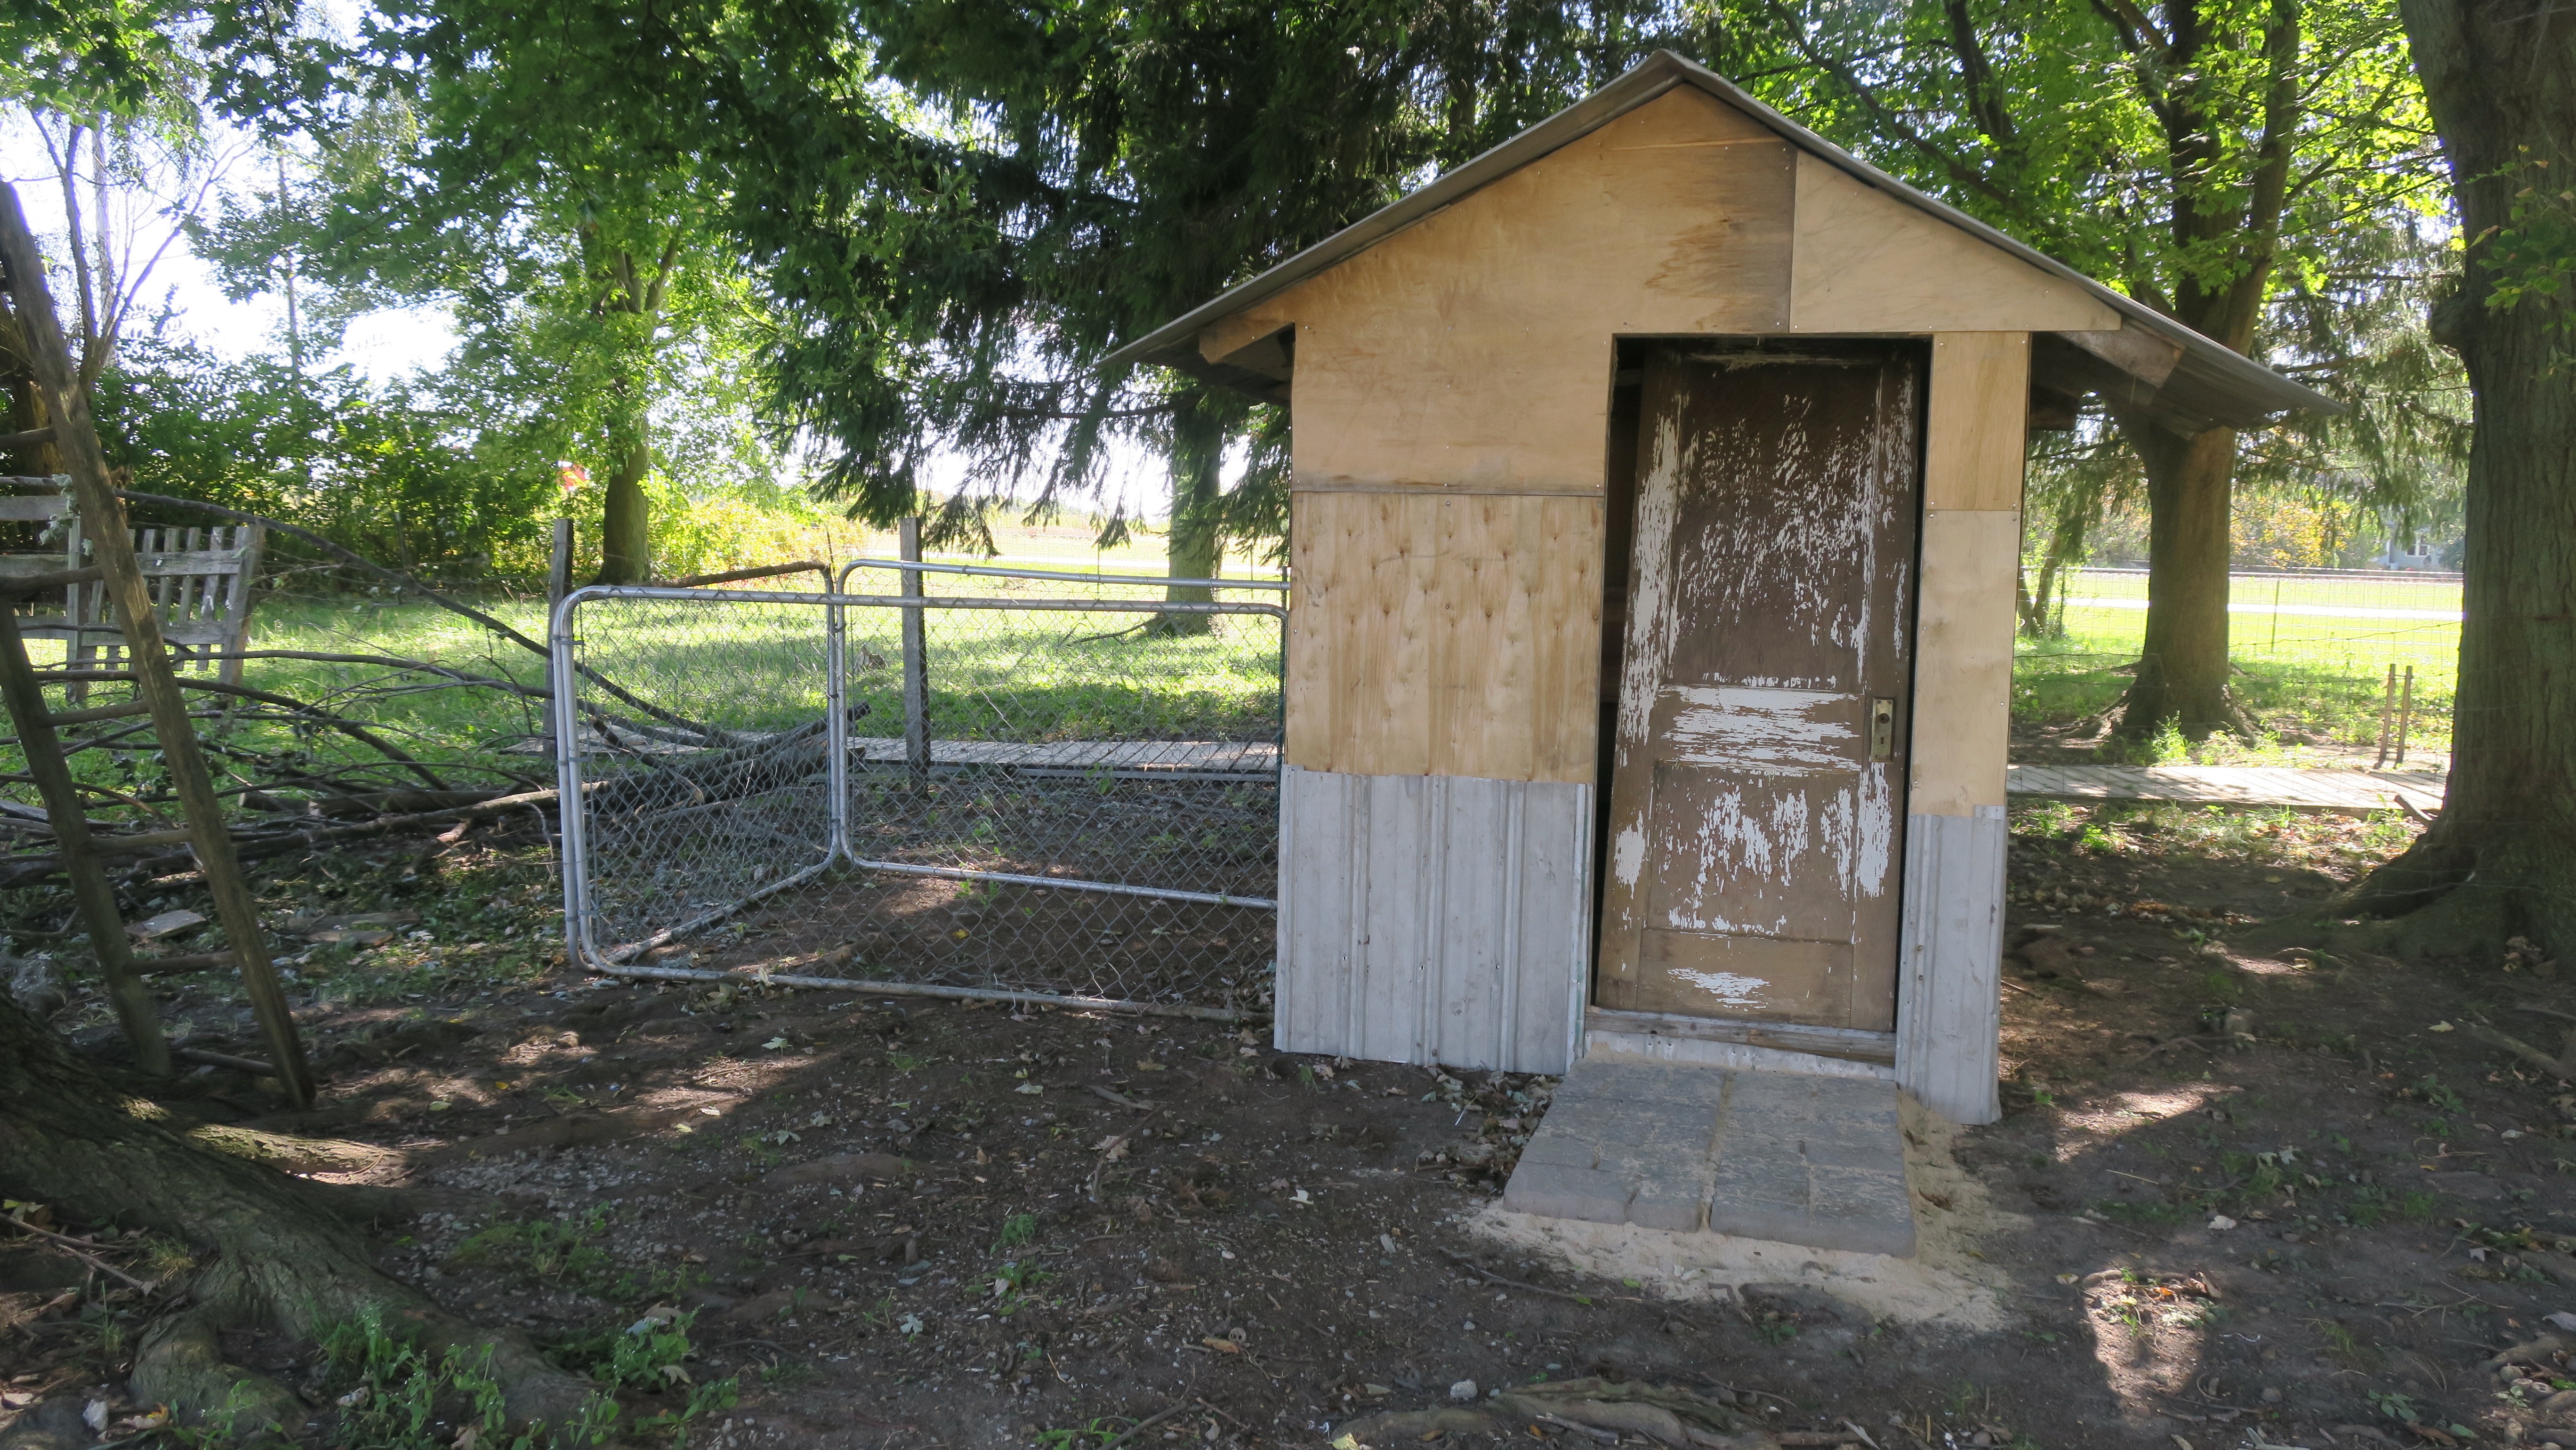
I had hoped that I could use an old dog kennel that was on the property but I think it’s just too small. I’m hoping to keep about 6 or 7 hens in there with a rooster. I will let them free range some in the afternoon or so but most of the time they will be in their coop and run. And I’m not totally sure that the chain link is safe enough. I believe this spring I want to make a much larger run area and use hardware cloth and very strong timbers to make it much safer for my darlings.
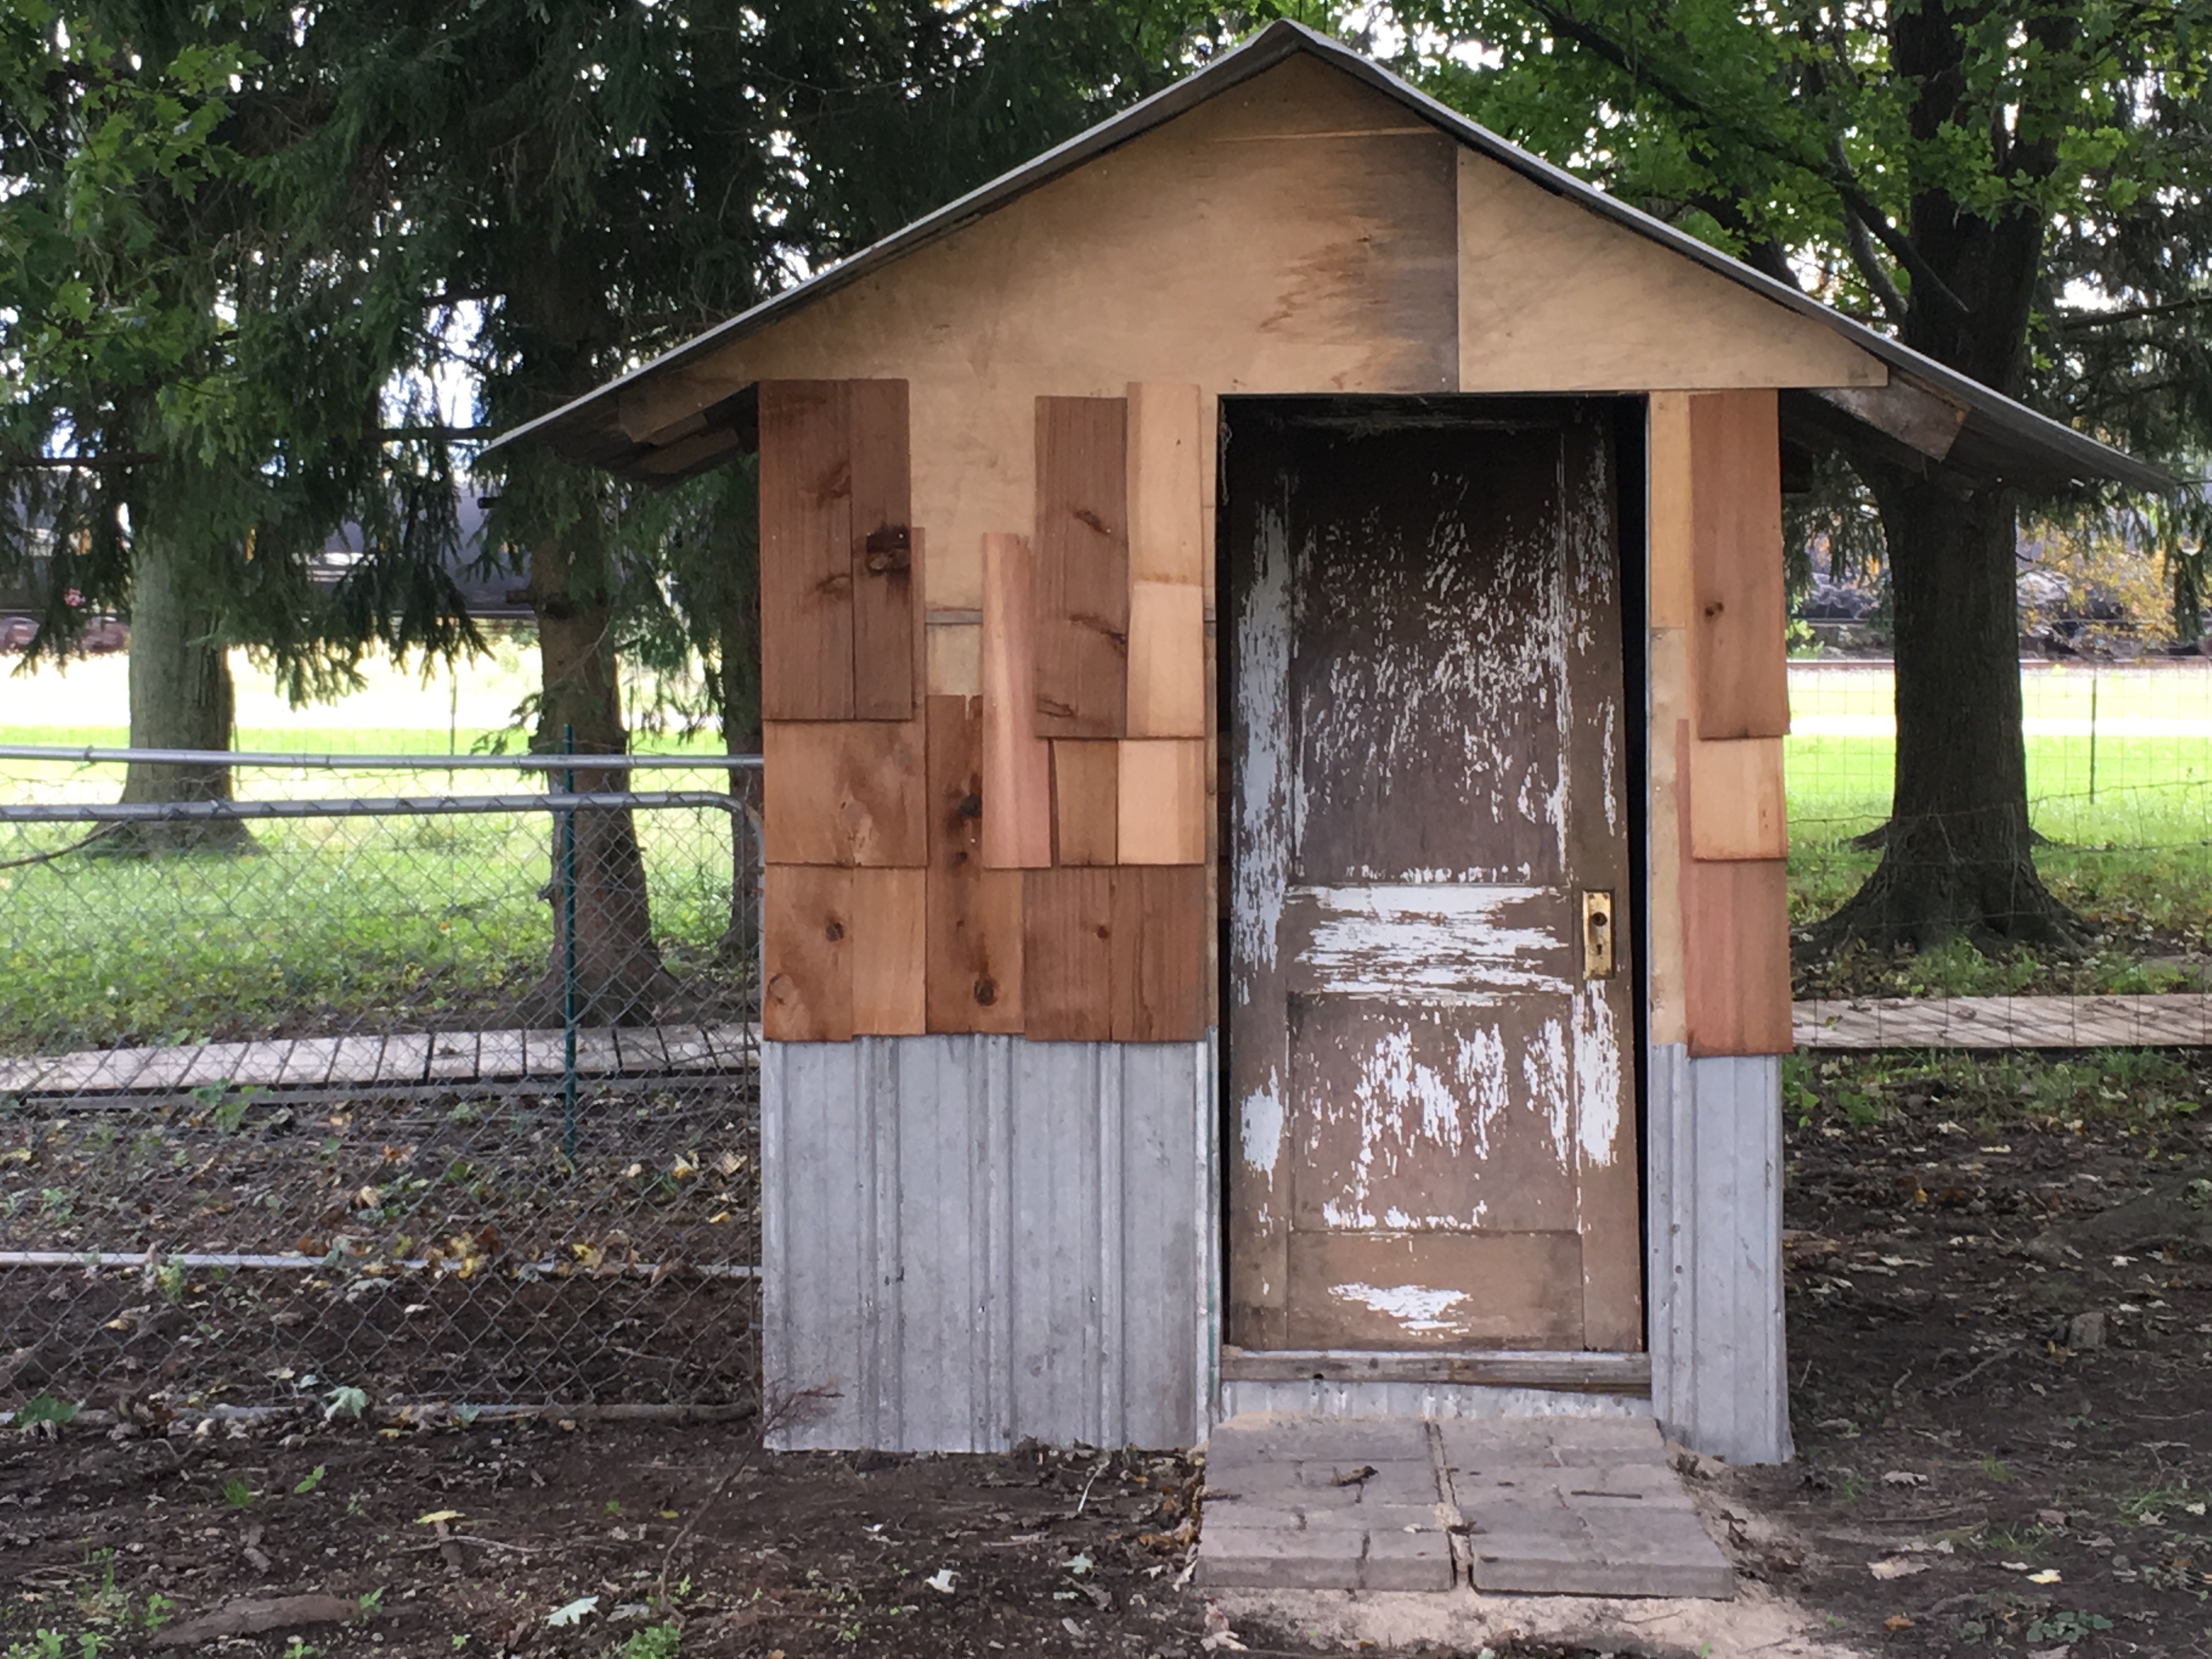
I got two bundles of the cedar shingles for $20. It was a nice deal. We hoped that they would make it on the three sides of the coop. Especially since there are two windows and a door going on as well, so that means we wouldn’t need too many shingles. The back of the coop we used cool looking old barn wood boards as siding. You really can’t see that part of the coop except a wee bit from the road. I would like to make a cool, colorful barn quilt board to put back there. Eventually! Maggie helped me to get the cedar on the coop. It really looks so cool. Just how I imagined it to be! I love it!

Can’t wait to get started, working on the rest of the coop this spring. The plans are to paint the inside white, nice and clean. And then to put down some easy to clean vinyl flooring from the remnant flooring store down the road. And to build a strong and safe run for the chickens. Going to have fun and call it Fowlton Abbey. Should be a fun project to finish up very soon!
it’s getting closer! I would have to stop for the year but this spring, will finish it all up. The door is going to be a deep plum color and I have some super cute windows for either side. Going to make some cute scalloped white eave trim for it. Going to have a cute solar barn lamp and a neat handpainted sign for the area next to the door. Can’t wait to get it all super cute and finished up! Soon!!!
Pin It