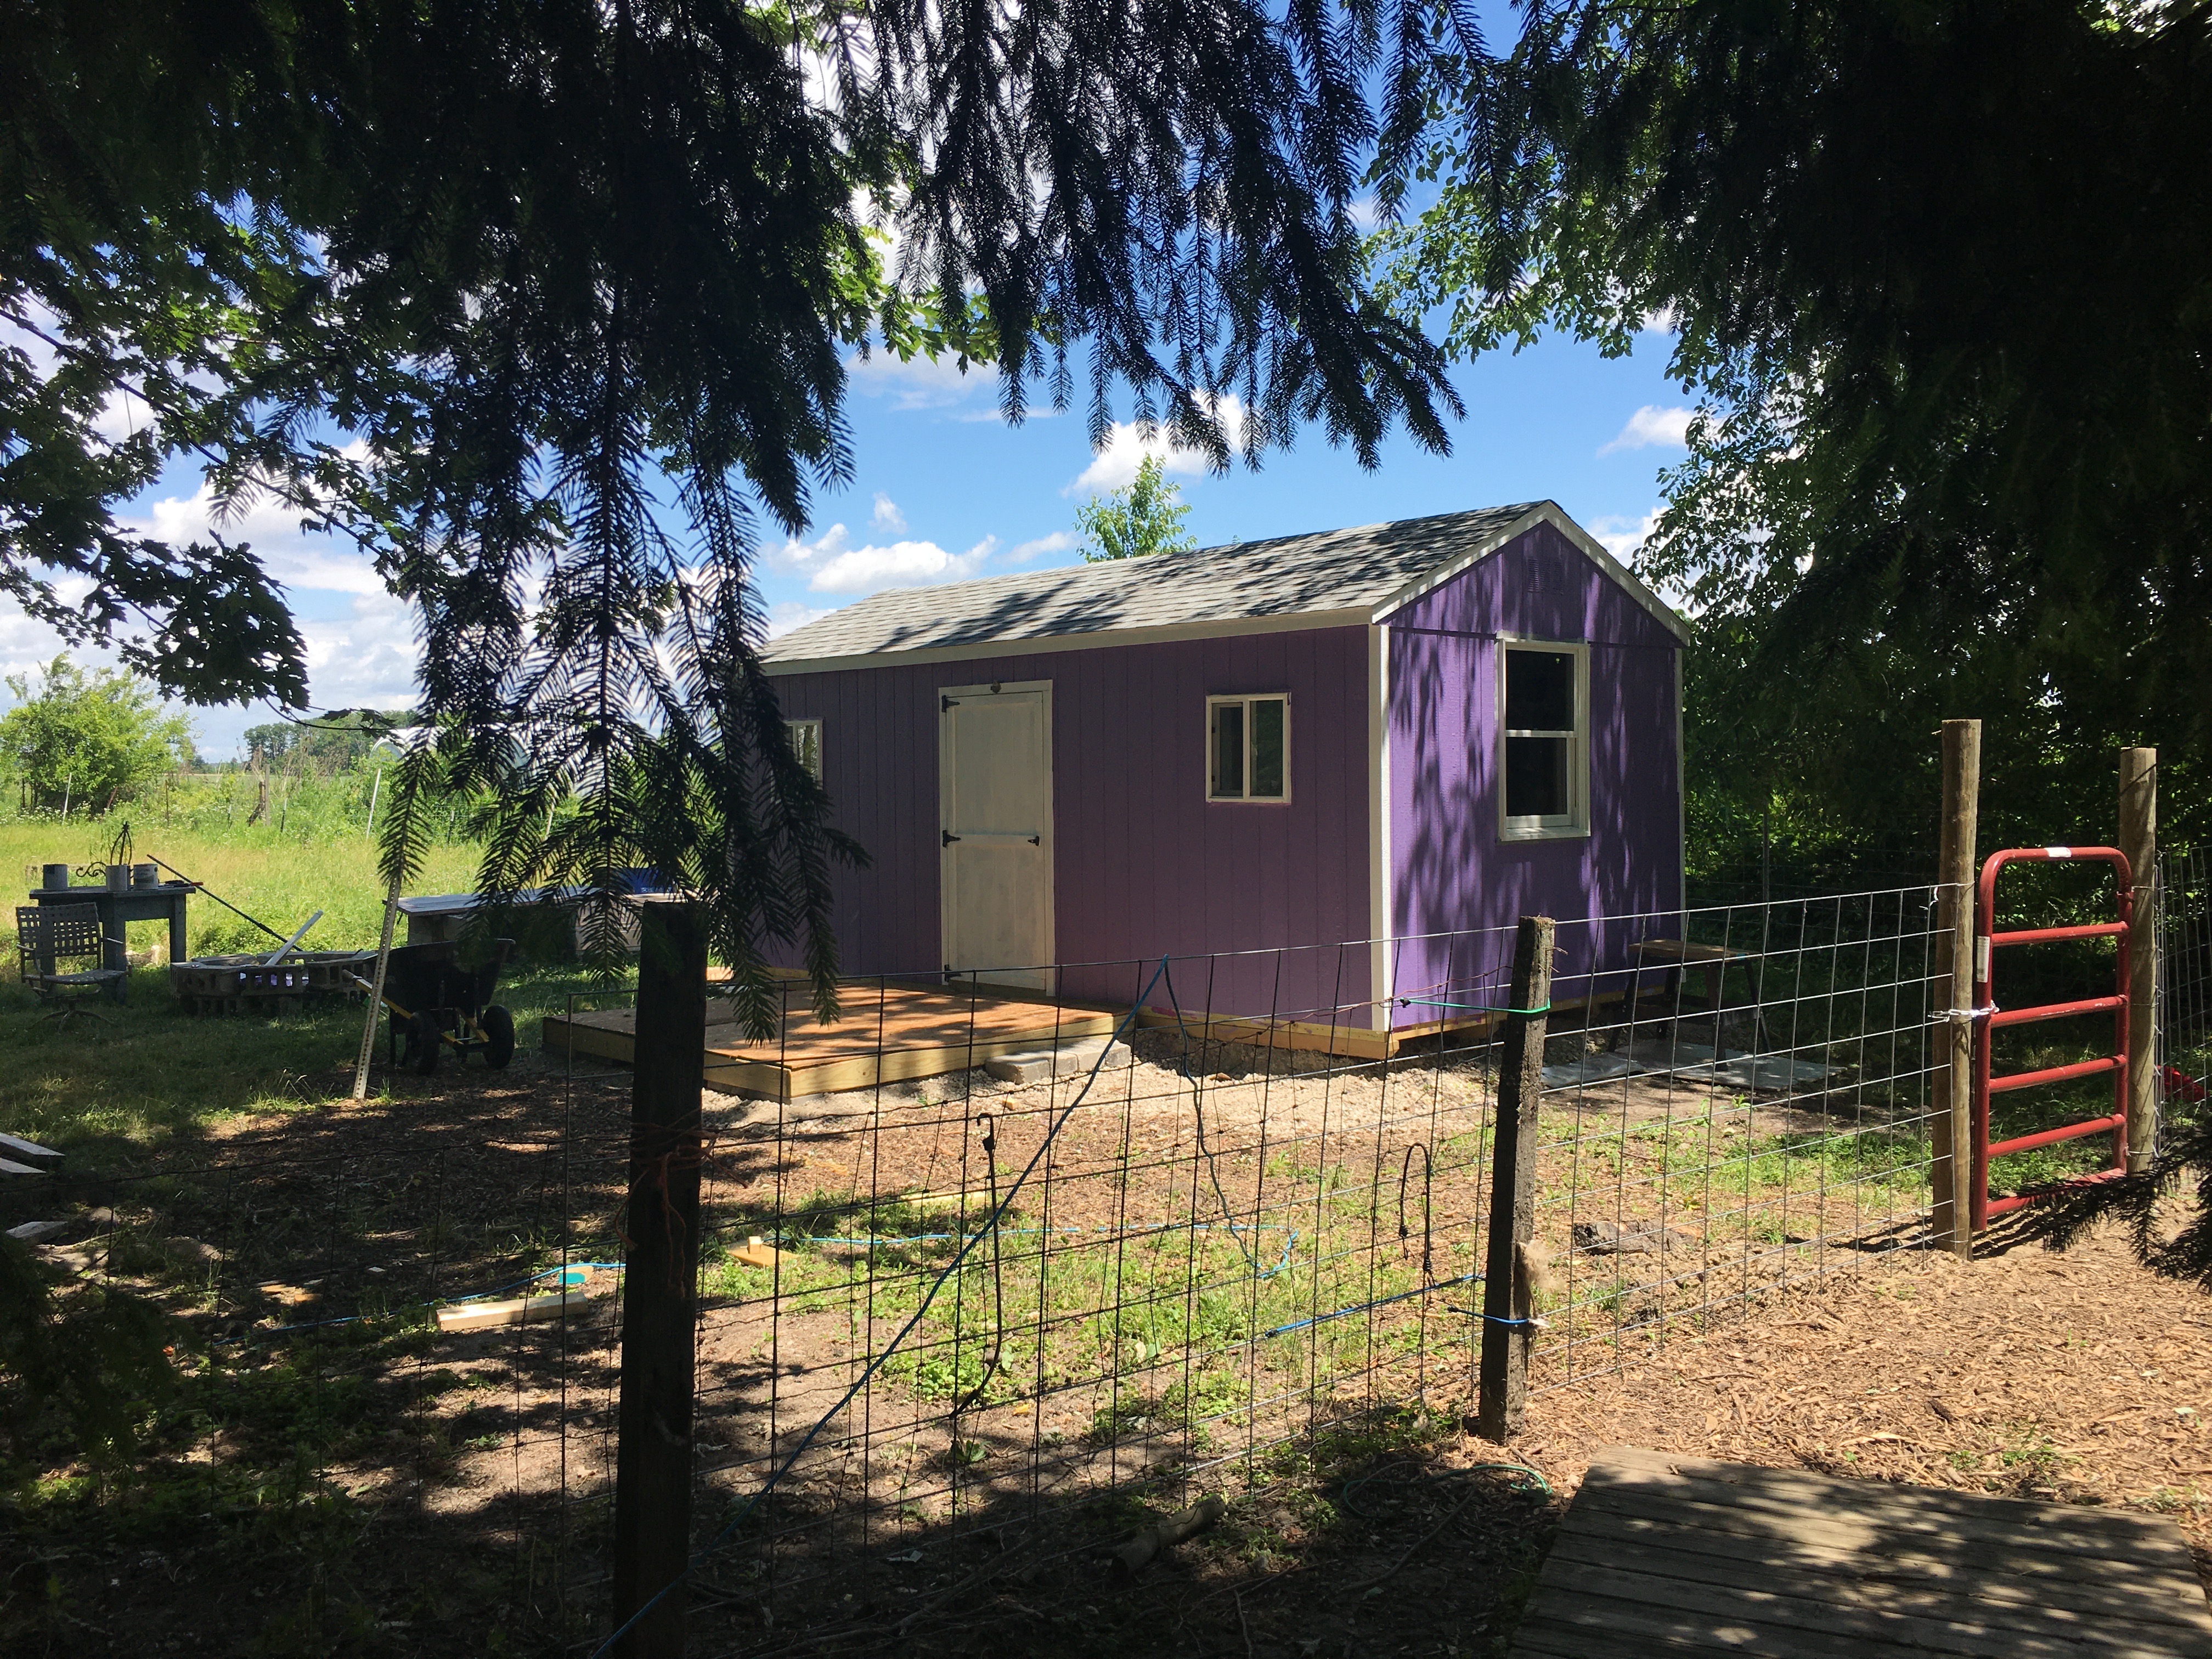
Isn’t she cute, just sitting there in the sunshine and shade? This was back in the summer of 202 when we were working to finish Willowcroft Cottage all out. It would take a couple months to get her ready to move in around September. I am very proud of the little red gate and I hope to build a little trellis around it and plant some morning glories or perhaps a pretty clematis. I think that would be very welcoming. And I’d like to add two little solar lanterns to each of the posts to light the way home.
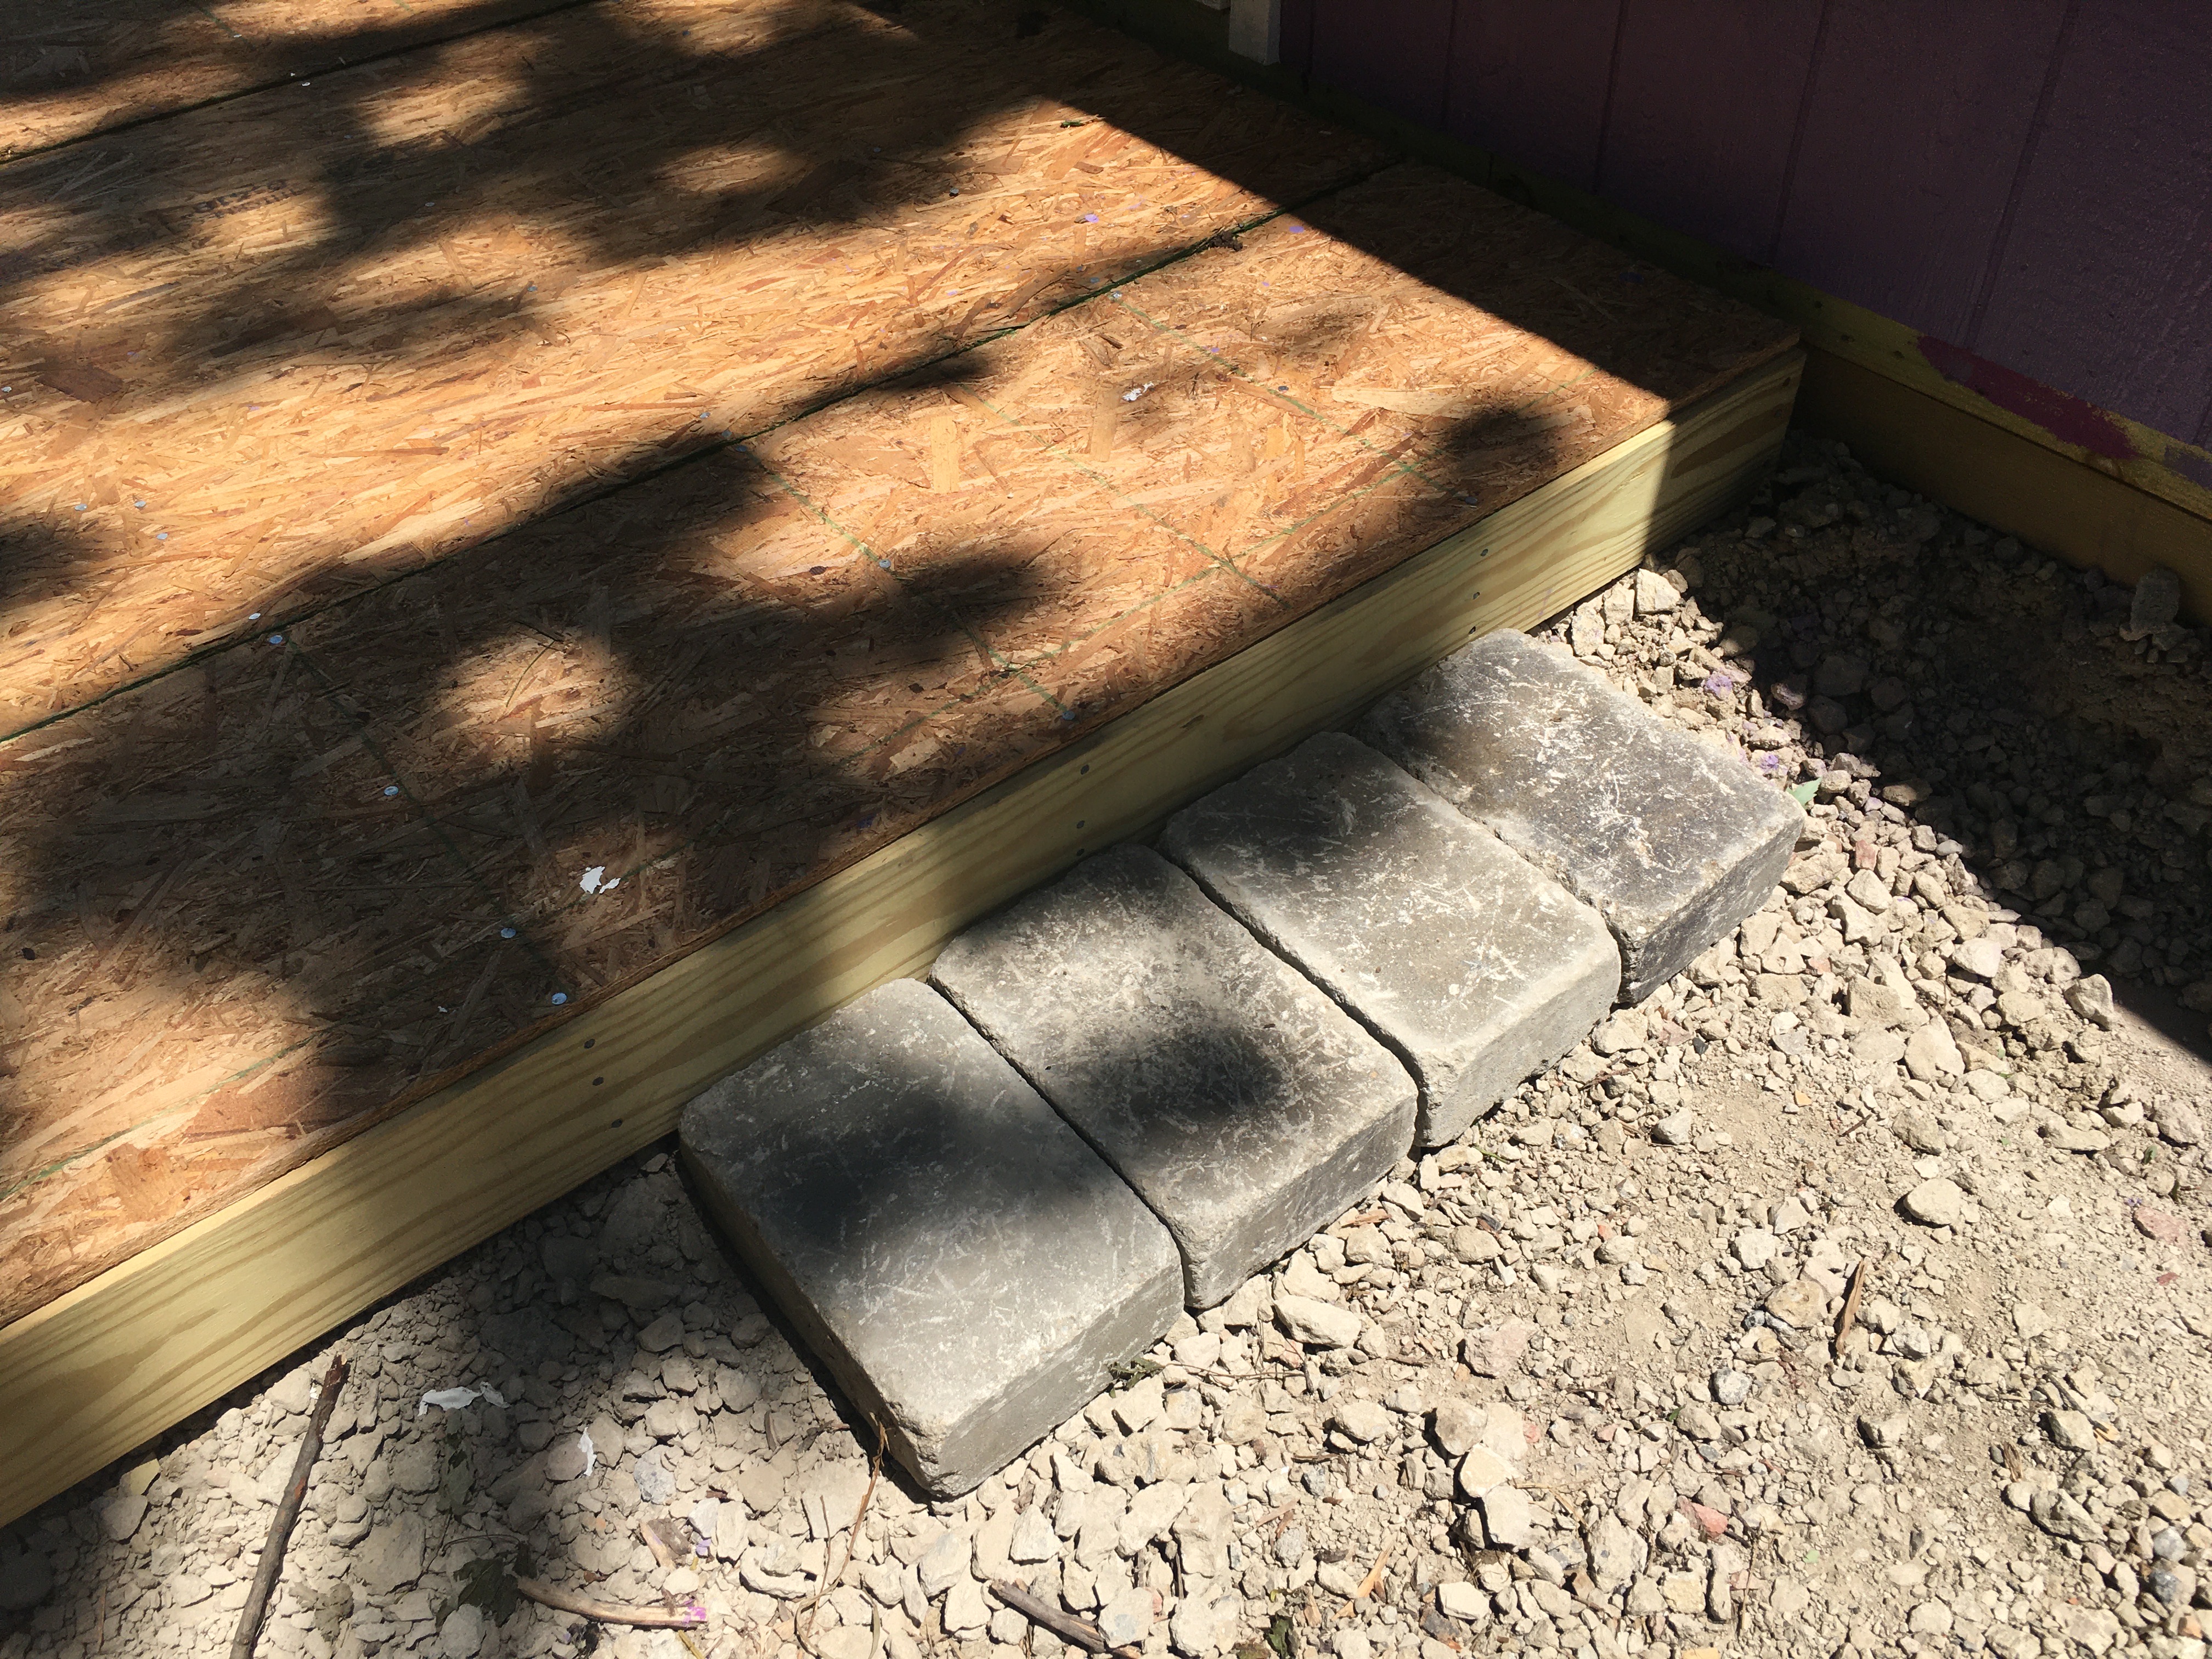
I needed just a little step up on my deck, someday to become a porch. These lovely stones were found at Lowes. They are prefect and I love how they look old. I believe that I will be getting a few more to perhaps edge a few little planting areas or just make the steps longer. 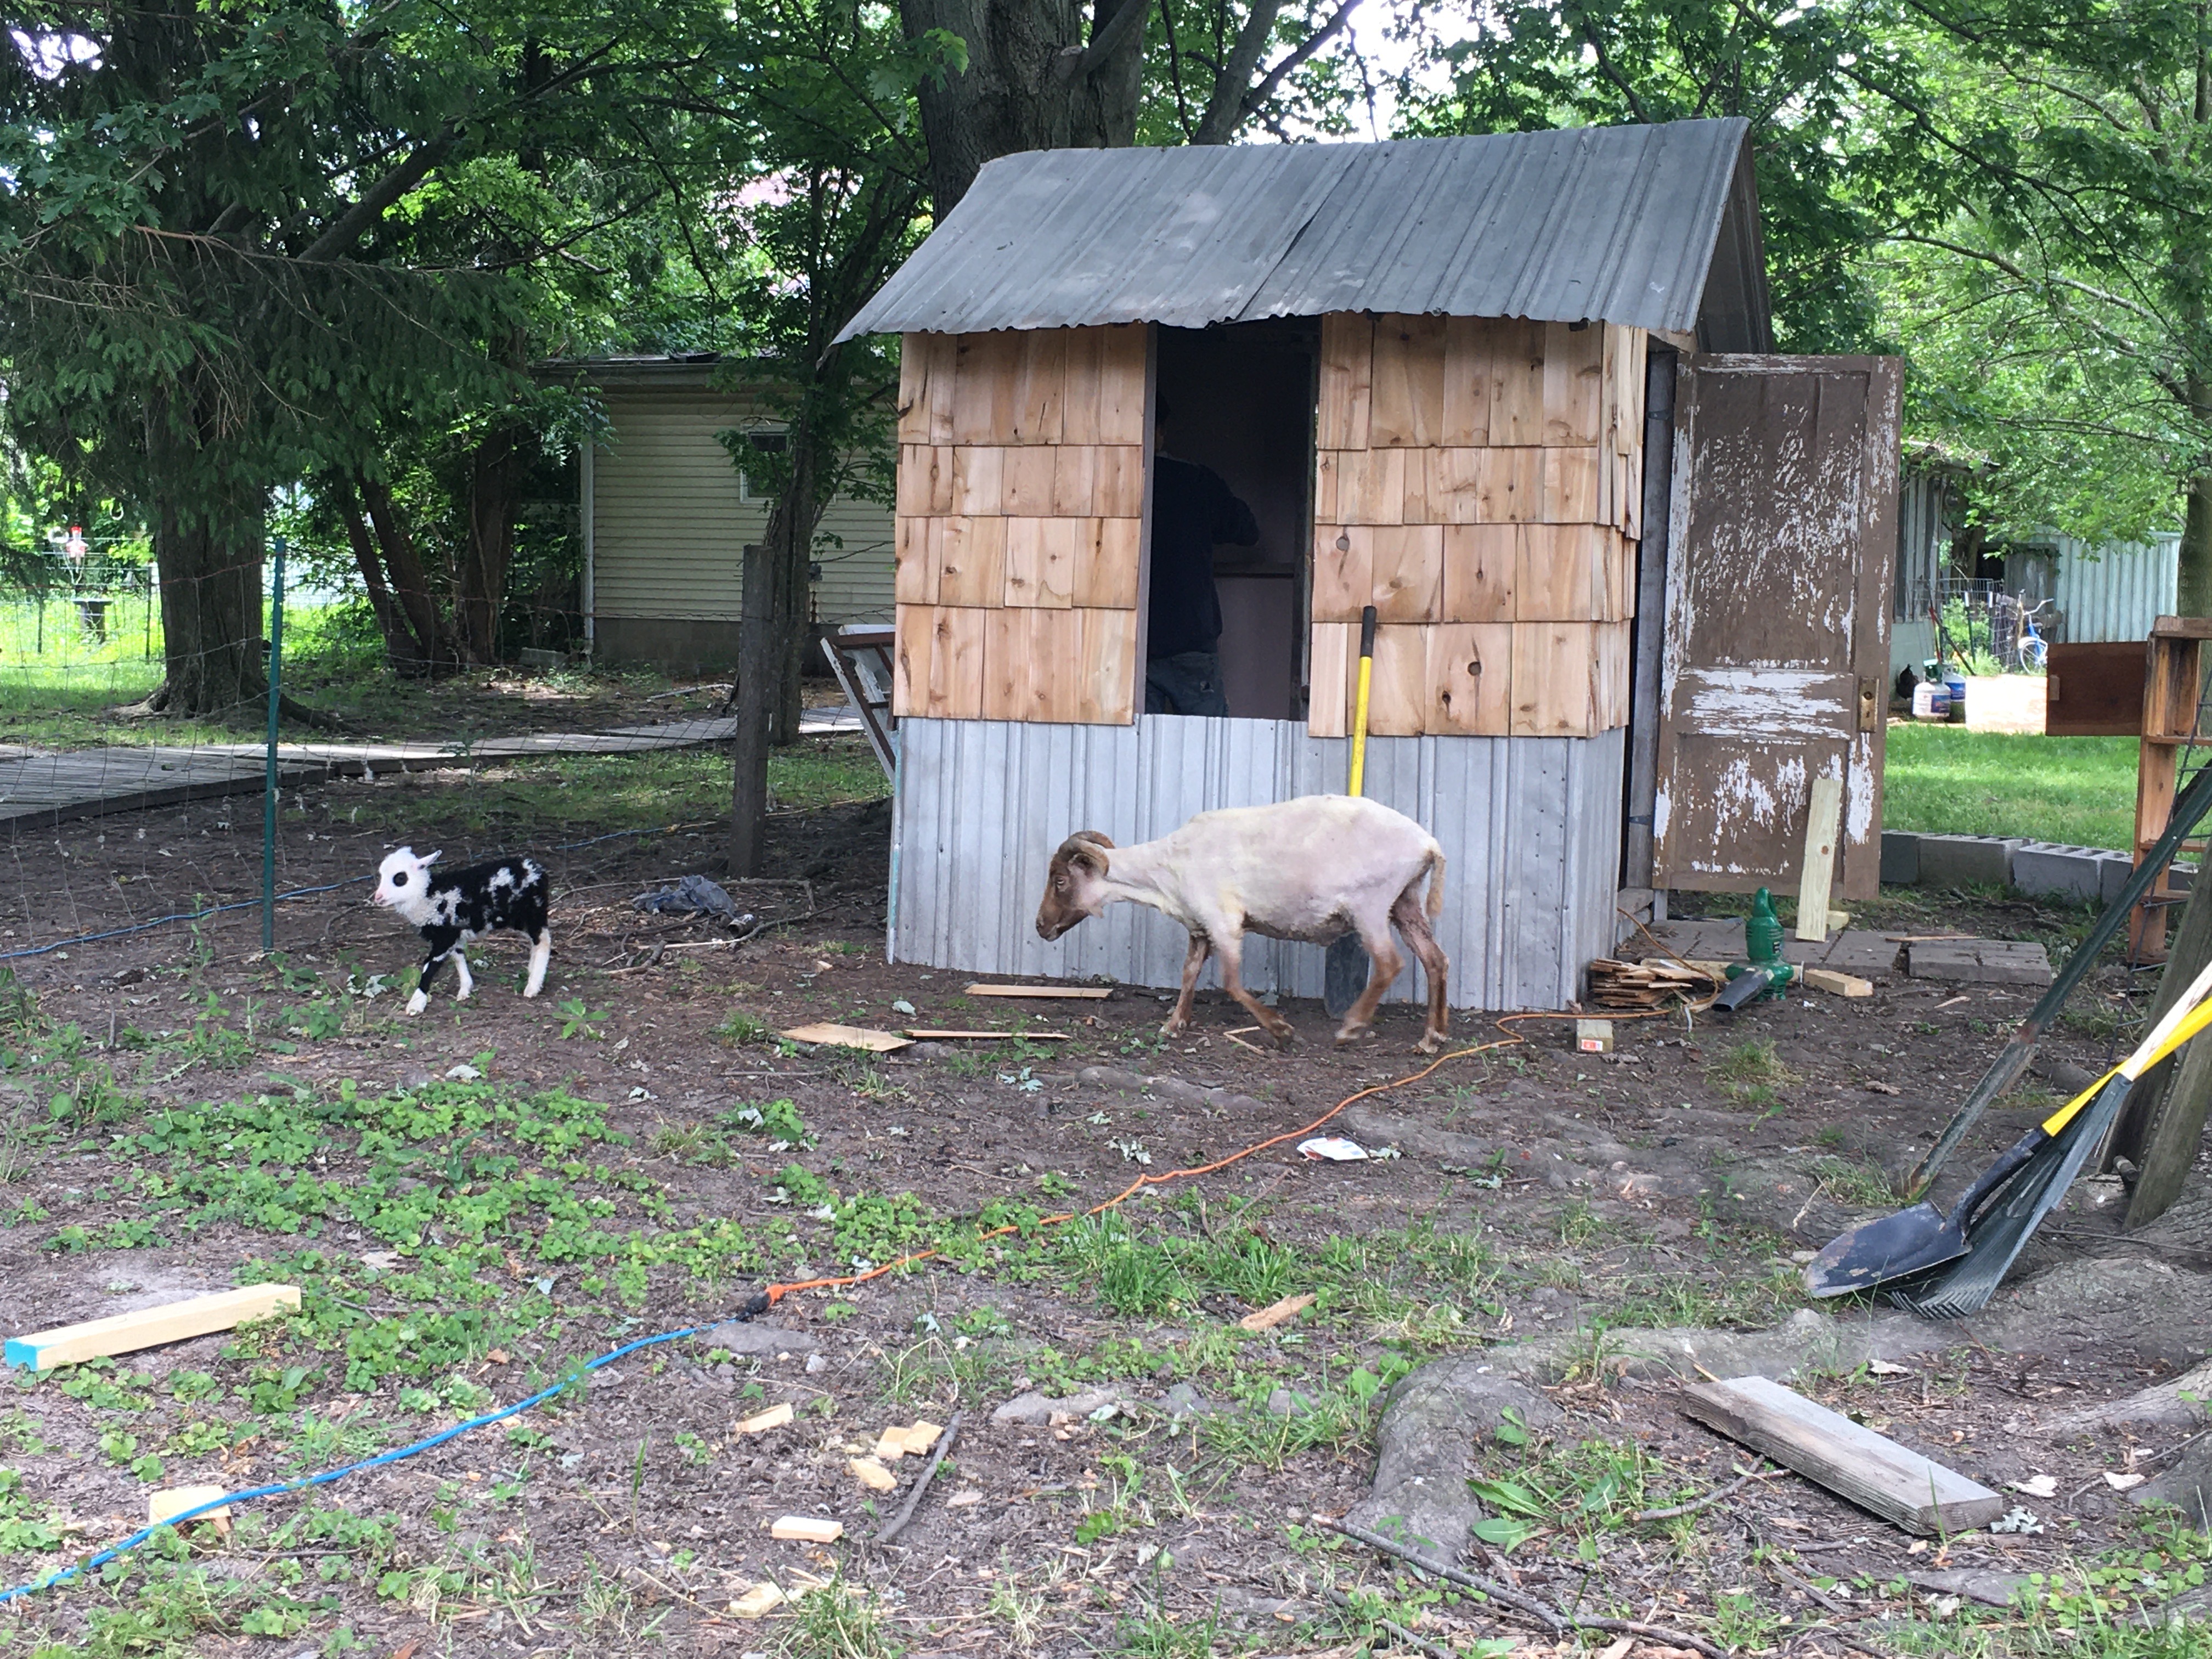
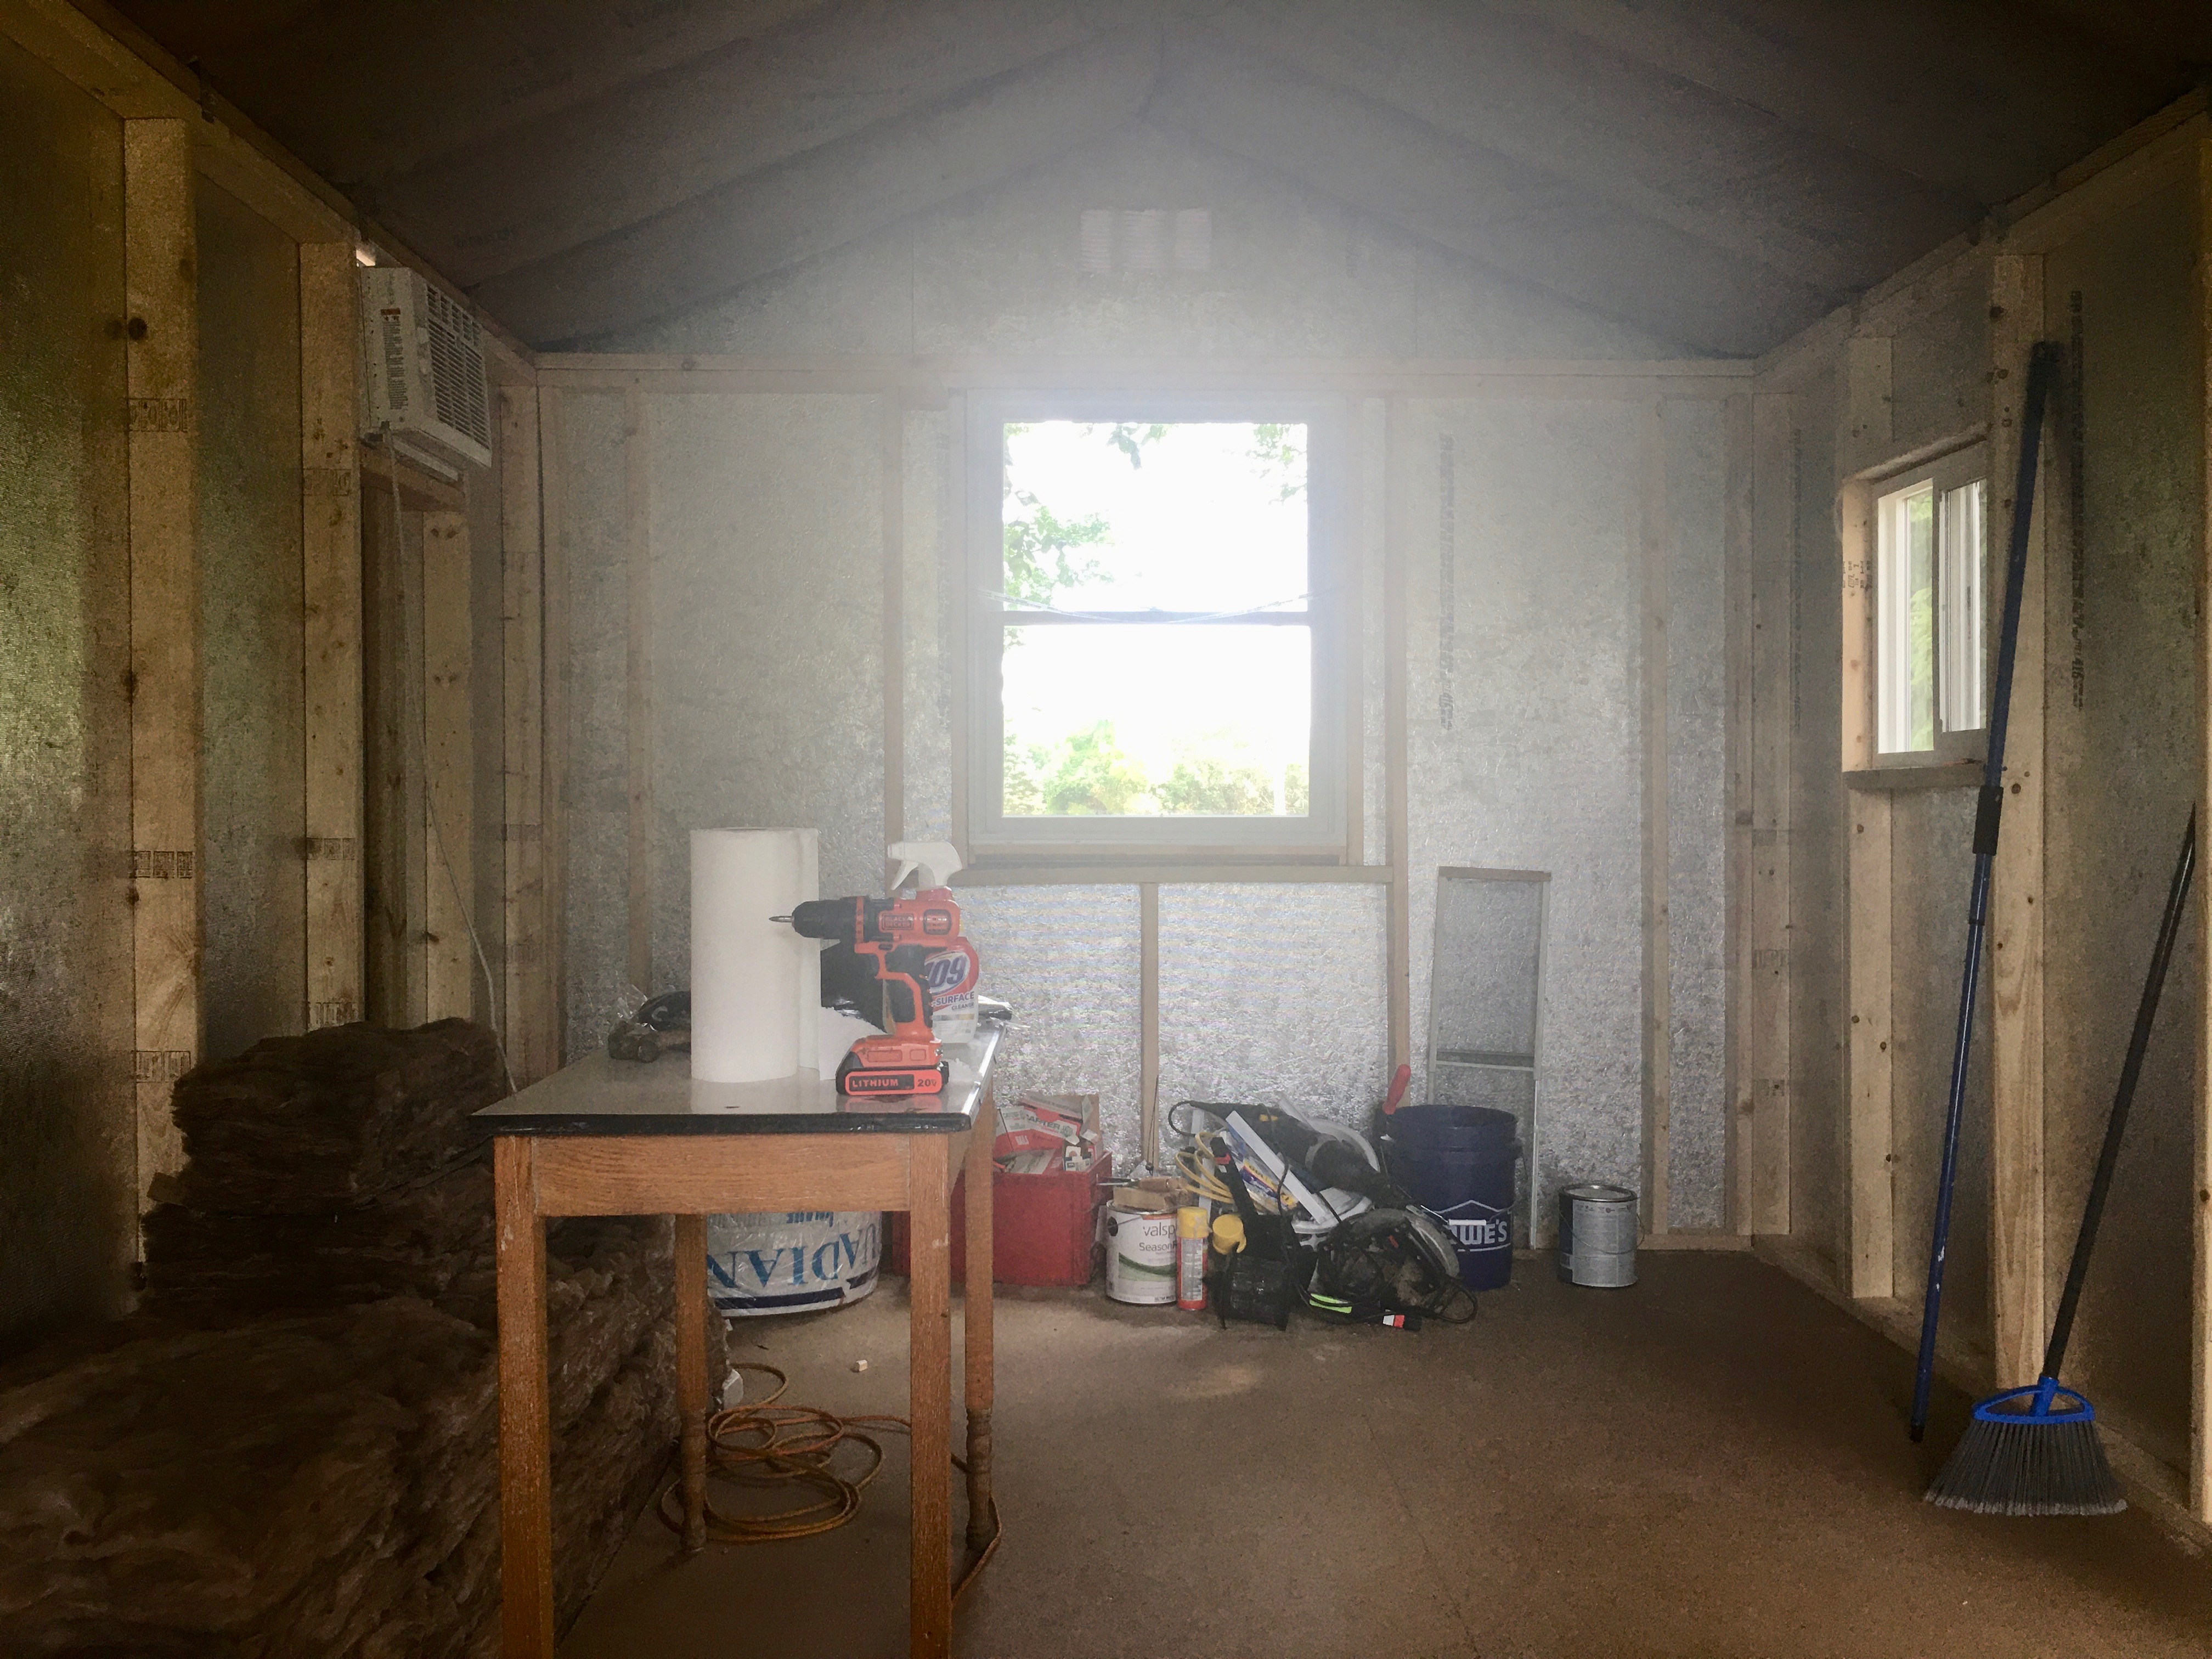
The Chicken Coop is coming along. I wish that I could have it done in time for move in, but it’s not a high priority. To be honest, it will probably wait until this springtime. I really didn’t want to try and get my cottage all nice in the fall and winter and then add chicken keeping to the mix as well. Once spring gets here, I can have the run built and then we can install a handful of lovely hens to entertain and provide some fresh eggs and amusement! 
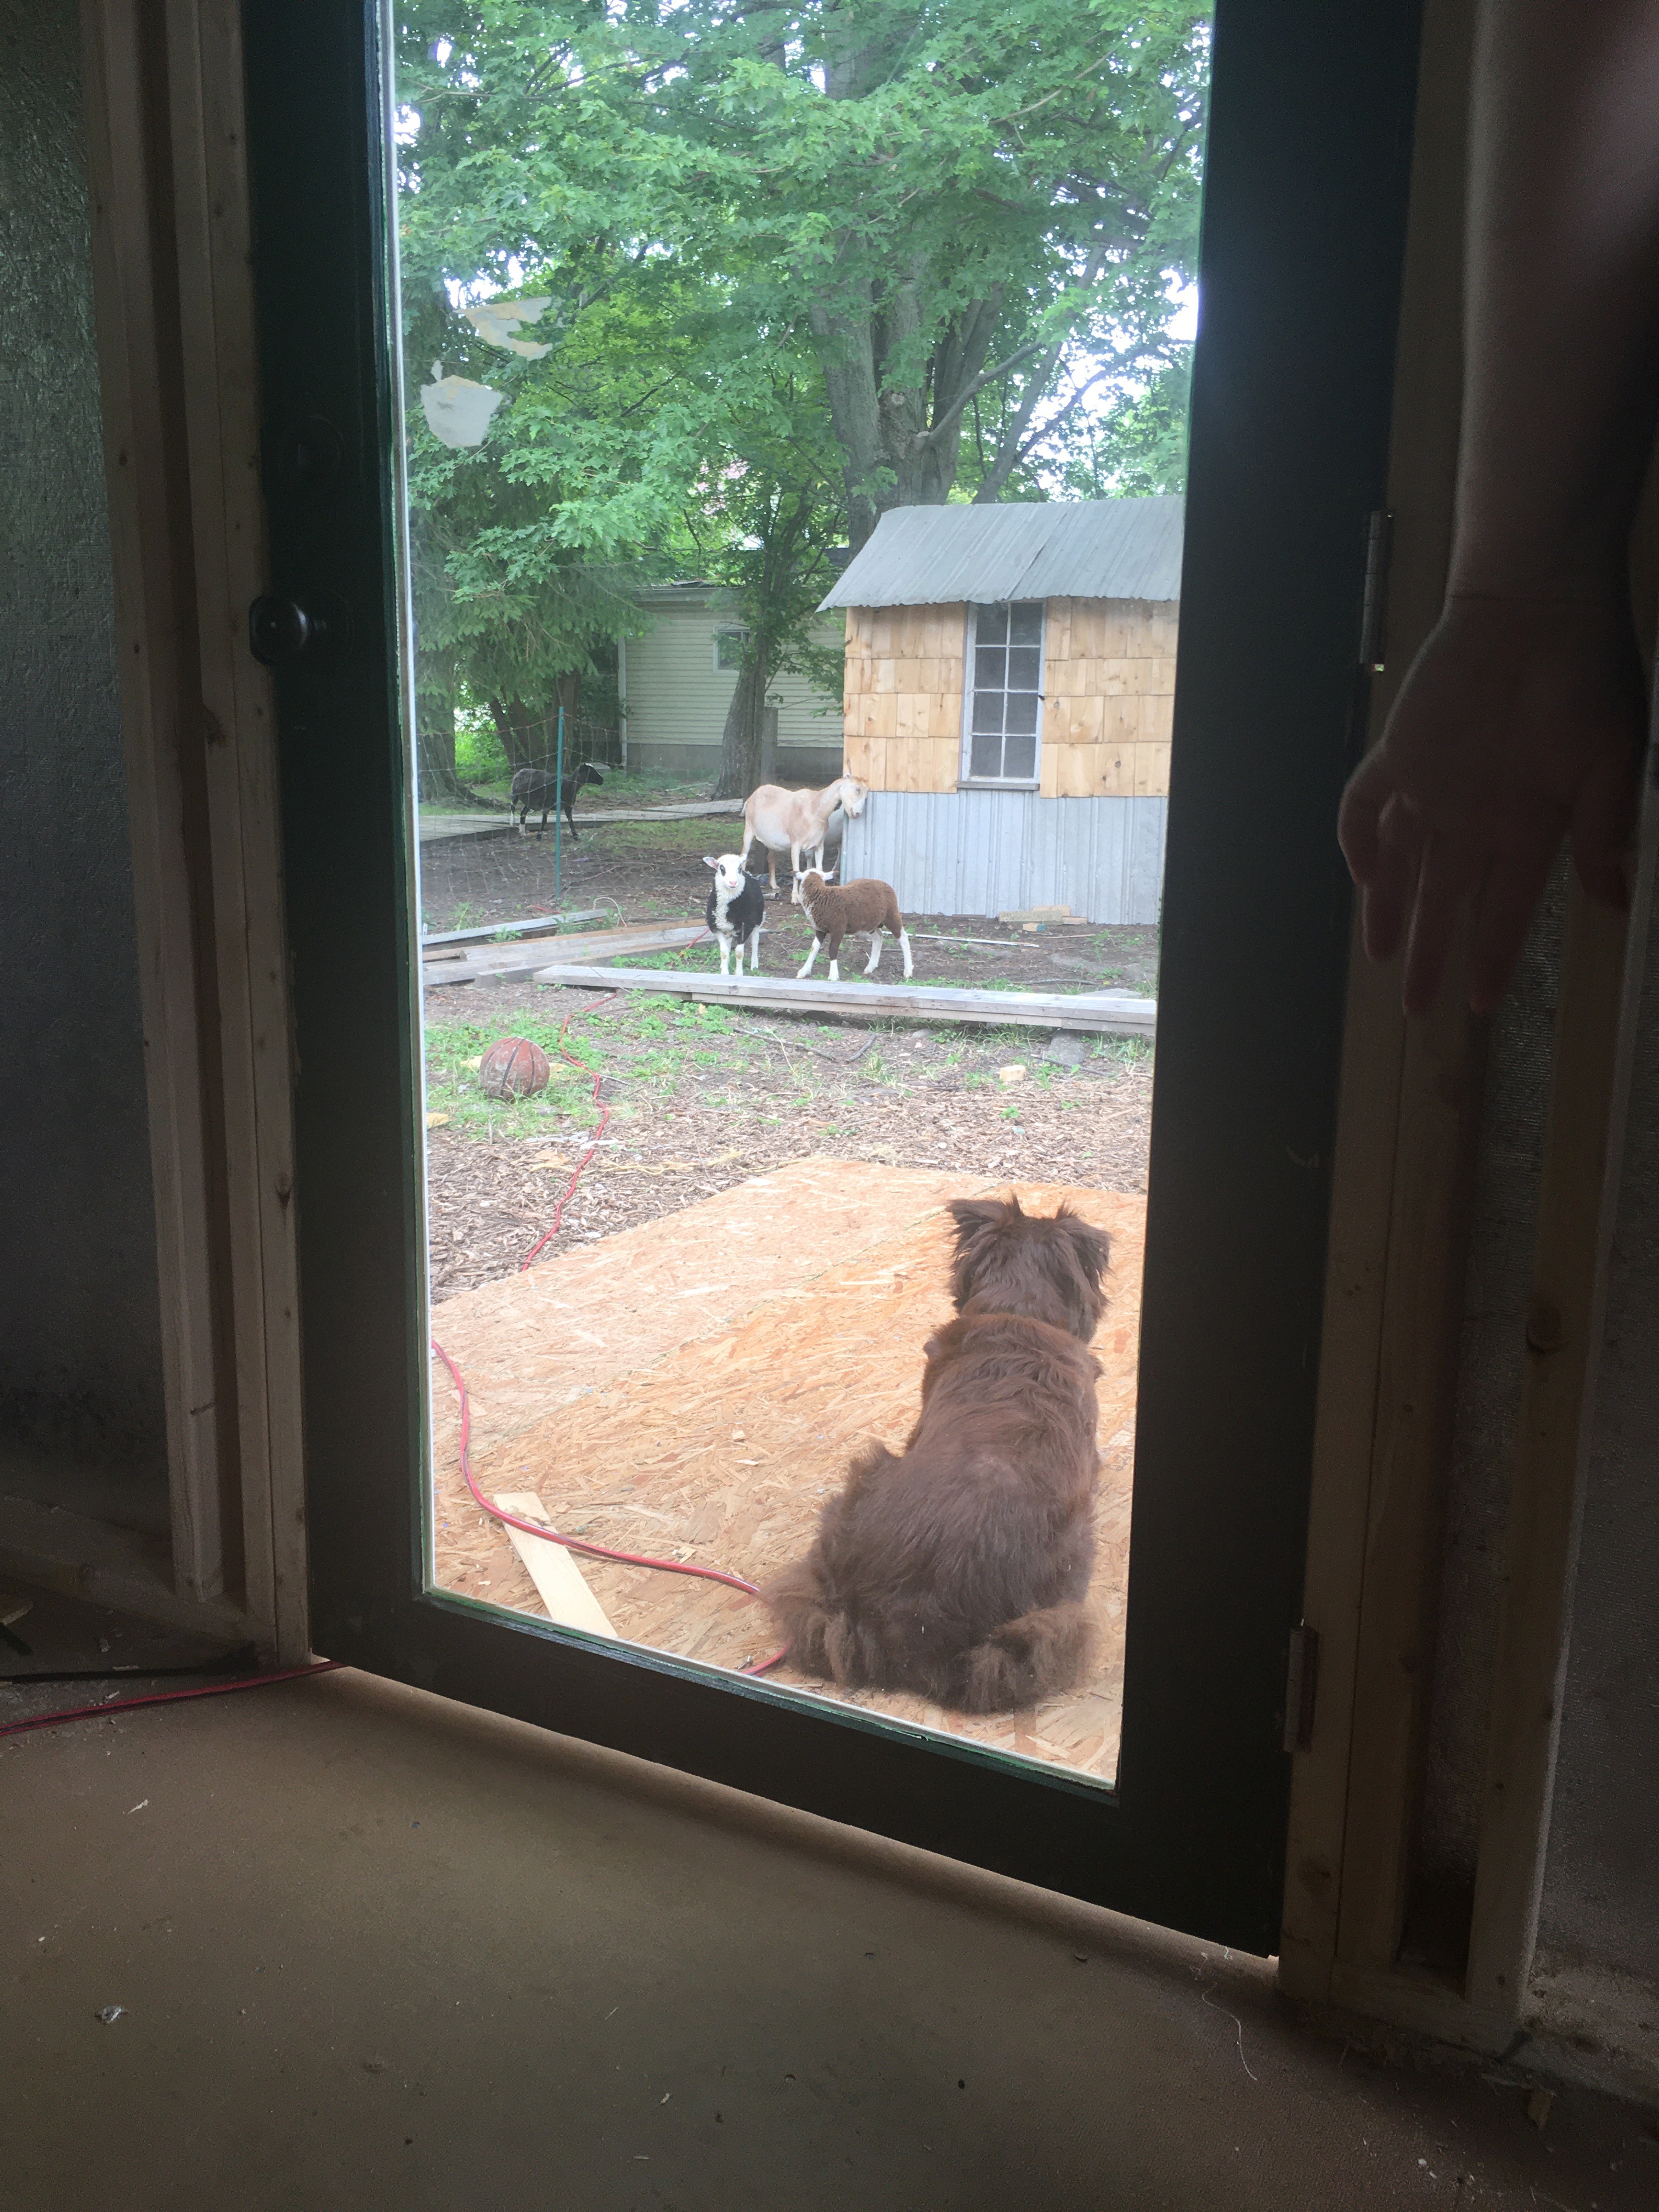
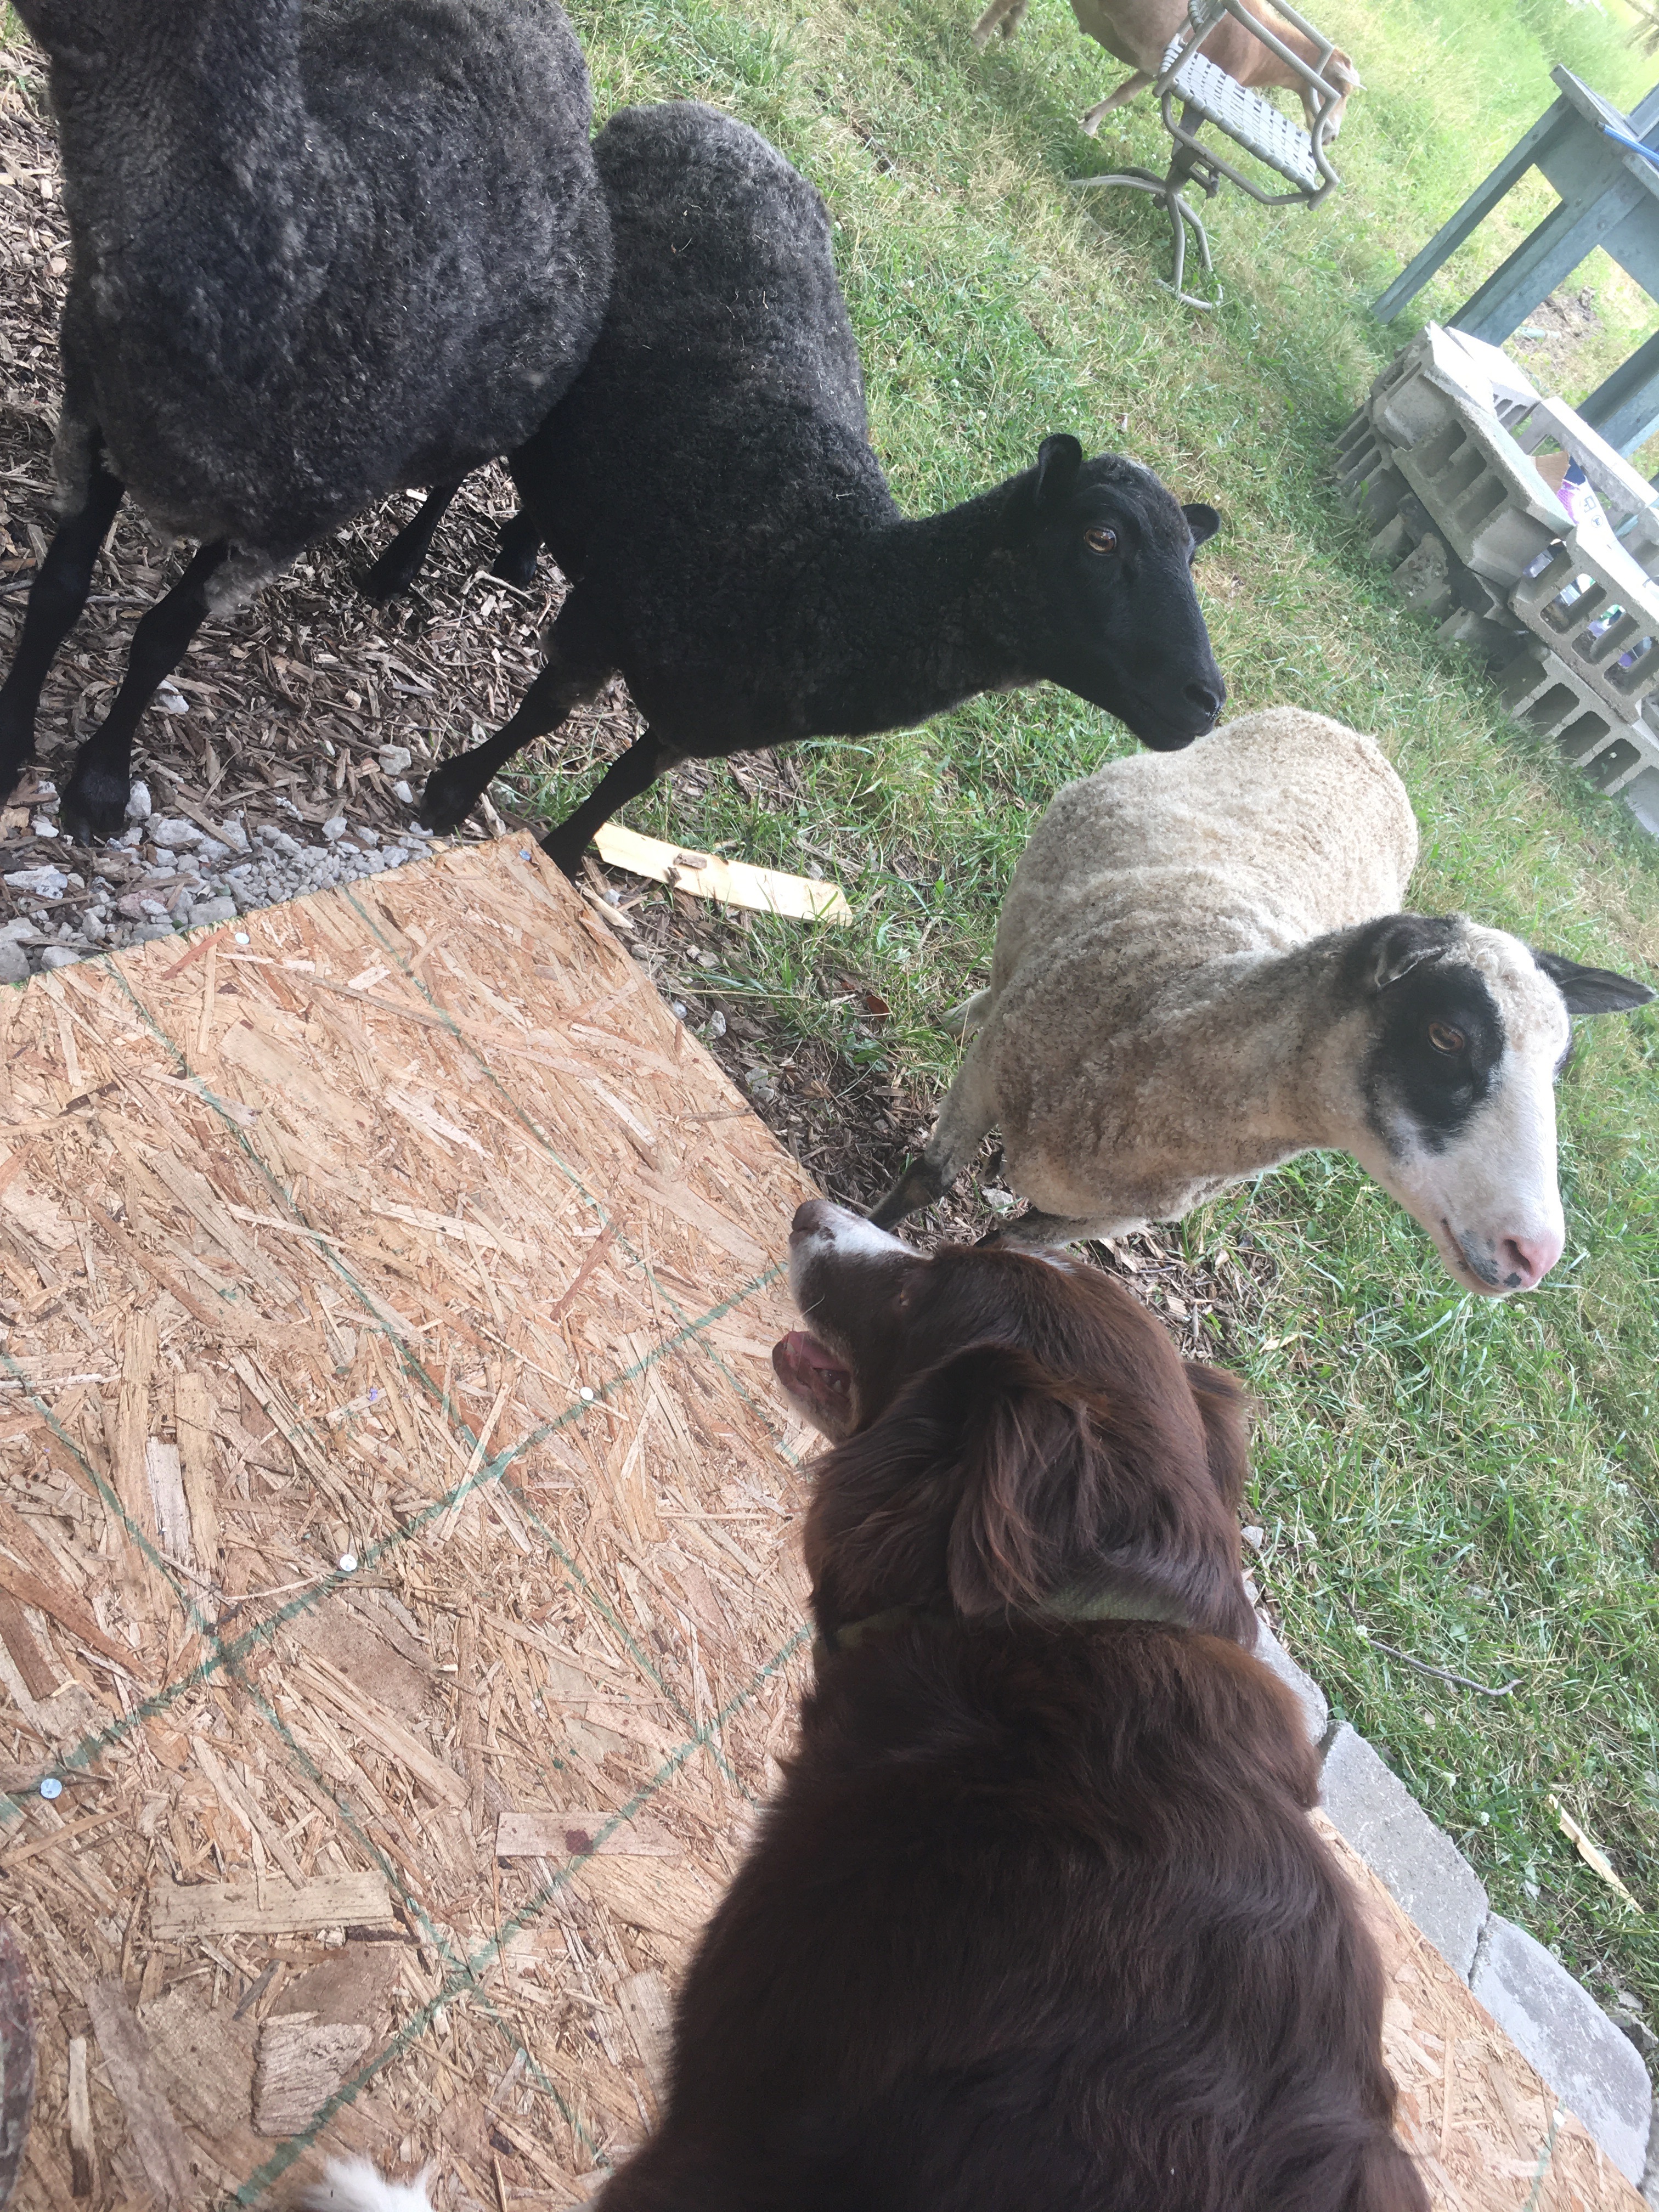
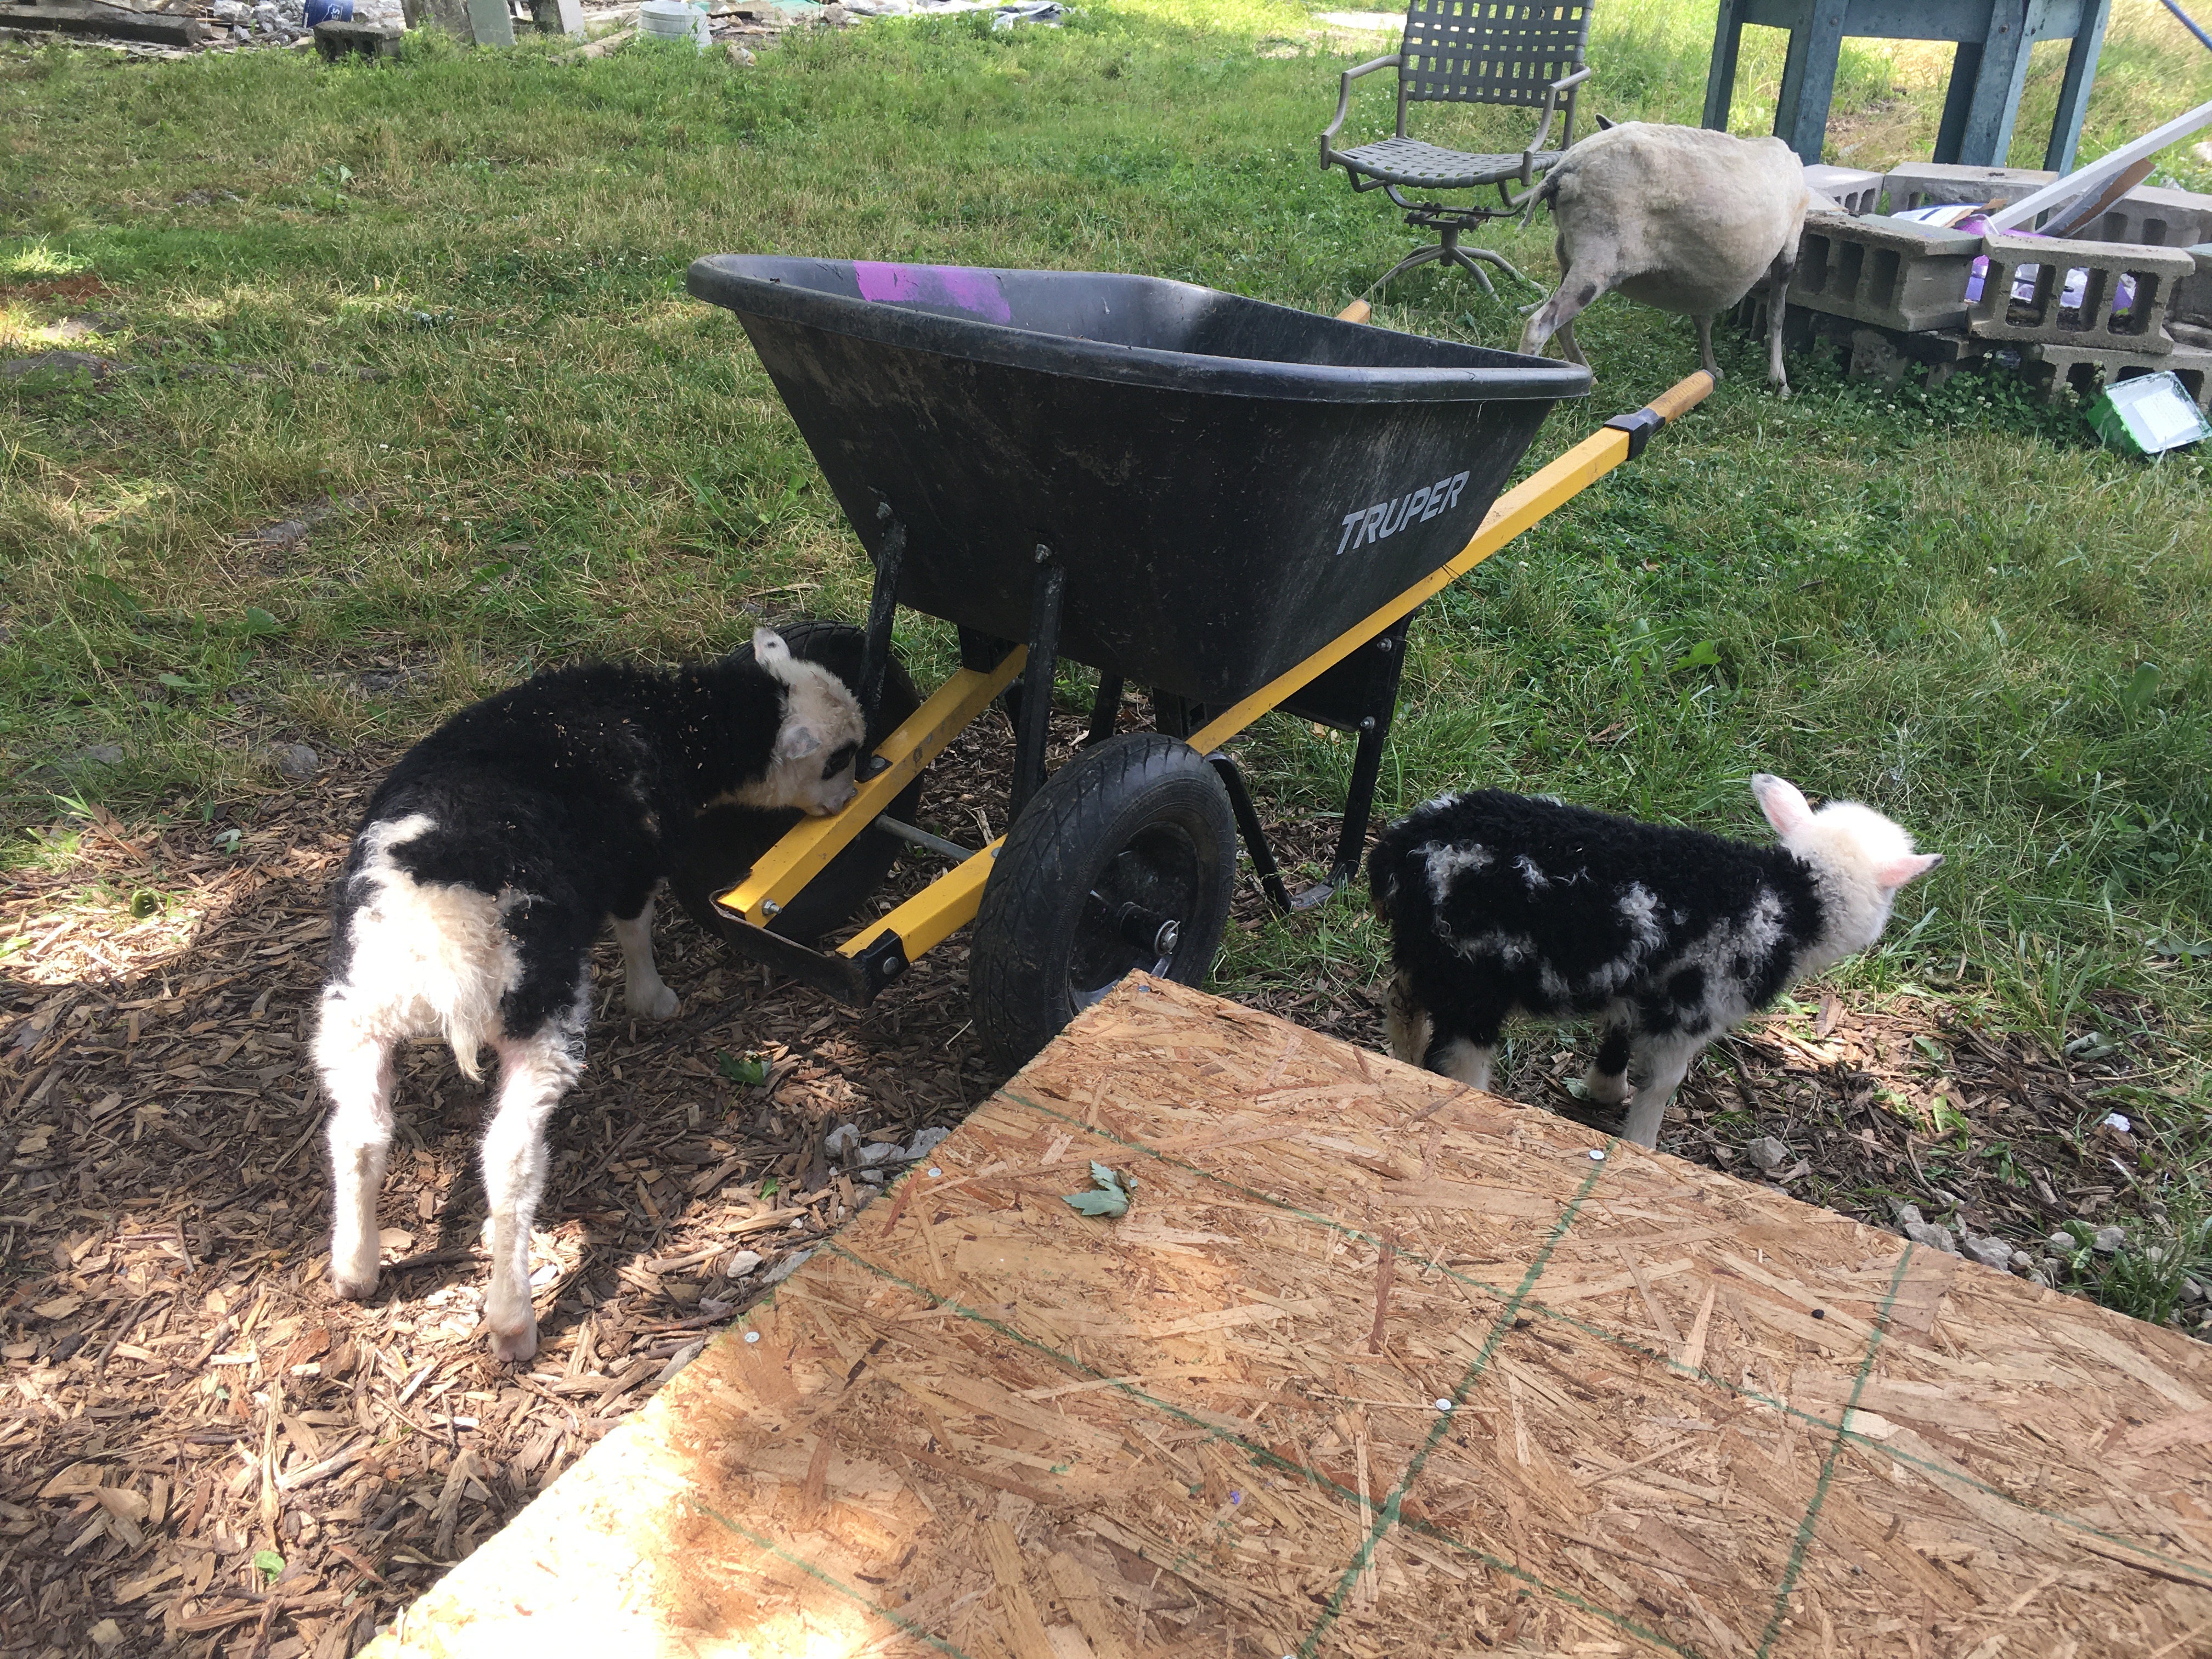
The little lambs were very interested in all the goings on at the cottage. One thing I just can’t wait for is to enjoy all the livestock in the spring and summer months. I will have a little fence around some of the areas that I want to protect but there will be lots of nice grazing spaces very near to my cottage. It will be nice.

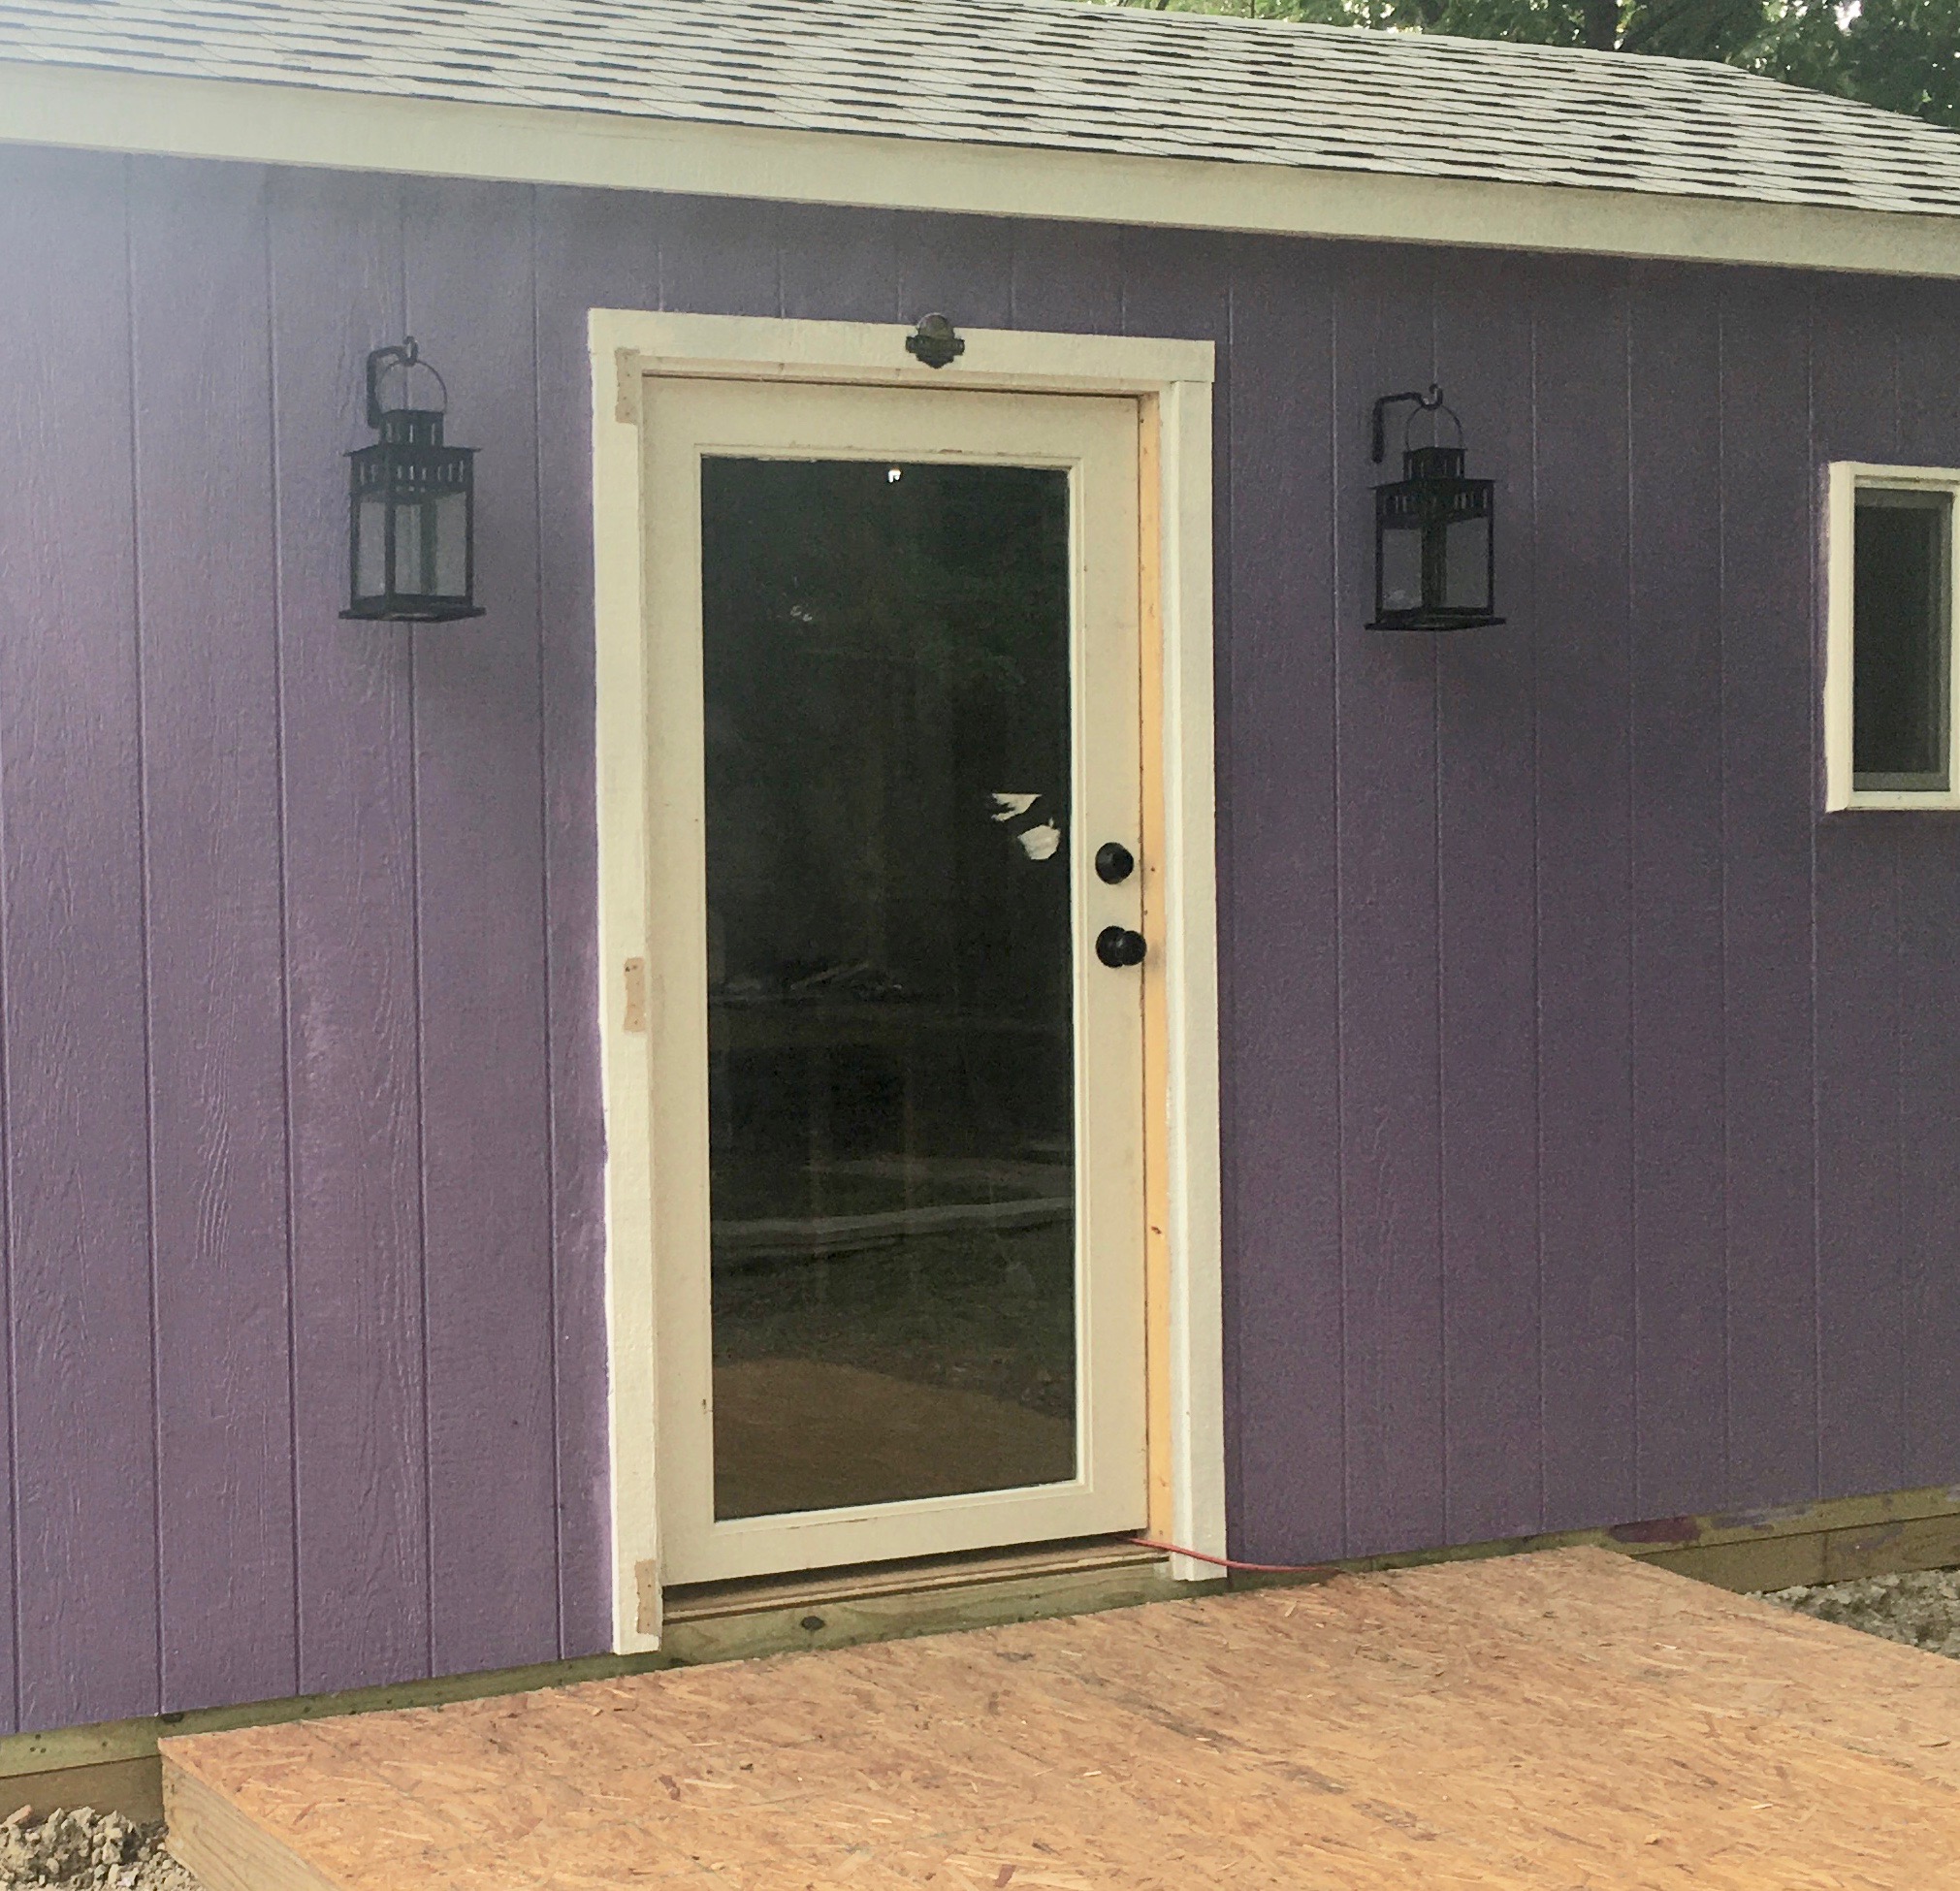
Love the look of the color finally! It’s lovely in the spring and summer but it is a little too purple in the winter now. I might consider a slightly different color but right now, it’s fine. I can’t wait to just keep working on making her cuter and lovely as I go!
Pin It