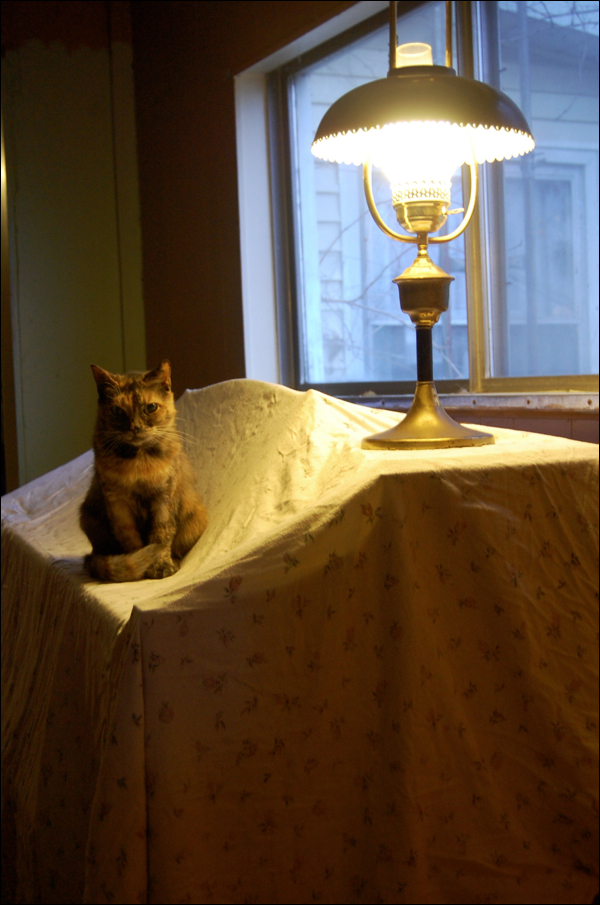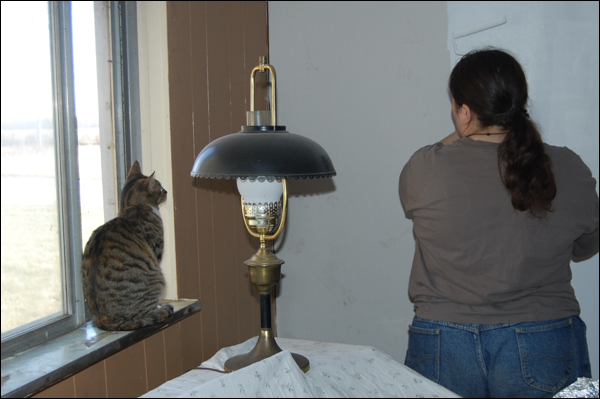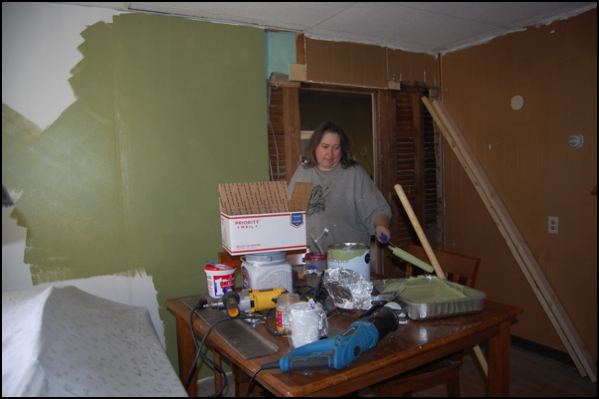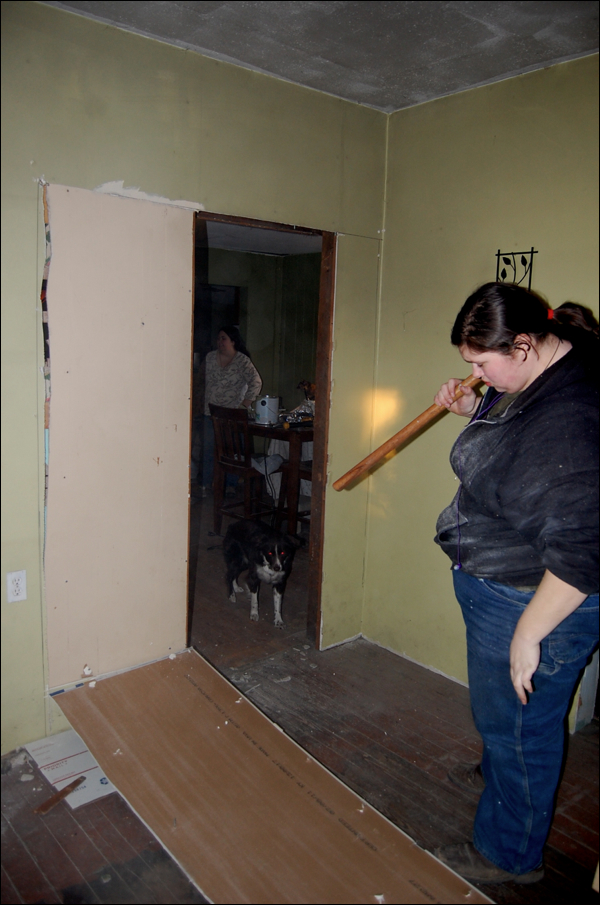
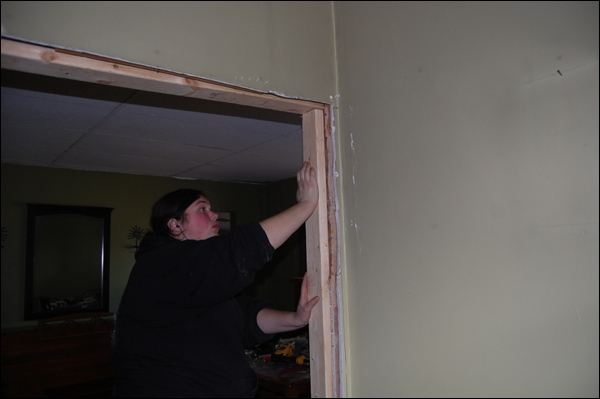
The renovations continue! I love this picture of Maggie… she looks like she’s thinking… Did I do that? And she has a sledgehammer on her shoulder! Haha, do I have tough daughters or what?
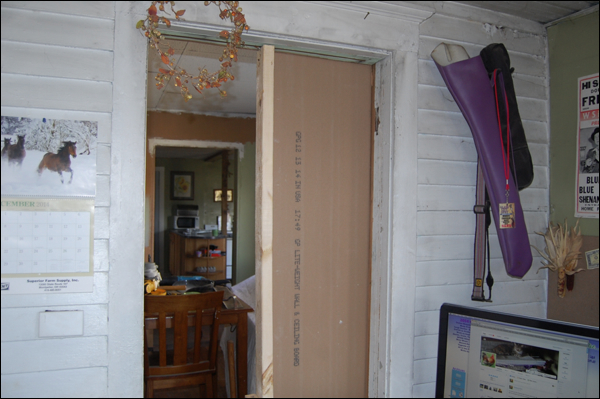
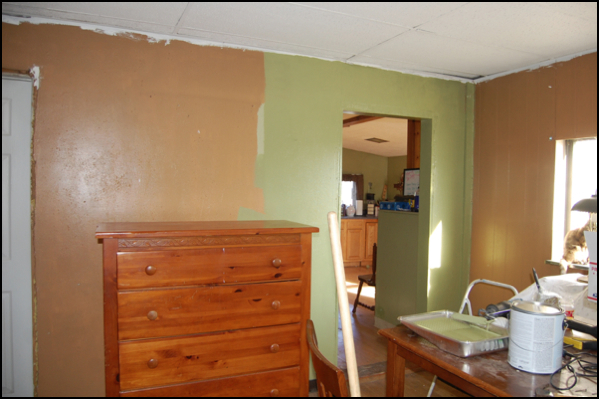
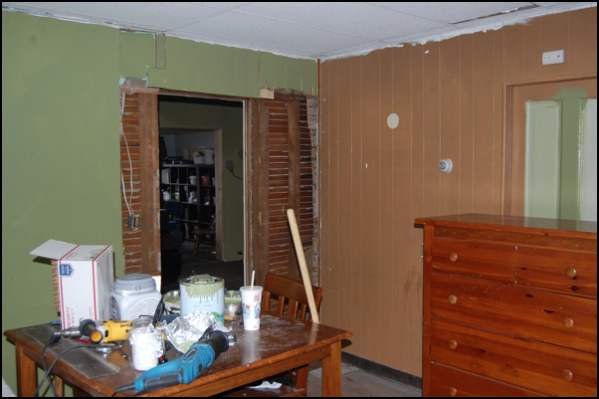
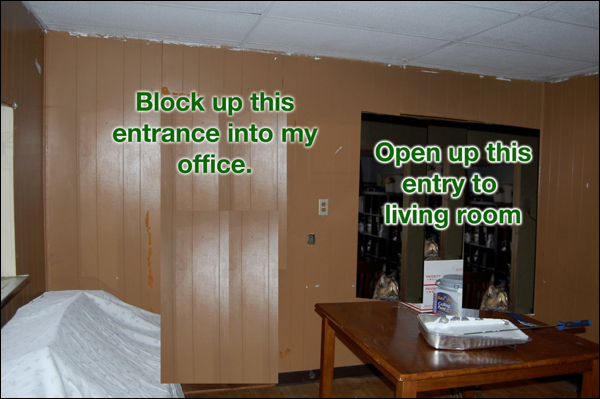
We started on day five with a goal to get the opening… open! Most of the room on the inside was painted and done, but we just didn’t have the time the day before to really get into the hard work of taking down the old wall.
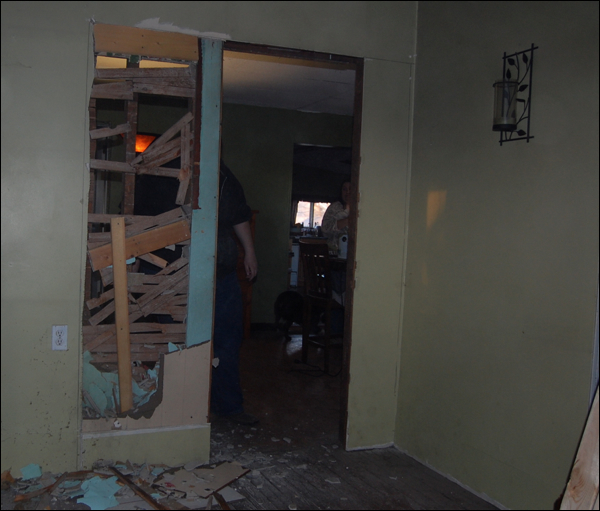
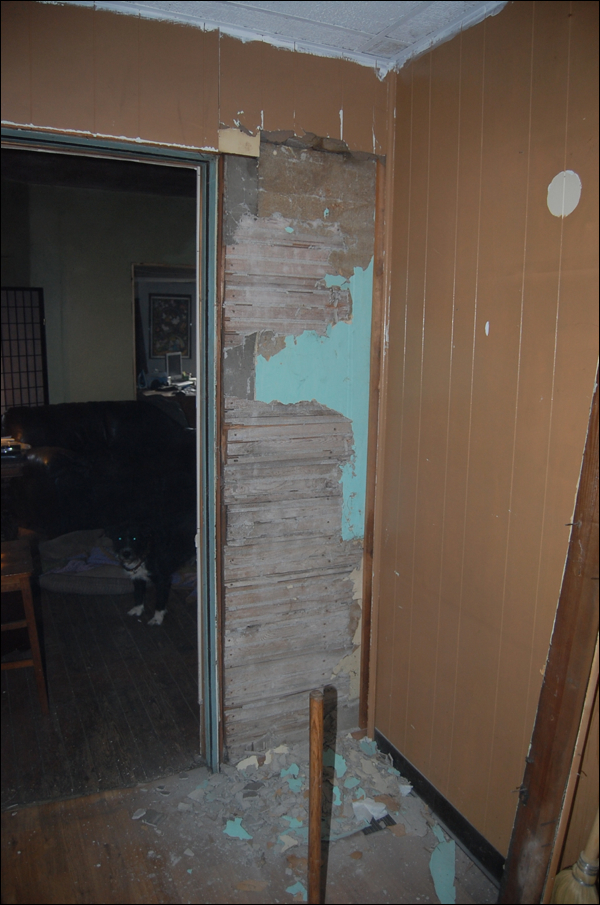
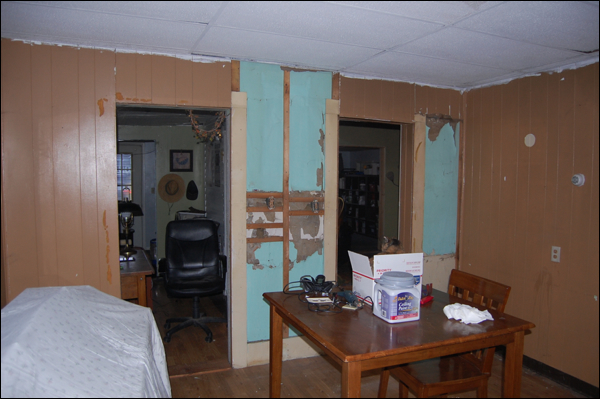
Once we had a new blade in the reciprocating saw, it was much easier to cut through the old plaster and lath wallling. Messy but easier! We just love our new saw. We actually got it at Menards for only $19! A Christmas sale price. Sure, it’s nothing special but it sure works great and for that price, heck, it’s amazing. We had debated for a long time… reciprocating saw or chainsaw… we needed something that we could cut through things, like walls and also cut up fairly good sized branches that fell outside… not really logs, but good sized ones… I’m glad we settled on the reciprocating one. It’s perfect and our speed. Chainsaws are a little scary.
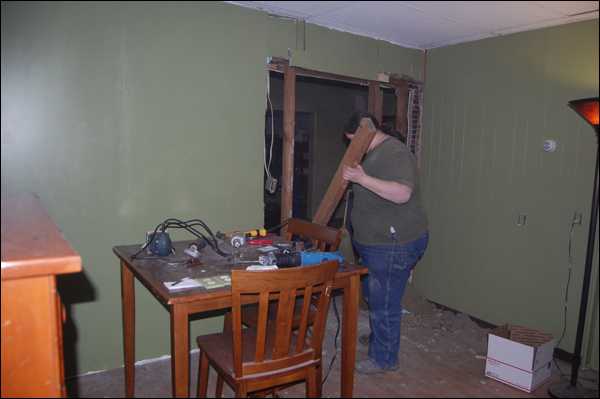
Cutting out the door frame…
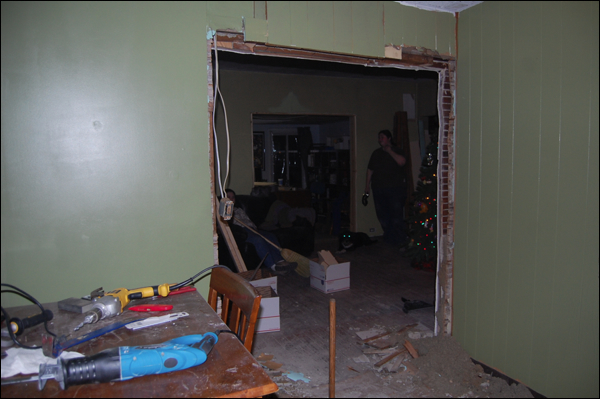
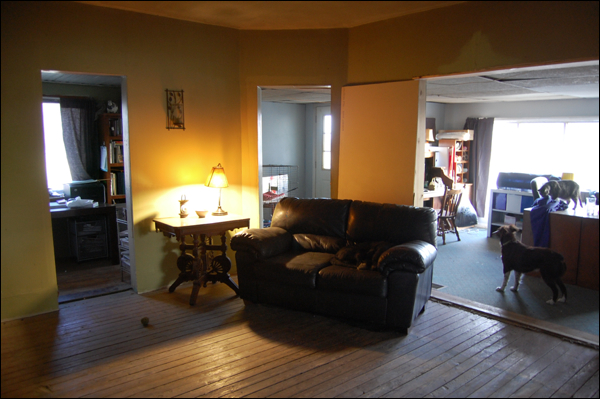
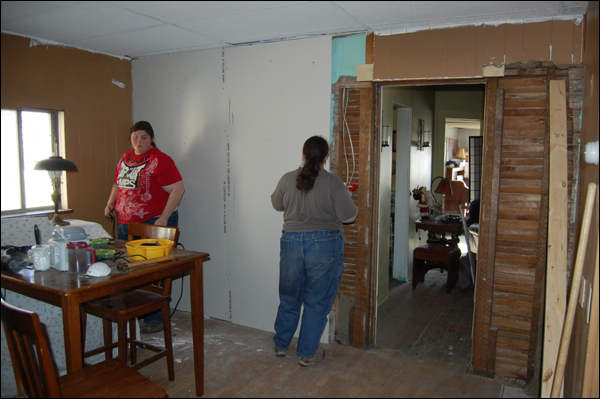
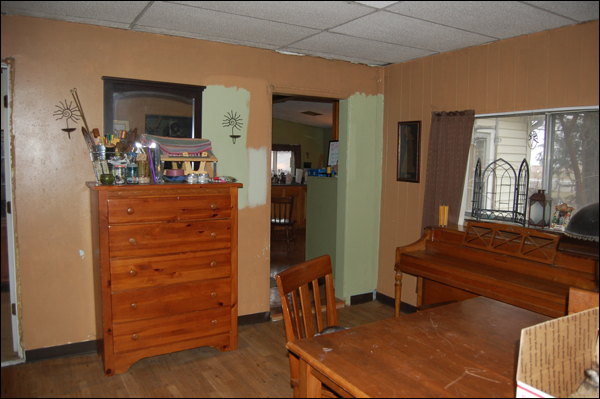
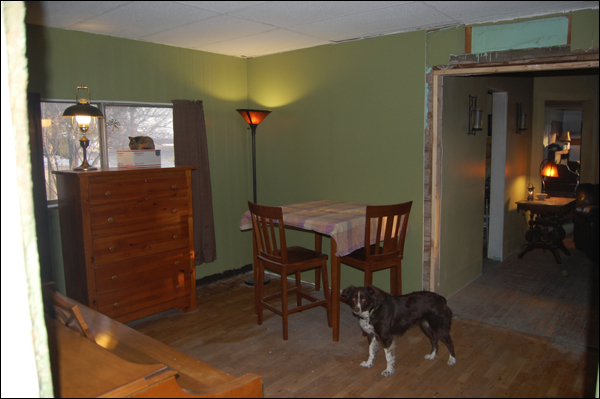
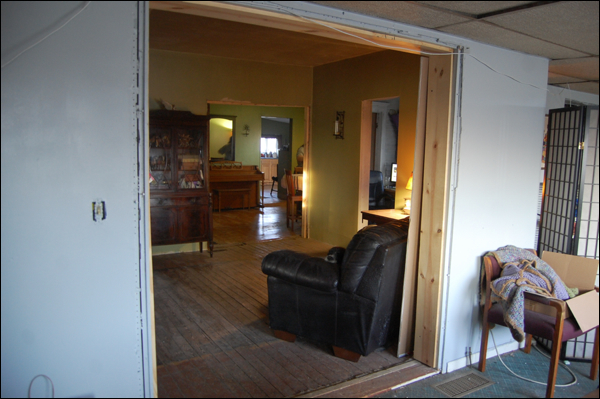
And done!! Yahoo! It’s so huge looking! It really, really, really helps that whole area. It should let in more light and it just makes the two rooms feel a little more connected and modern.

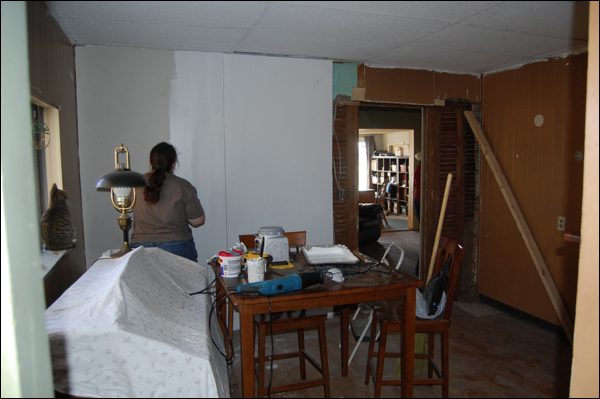
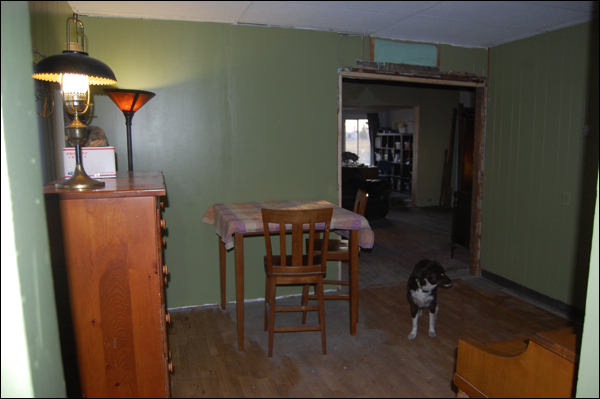
Love the new reclaimed space in the dining room… without that doorway there, to my office, it makes it more of a corner space that is more comfortable and useable! Can’t wait to get it all cleaned up and nice looking!
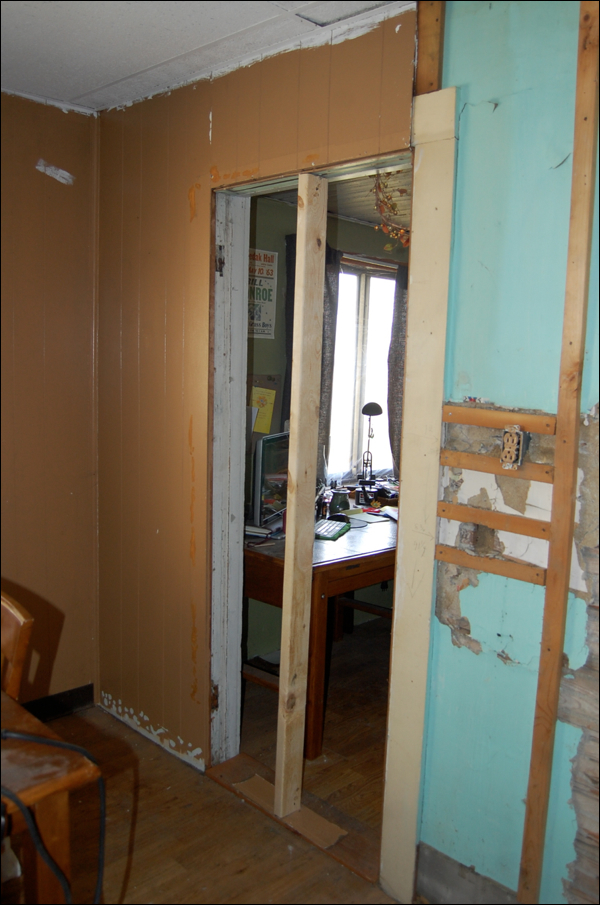
For safety’s sake, we installed a nice little header in the opening. Couple 2 x 4s and a little nailing in place. It’s not a load bearing wall, but it just does make it all look a little nicer and is only about $10 in materials. We try and build smart and correctly. It saves in the long run!
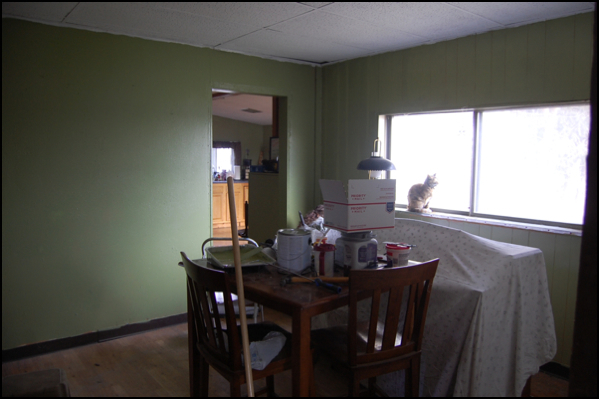
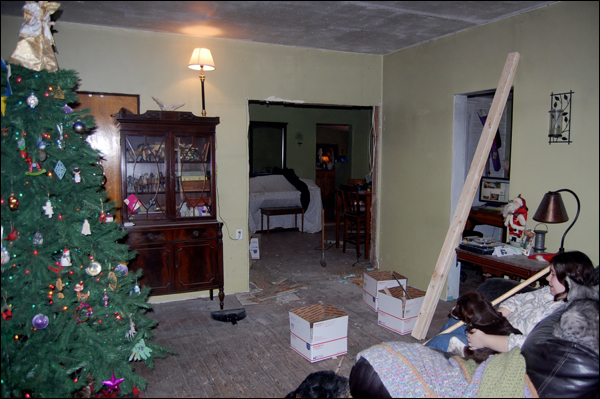
While we were working on the opening, Jessy put away our Christmas tree. It was so pretty while it was up, but with all the remodeling and such, it was kind of in the way and getting dusty. Time to get put away for another year. We promise to try and get it up a little earlier next year!
Can’t wait to start hanging up a few pictures and such… and mop the floor well! Plaster and lath is so messy to remove! We use face masks because the stuff is so fine and dusty, it is yucky to breath! It will take a good mopping to get the floor all clean! I already started to dust everything and try and get some of it all up…
So far, our remodeling costs have been very small. We bought two sheets of decent drywall for $19. We got the lumber for the header and to seal up the one entrance, $10. And we bought one gallon of good primer + paint for $28. $57. We have the trim for the two smaller entrances, free. Given to us from our friend Curtis and his house teardown. We will need to purchase a quart of trim paint, but we hope to use that for several rooms. And we will need to get three thin planks to make the opening a little more attractive, but I think that will be under $20. Definitely, under $100 for this whole room makeover, including a major wall removal! I think that is pretty darn good.
Most of it was our free labor and that is a huge savings. You can tackle things like this, just have to be careful, take your time and do a lot of research. We love You Tube University, as I like to call it! You can learn how to do so much there… just type in a search and watch and learn. I like to watch several versions of any DIY project we have because people have different ways of tackling the same project and you can pick and choose what works good for you and your equipment. We have taken on many projects this way!
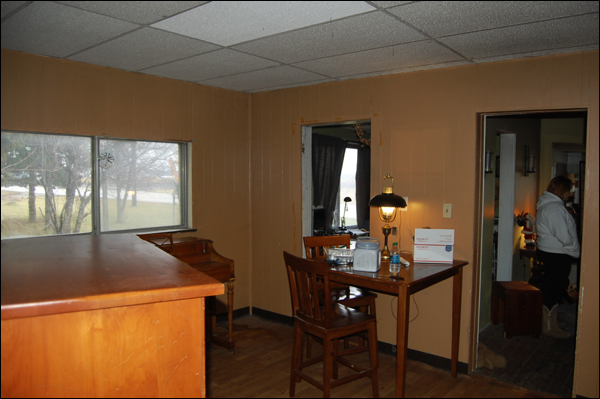
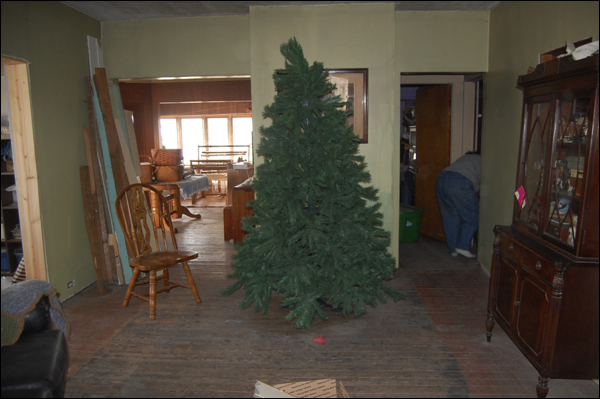
It’s hard to get a real good picture that shows how big and wonderful this opening is! It’s huge. Our house is 115 years old and it was a multi-generational home where they added on and on… So it just has a sort of disjointed feeling to many of the rooms. And it’s dark in there. Our goal is to just lighten it up a bit, and make it function a little better. I think we have really made a big step forward! Can’t wait to get started on our plans in the living room!
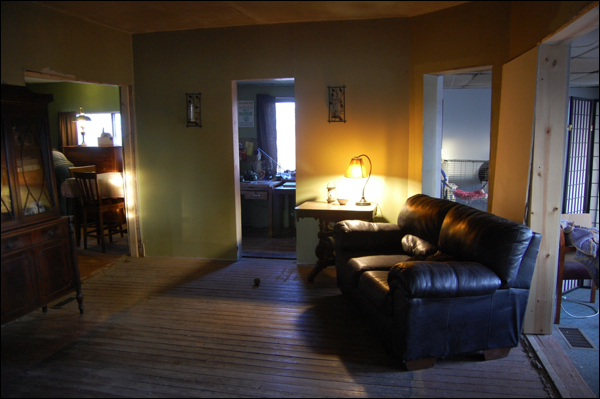
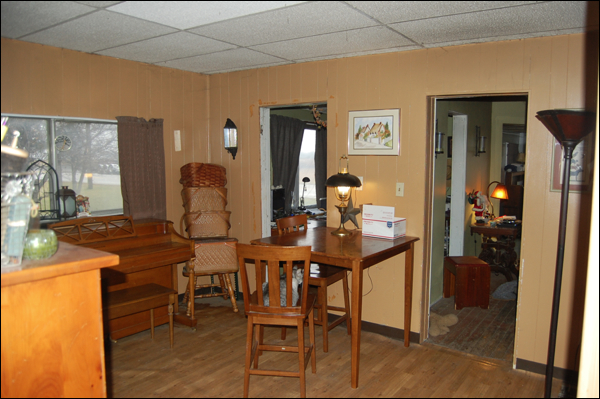
This is a picture from the big office, up front. It’s so cool… you can see through the rooms all the way to the kitchen now! So nice and open. There isn’t much more we could do at this time to open anything else up, so I suppose that means we are done! (haha) Everything else is in a structural, load bearing wall, so it’s off limits to us gals with just limited resources and tools, etc. I think we’ve done enough for now. Once we get the living room all painted up… a nice light browny beige, I think it will be perfect. We have plans for the floors… might take us a little while, but they are in the works. Right now, it’s ceiling, wall color and then trim. Then we we will tackle the floors!!!