Almost there!

DSC_0756

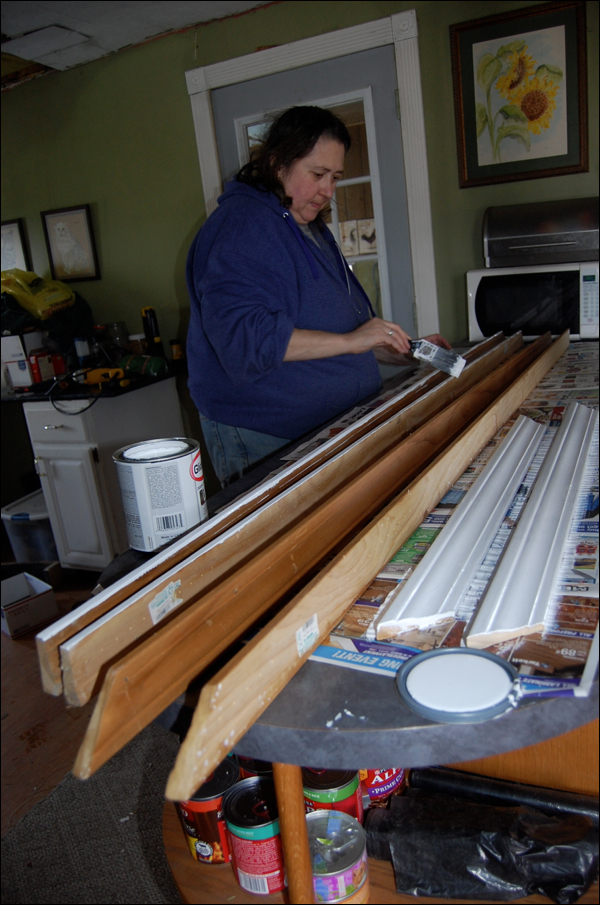
Another good day working on the dining room!  We found trim pieces from our refurbish stash and spent a little time pounding out the nails and touching them up.  Then, they got a good two coats of bright white trim paint.  Looking good!

DSC_0759

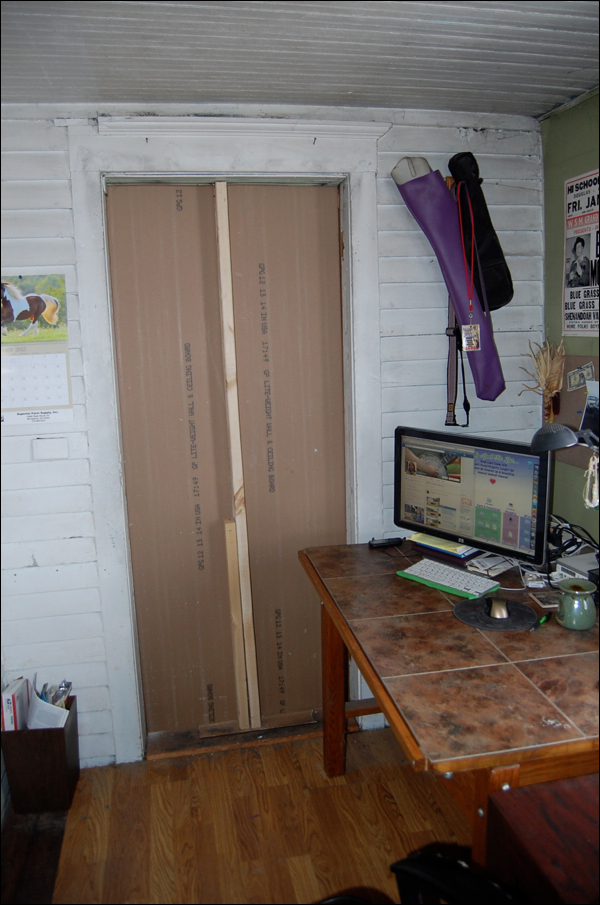
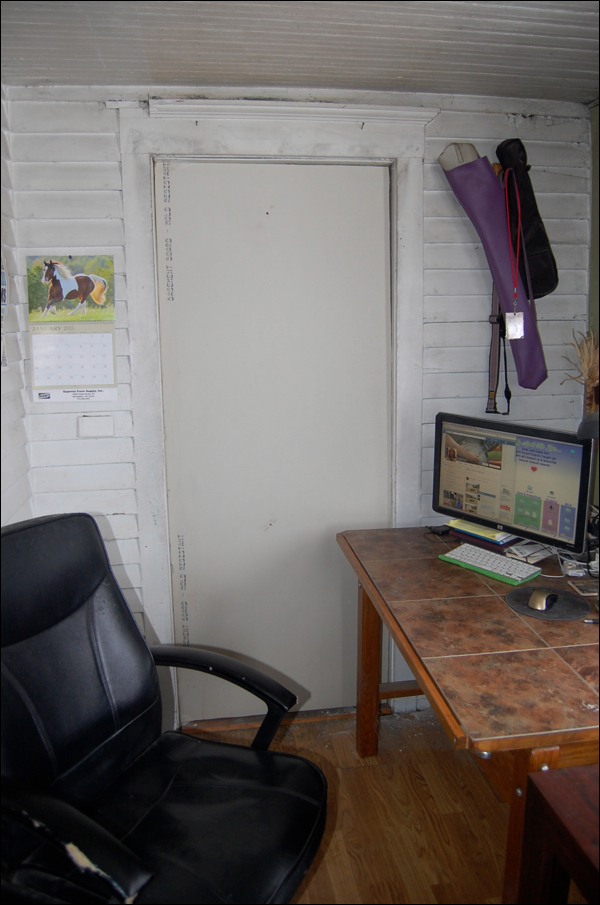
While the trim dried, I painted that last bit of drywall over the opening, of course, after sanding down the joint a bit and getting it all nicely put together.  Looks so nice now!   Just need to box in that opening section where we added the header.  I think I will use pine boards…  it’s nine inches wide, so we’ll probably get a 10 inch board and trim it to fit.  Then we can paint it all nicely and consider adding door trim around the opening.   I’m not certain yet if we will or not.   It’s going to be one of those wait and see sort of situations.

DSC_0760

I love to recycle things and this door and window trim came from a friend’s house that was going to be torn down.  Thanks so much Curtis!   Took us a while, but it’s finally coming in very handy!  We have more, just going to wait and see where it best can be used.  Trim is very expensive!  Our house, before it was foreclosed on, was being flipped by the previous owners.  They had an insulation company come in and they removed all the trim from every door and window in the house.  Unfortunately, before the house was finished, they lost it.  And apparently, there was a big pile of trim in the garage and the bank hired someone to come and remove all the “trash” from the various buildings and all the trim was taken.  Such a unhappy thing!  We have been slowly trying to replace the trim as we work on each room.   Just expensive!

DSC_0761

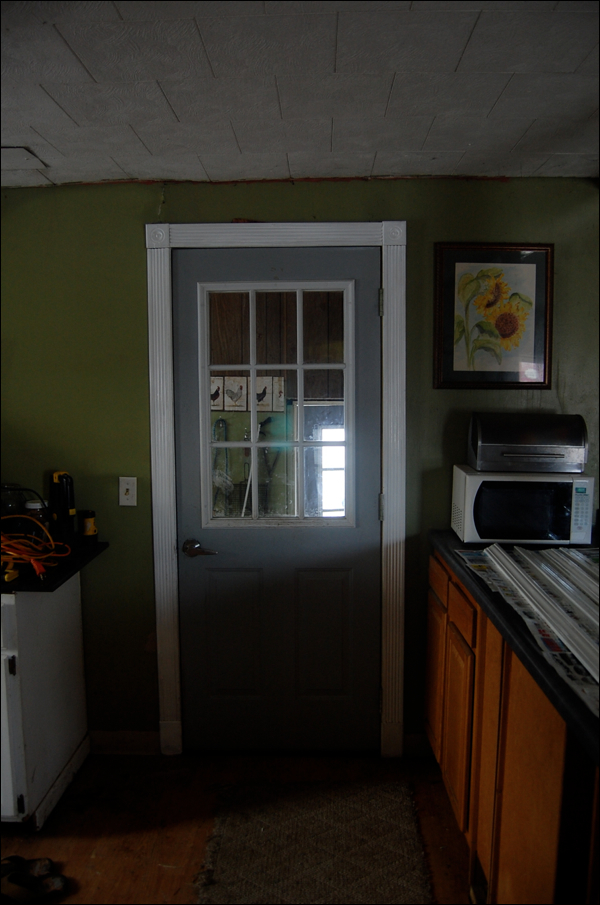
While I was waiting for the trim to dry and then install it, I decided to paint the kitchen trim around the mud room door!  Why not?  It takes a bit of a beating from the dogs and the farm comings and goings.   I think nothing looks better than a nice, clean coat of white trim paint!

DSC_0762

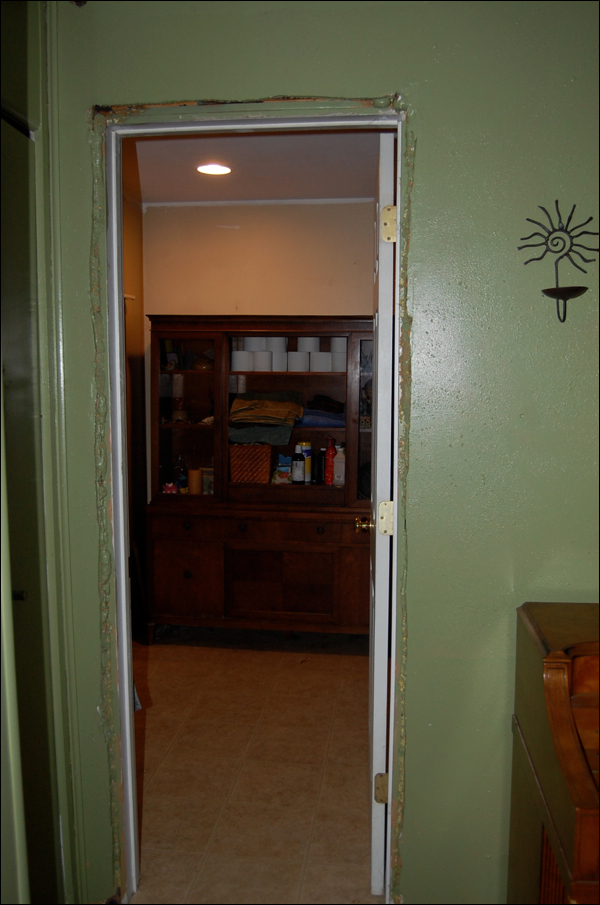
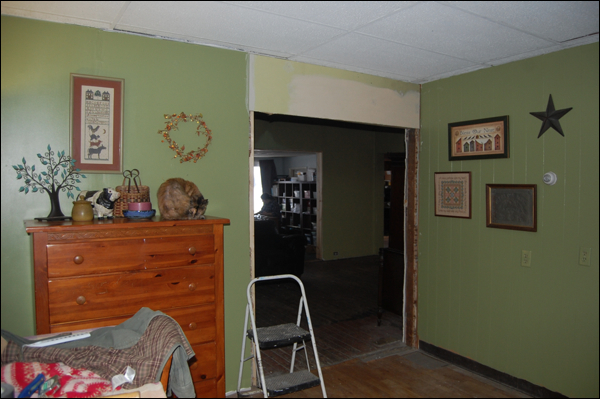
This is the opening to the bathroom…  ugh!  All around the door, it’s just ugly and missing, just not very nice.   I can’t wait to see how the trim will look!

DSC_0763

The doorway to the kitchen is nicer, but still, pretty rough up close!

DSC_0765

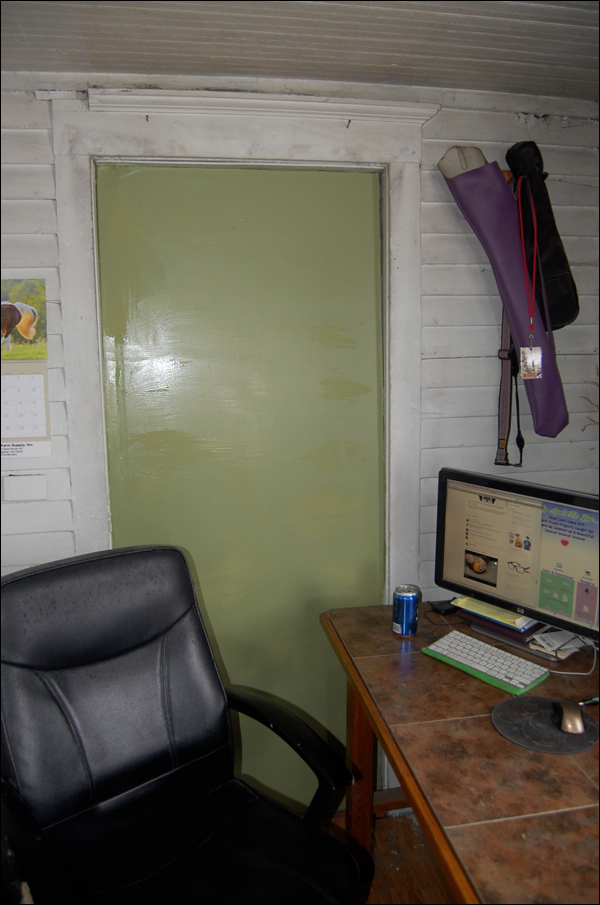
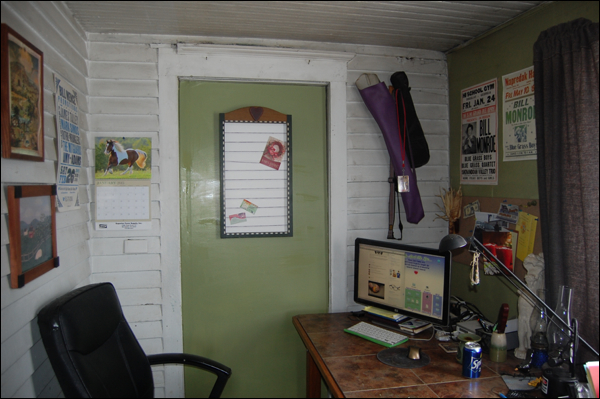
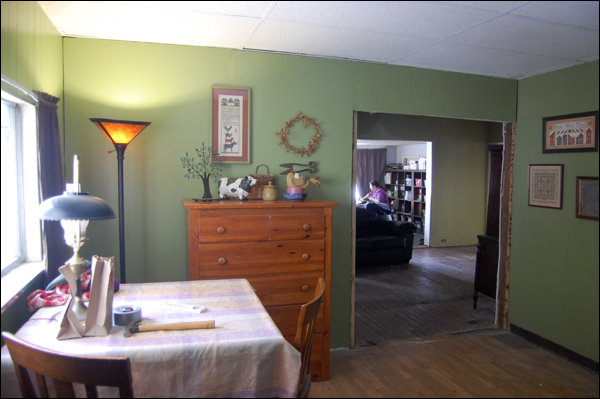
And wow!   So nice…  I’m so happy.  A friend has suggested we paint the baseboards white as well, and I have to say, we probably will.  I’ll see if Jess will mind doing that tomorrow.  She’s much better at trim painting then I am.  I think that will really tie it all in together nicely.  Just so excited that we are just one little step away from having this room finished.   It’s already working so much better for us.  We all enjoy sitting and eating lunch or breakfast at the little cafe table and the traffic flow is so much better with that one doorway sealed up.  And the bigger opening…. oh my!   It’s just wonderful.  So far, total, we have spent $90 dollars in this remodel.  That’s it.  The majority of the cost was from lumber, drywall and a good quality paint.  Everything else we did was from found or gifted surplus, like the door trim from a house to be torn down.   Heck, we found the table and chairs on the side of the road during big trash pickup day!  Piano was given to us for free…  Love our piano!  Most of the decorations and such, we already had through the years, I just sort of mixed them up and readjusted them in the room.  I still have to say, one of the best and most economical ways to change up a room is through paint!  Even at $25 a gallon, it’s a great game changer and really can make a huge impact for very little money!

Well, we won’t be getting the pine boards for the opening until Monday and probably won’t actually put them up until Tuesday.  And I think we are going to try painting the floor molding.   Still, pretty darn close to done in here!   Can’t wait!

Tomorrow, we are starting on the living room…   first up, the ceiling paint job!  It needs a good solid paint job to cover up our botched job of two years ago!   (Note to self, never buy two different types of ceiling paint and expect it to match… oh my….)  I have two good quality gallons of textured ceiling paint, ready to go up and do a great job in there!   Monday, we will be picking up the wall color for in there…  want the ceiling done first so we can work from the top down.  We already moved most the furniture and knick knackery out and did a good cleaning.  Can’t wait to see how that room looks when we are done!  Onward and upwards!!!


Pin It

A little further…

DSC_0747

Jess and I have been sick all week long with a bad chest cold!   Ugh!  Haven’t had one in for years so I guess we were both overdue with a little shot of misery.   Finally started to feel a little better yesterday, so we decided that a little work might feel good after pretty much not accomplishing much all week long.

This bare stud wall in my office has been bothering me…  mostly because I knew I had the materials to fix it nice and it wouldn’t take too long, but we just didn’t have it in us.  Today was the day!   I measured out the space, being mindful to measure in a few spots because these old hundred year houses are not very plumb and perfect!   In fact this opening actually varied almost an inch from top to bottom on the side!   Good thing I measured it in several places.

DSC_0748

Once it was measured, I cut the drywall piece and rough fitted it in the spot!  Almost perfect!  I had to do a wee bit of adjusting to my cut, but it was pretty close.  And snug.   I actually had to use a soft rubber mallet to gently tap in the upper corner as it was snug.  I also marked where the stud was running so that I could screw the drywall into it easily.   This is from experience…  finally learning!  Usually, I will put up drywall and then have to punch a few holes in the wall first to find the dang stud!  Not this time…  it was easy as pie.

DSC_0749

Since I still had some green paint left from the dining room and the accent wall in my office is green, I figured it would be a good match.   Painted it up, let it dry and then hung my little bulletin board up and I think it’s darling!  SO much better than before, just an old open stud wall.

I plan to go and give my office a new paint job and play around with the decor a bit maybe later this spring.  Right now, I don’t have the energy to start another project with basically five open projects in the works!   (Dining room, bath, living room, big office and studio!)  I think this little doorway conversion is the best my office will get for awhile!   Actually, I’m just so happy in that space anyway, now that I moved my beloved drafting table in there and such a few weeks ago.   And it’s warm finally, with all that was done to the house.  Just a happy little camper in there, my little creative space.

DSC_0750 DSC_0753

And for our finale…   we cut and hung the last piece of drywall in the dining room!  Over the header and opening!  Yeah!  I did the drywall patch on the seams and it has to dry overnight.   Then it can be sanded and painted.   On Monday, I’ll be getting the materials to close in the opening sides, trim to make it all just lovely.  Not sure yet if I’m going to paint it green, or white.   I almost think that the green would be less noticable and allow the two rooms to sort of blend together.  I guess it might be one of those wait and see sort of decorating decisions.  Can’t wait for it all to be done though, so very close….


Pin It

Scotty at the Spa…

DSC_0706

I started back to freelance work for our friend and client, Jerry from Jerry’s Auto Sales and Salvage here in Archbold, Ohio.   Super great guys!   They have been like family to us and we so appreciate them.   I haven’t been helping as much with all the medical issues but I’m over that and ready to start helping again with their website, Facebook page and all graphic arts needs.

When I stopped in first of the week, we got to talking and I had a question about our old van making a good deal of road noise up front…  thought I might have busted a band in a tire or something… but turns out, nope…  wheel bearings are going bad!  Oh no…  but not to worry, they have the parts ordered and in a few days I will bring him back in for the repair.  But in the meanwhile, I had a few other little things that were bugging us and Jerry said, bring him around, lets give him a check over!

While I was out taking pictures of sales cars… brrrrr, they gave Scotty a good going over and a little spa treatment in the warm garage!  He got his turn signal front bulb changed… (we changed the back one and it didn’t solve the no blink problem… come to find out it was the wee little one under the bumper that was bad!!!)  and his headlights buffed out (they were very dim!) and his sliding door on the side was gunky and sluggish.   They got it cleaned out and greased up good and its awesome now!   And checked the fluids and the tires and all that.   Everything is fine!   I just am so thankful for these guys, they take a load off my mind with our old van and vehicles…  I know they will help us stay on the road, safe and sound!

We’re waiting for a big surprise…  over the holidays we purchased a baby sister for old Scotty…  she’s getting some work done so we are not going to debut her arrival until all is said and done, but we are very very excited…  Scotty is a good old boy, but he could certainly use light duty to stay working and helpful for us for many years to come.  He’s our hay hauler and critter getter…  He would last a good long time if he was just that for us and not our daily drive.  And we will save on gas and such too with a little more economical ride.   Stay tuned… we’re so excited!!!

In the meanwhile, I’m so thankful for our good friends at the junk yard!  They are super awesome and fun to be around as well!   :-)

DSC_0720

Related Posts with ThumbnailsPin It