-
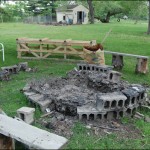
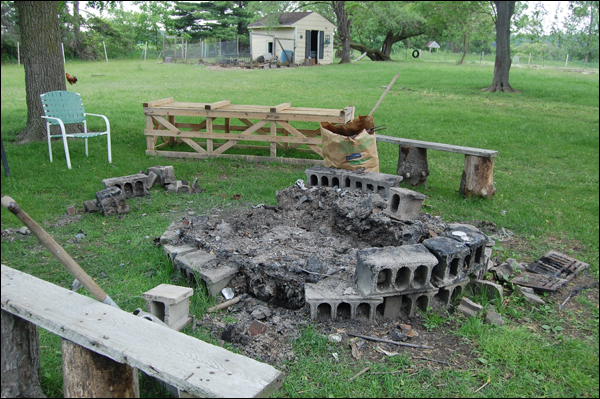
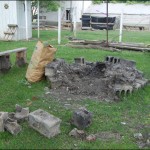
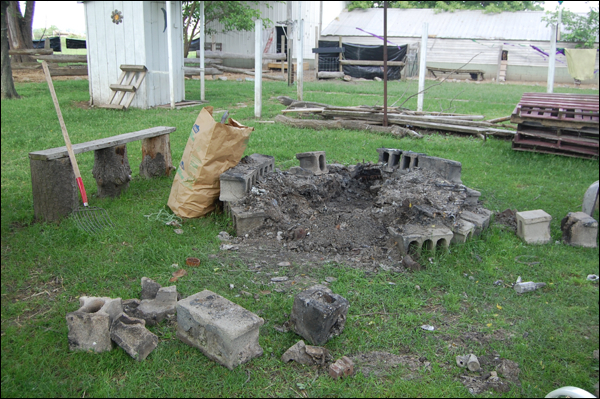
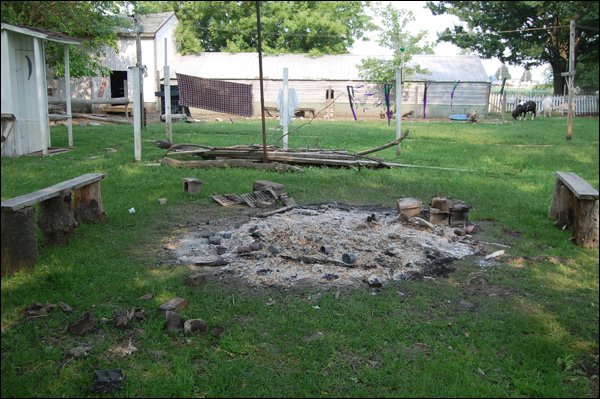
- Working on the fire pit clean out and rebuild!
-
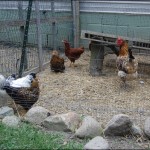
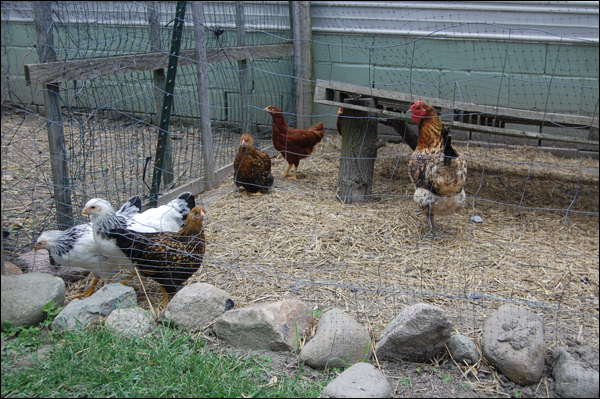
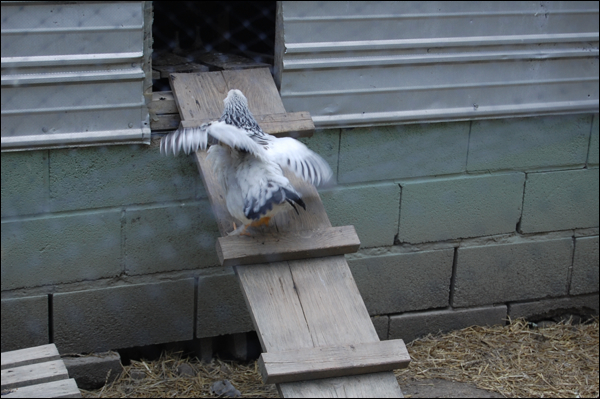
- Our new chicks are big enough to join the main flock.
-
- Learning how to be big girls!
-
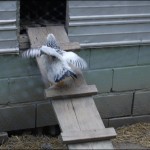
- The ladder is still a little tricky but they are learning fast
-
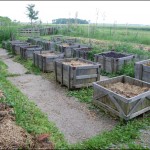
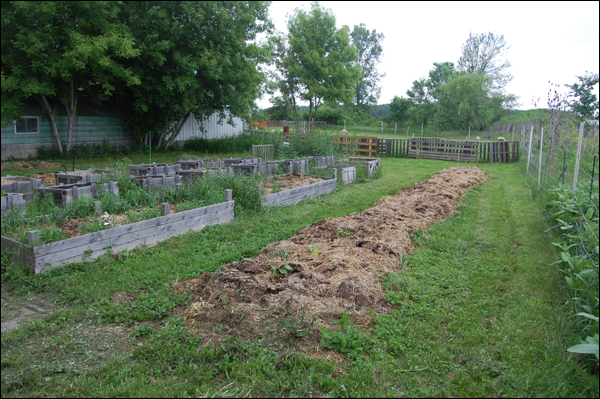
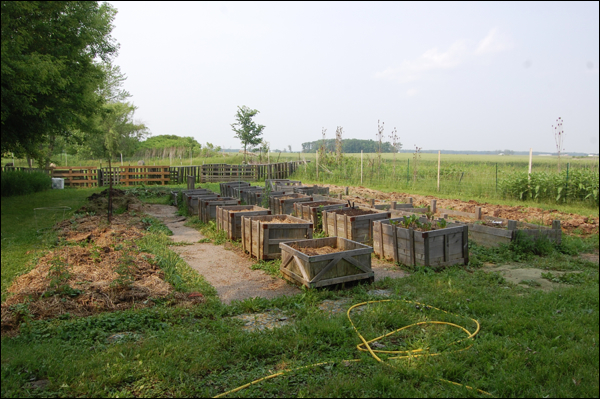
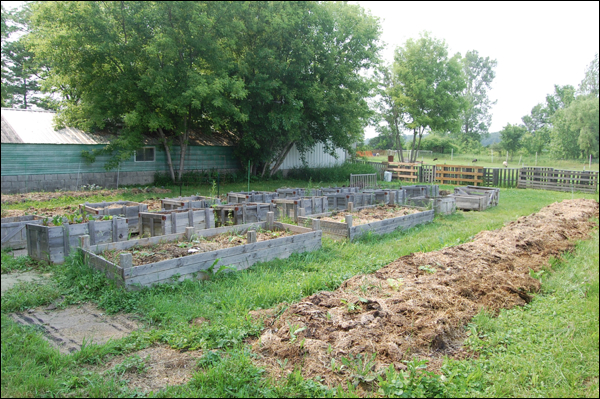
- Garden is really coming along!
-
- Pumpkins and sunflowers and more along the back fence.
-
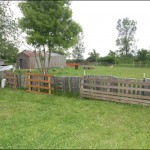
- Justin and Tim fixed up the garden fence!
-
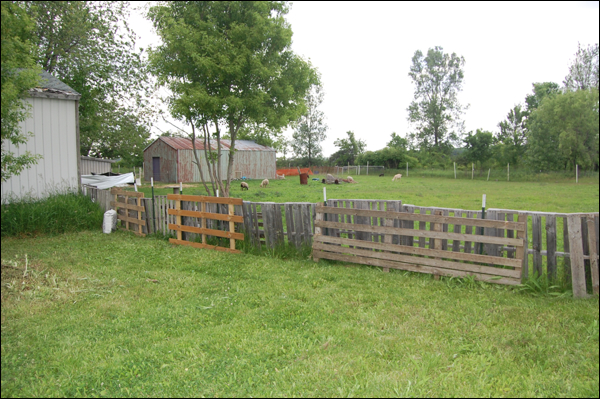
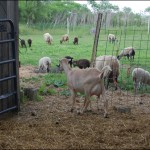
- Maggie and I had to add a few goat panels to the paddock fence.
-
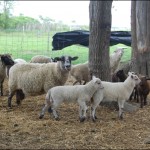
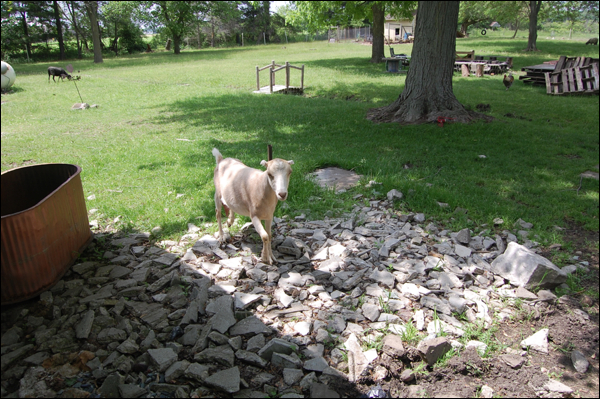
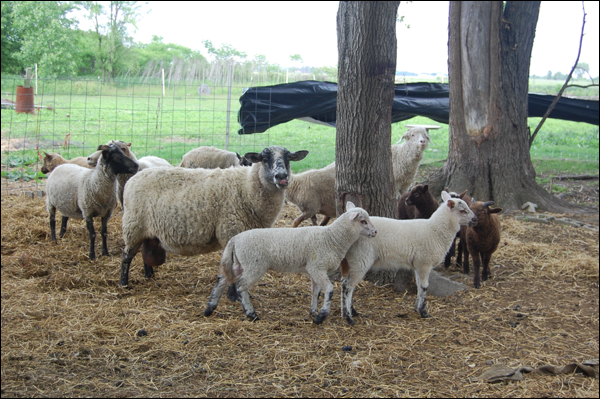
- Everyone is growing up so nice!
-
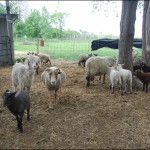
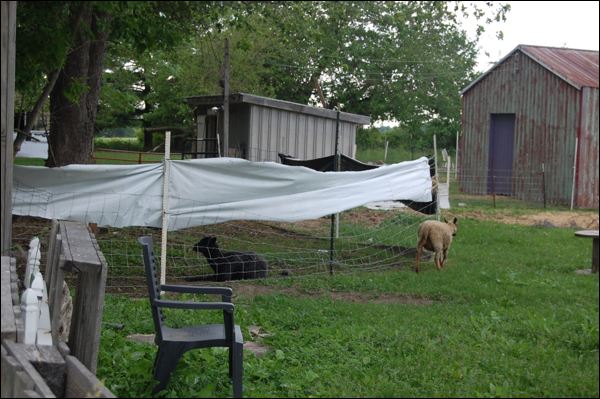
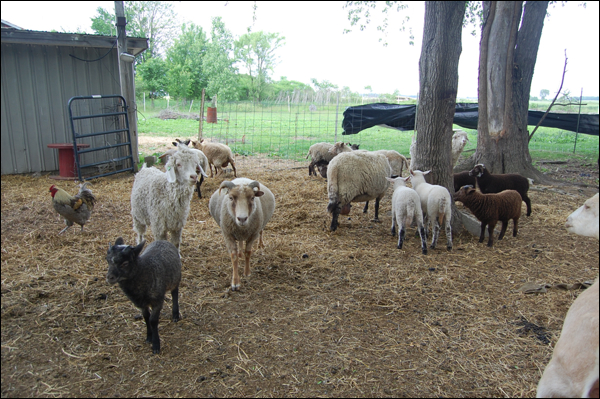
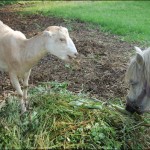
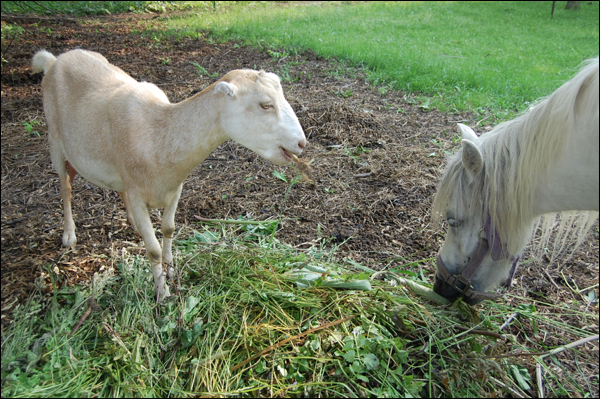
- Sheepies in the paddock!
-
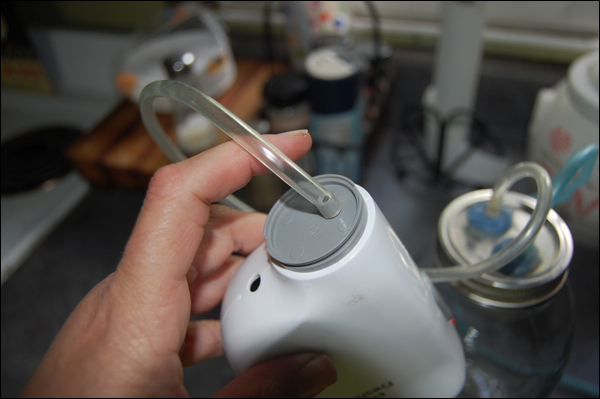
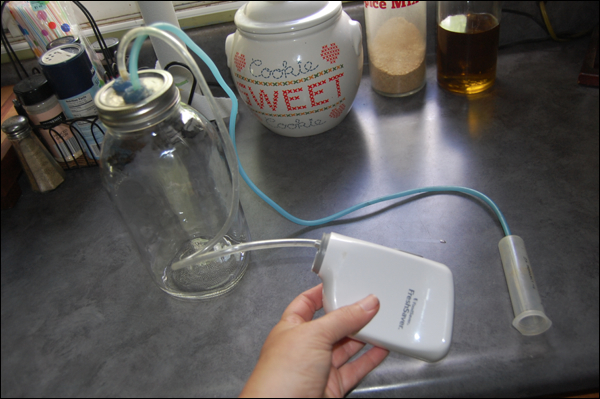
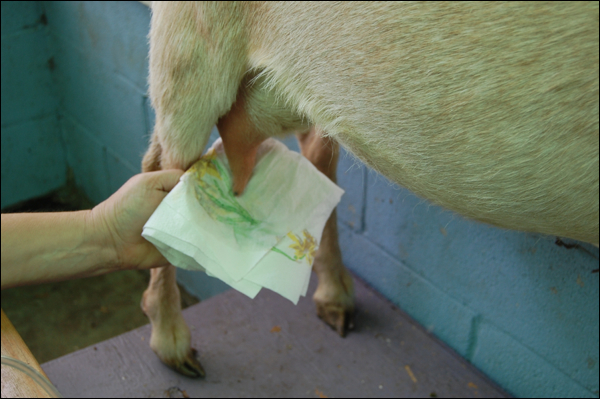
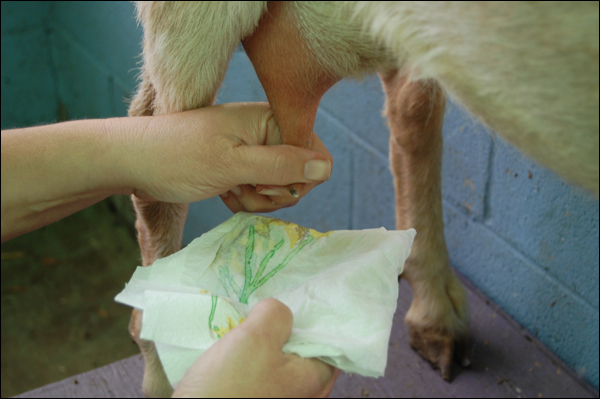
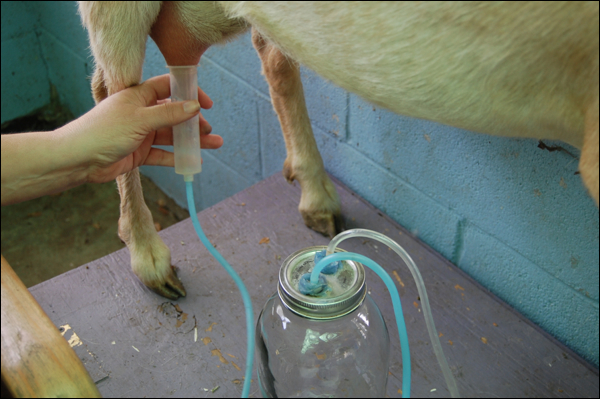
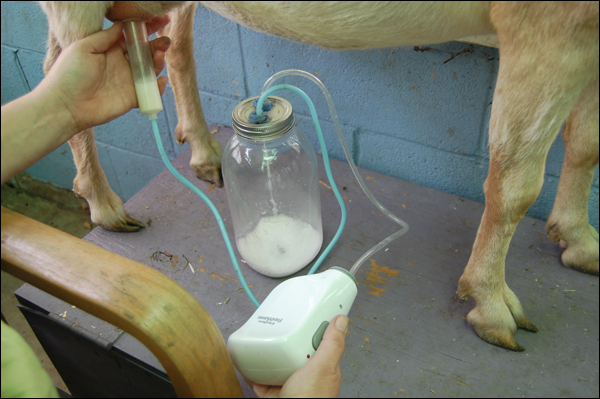
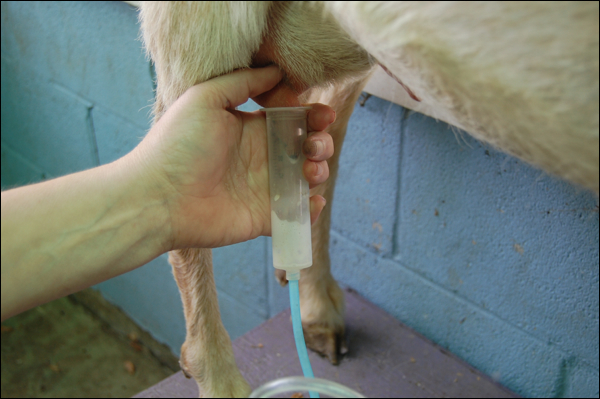
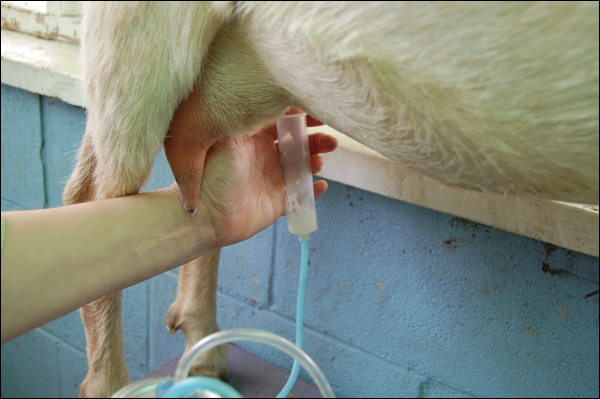
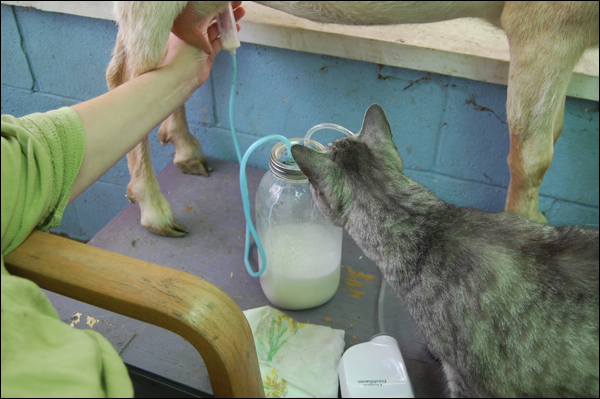
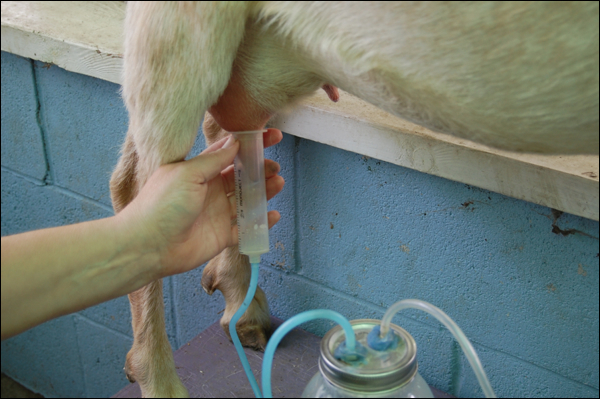
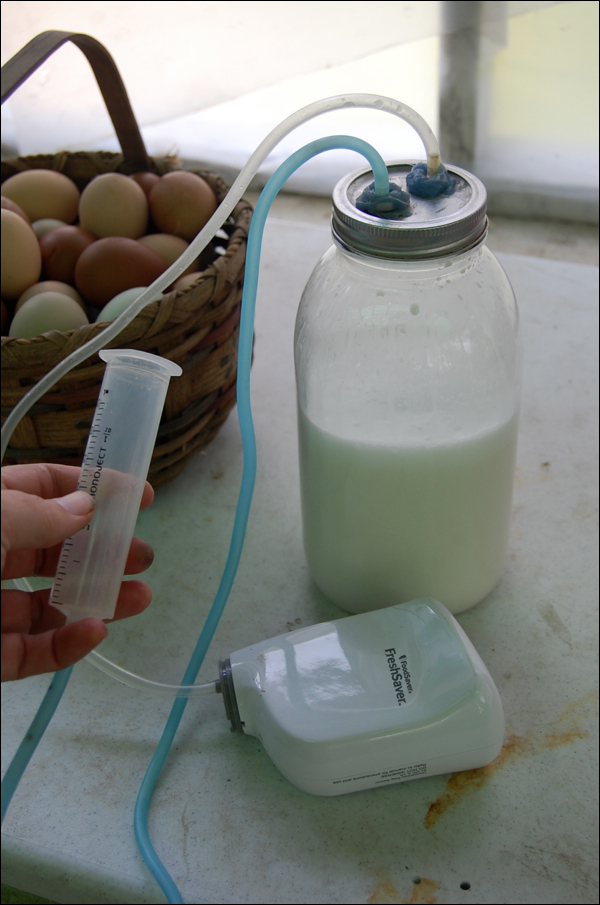
- Buttercup is giving almost a quart a day of milk!
-
- Shadow is learning how to count with his foot.
-

- Cody wants a nap.
-
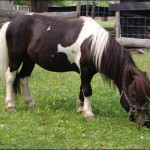
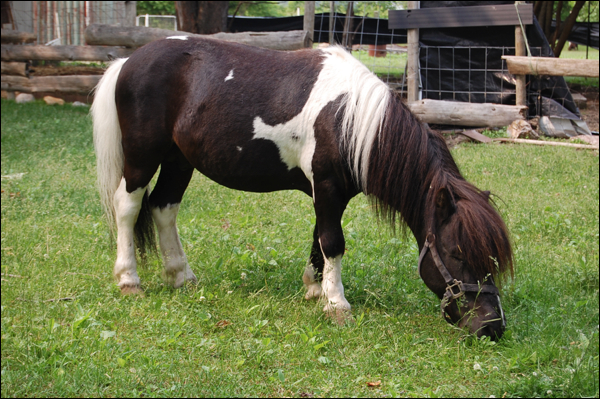
- Ebony and Cheyenne are getting bigger and bigger!
-
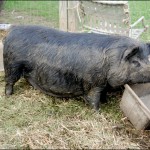
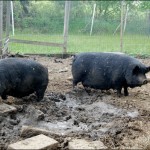
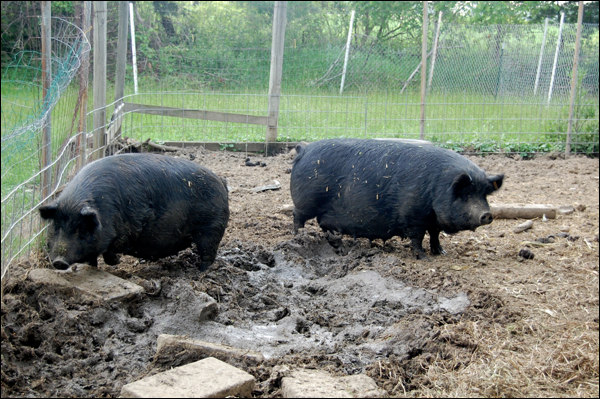
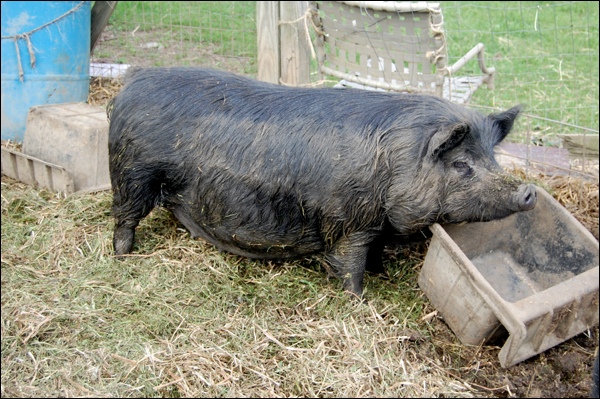
- Piglets any day now!
-
- Getting closer…
-
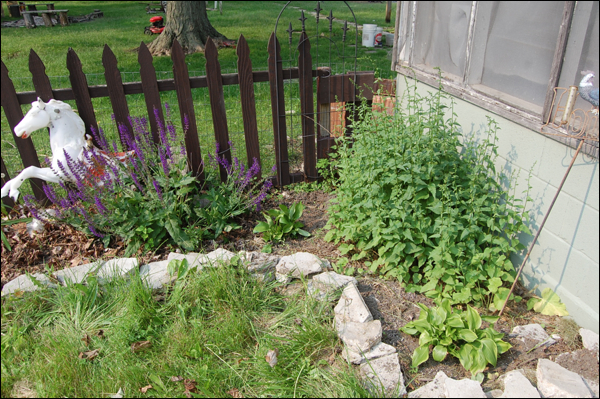
- Jessy weeded the courtyard!
-
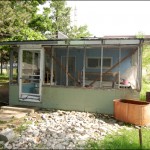
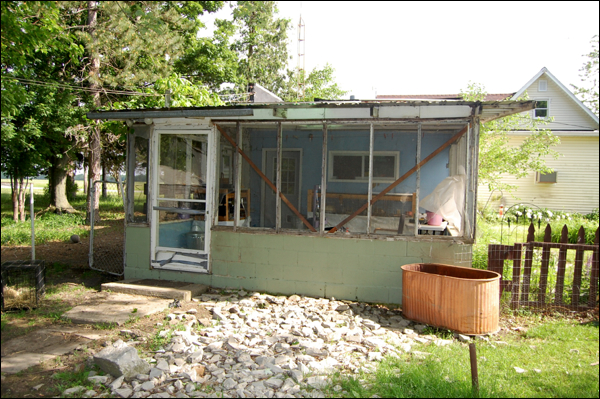
- We wanted to use this big copper colored tank for a water feature but it leaks too bad!
-
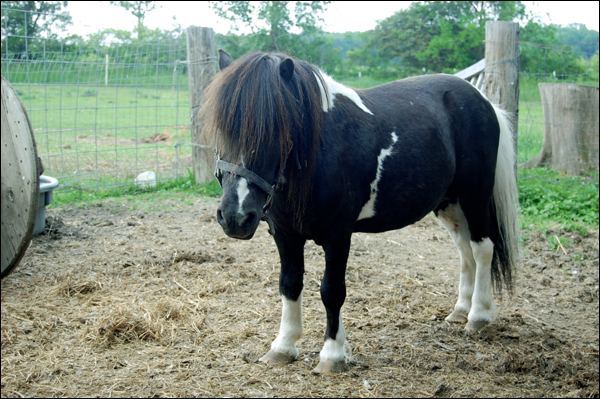
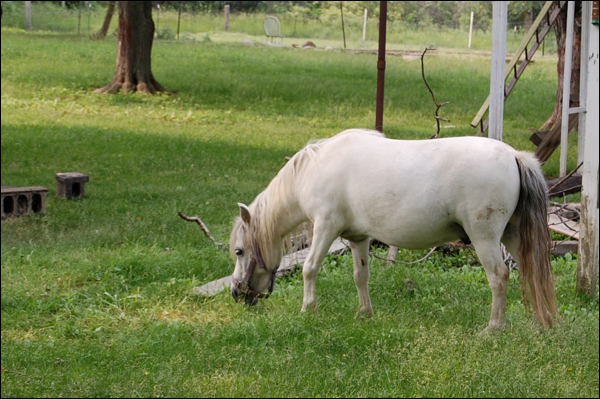
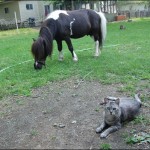
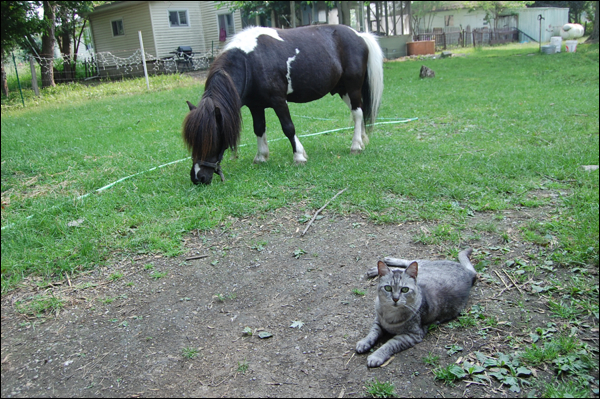
- Shadow and Cody are on mowing detail.
-
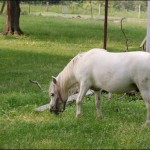
- Sheep are not as good at mowing as the ponies.
-

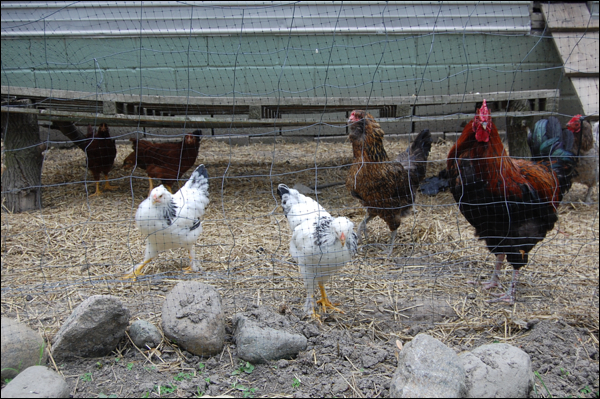
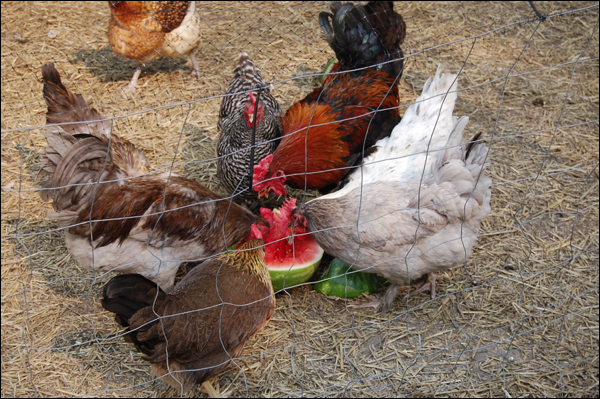
- Chickens enjoying watermelon rinds
-
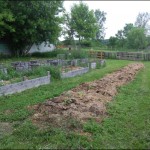
- More and more weeding done!
-
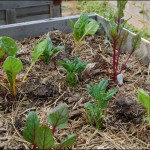
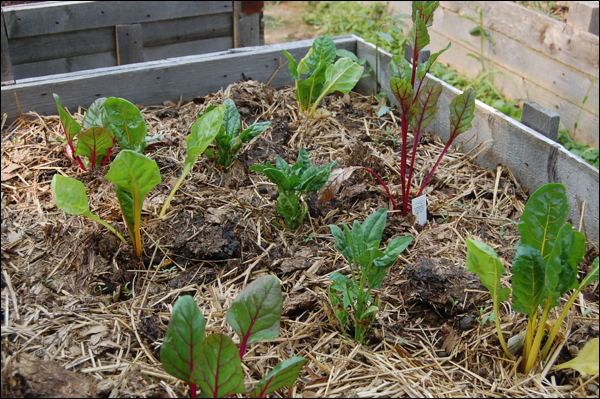
- Swiss chard is doing nicely.
-

- More work… big dreams!
-
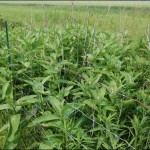
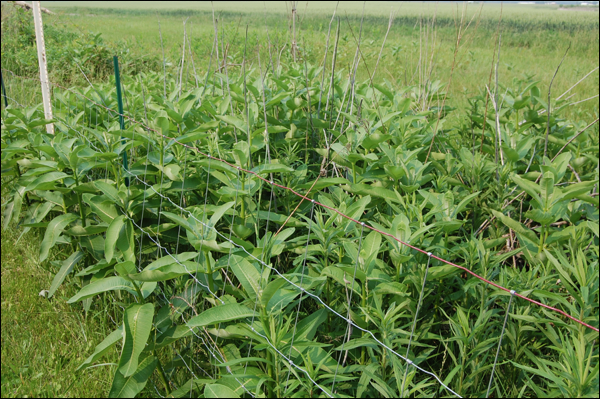
- Our milkweed patch!
-
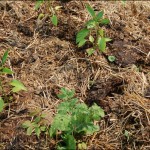
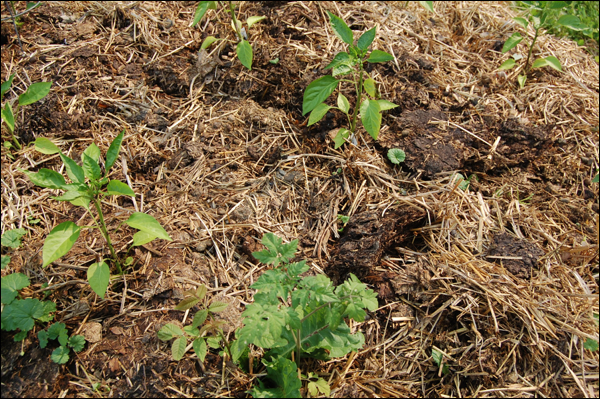
- Tomatoes and peppers doing their best.
-
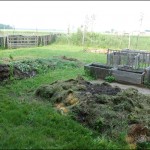
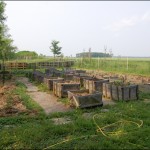
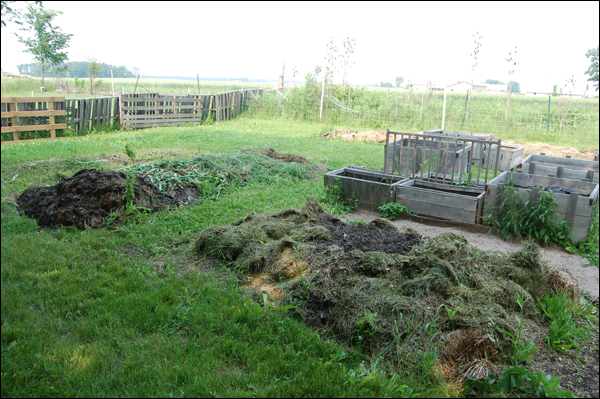
- Two new beds in the making…
-
- Buttercup and Shadow are picking out weeds from the pile destine for compost.
-
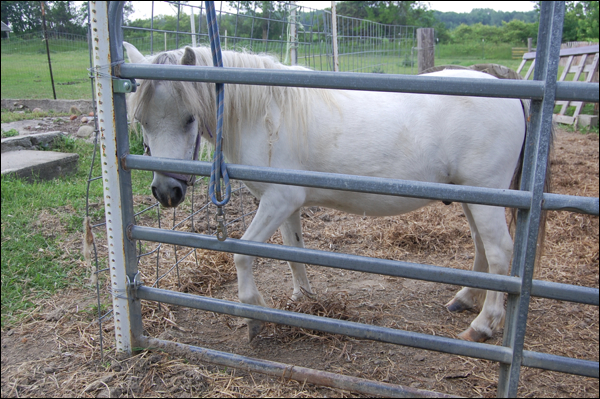
- Luna chilling with her pony pal.
-
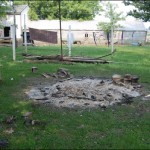
- Yeah! All cleaned out! Now for new bricks.
-

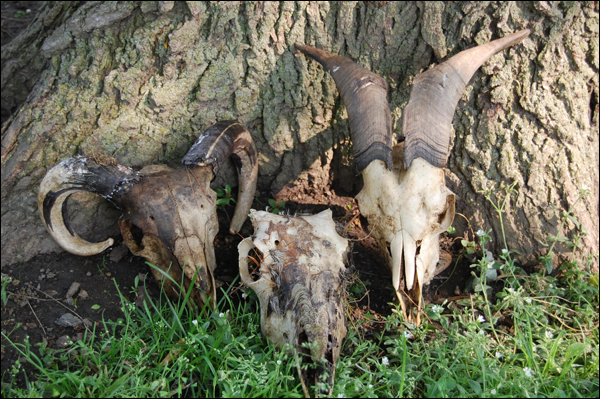
- Some of our friends who have gone on before us…
-

- Hostas planted! Courtyard weeded!
It’s been busy around here. We could see that there was a good week or more of rainy, humid weather coming around the bend, so we decided to spend a couple cooler days and really bust a move and get some stuff done around the homestead. That way we could relax and do inside things when the weather was less than desirable. Seems to work out good for us!
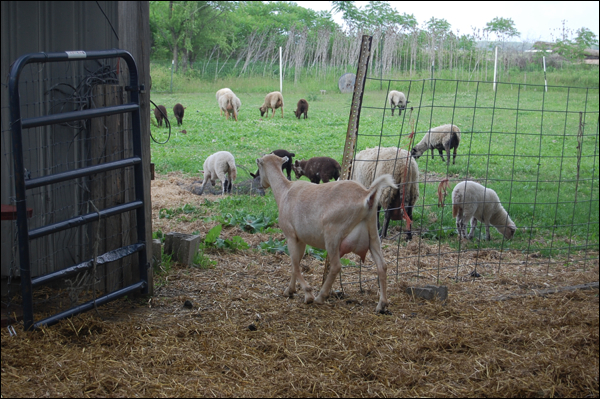
We got a lot of little things done around the place. Nothing huge, but important, none the less. We had a garden break in… naughty goats had found a weak spot in the fence that divides their weed patch pasture and the garden. So that got fixed up good… and it’s super sturdy now. The goats tried but they could not get through. We will continue to improve that fence because it only takes a break in and a few hungry goats to totally wipe out a garden! I think barbed wire and guard towers with guns might work! (Haha, just kidding…. but goats are pretty crafty!)
We did a lot of final work in the garden, chopping down a weedy area and weeding around the raised bed boxes… even getting the last of the winter compost out of the barns and making two more raised mound beds! We are going to let them sit for a week or two and then add a little bagged dirt and plant a few gourds and pumpkins in them in spots. It’s a medium hot manure and grass clipping mix, so I think that will work out and we will get use of it this first year! We’ll see how it goes. Worse case, we’re out a few packs of seeds.
We’re so excited, we have two sows that are ready to give birth to litters! We love having baby pigs around the homestead. They are so fun to watch and eventually, they bring good income to our little farm. This is the first time we will have two litters at pretty much the same time. We are hoping to see that co-parenting trait that American Guinea Hogs are known for. Two moms taking care of all the babies together. We are working towards rebuilding their pig pen soon… and hopefully before the little ones are too active!
The fire pit was ready for a re-do and we have the first major part done… all the old blocks are gone for another project now and we have it all shoveled down to the ground! We have plans to make it better than before… with a cooking area as well as a nice fire pit. Should be interesting!
Well, just a little photorama wrap up of the things that are going on here! On to our boring week of inside business and work! Just happy to have most of our spring cleanup and projects all done. Now, we just have two major projects left. The pig pen fence rebuild and we need to add cattle panels to the sheep paddock to make it nice and secure. That’s it! Of course, we’d like to do a little painting and such, but really, the place is looking pretty nice and very comfortable. Sure, there are lots of things we would love to do to really spiff it up, but right now, with our limited budget, we are just happy to have the place looking nice and tidy and that all our animals are well cared for. We can add the fun whimsical touches as we go!
Pin It