
Ever since Maggie’s woodworking business has taken off, I’ve been picking up all her vinyl decal business! It’s right up my alley and I’m actually beginning to enjoy it again. I’ve been a graphic artist for over 30 years now and many many years ago did vinyl cutting for large industrial applications, but it was not so high tech and frankly, kind of boring! (This boring safety graphics for auto plants…) So when I was asked to do a rock hopper penguin, I was so excited! It sounded like fun. And just for more fun, I took pictures of the process to share.
First up, after doing a little research and all on the penguin and looking at pictures, I drew up a basic black and white drawing of the one I wanted to do. I used to draw a LOT and just am getting back into it again. Very relaxing.
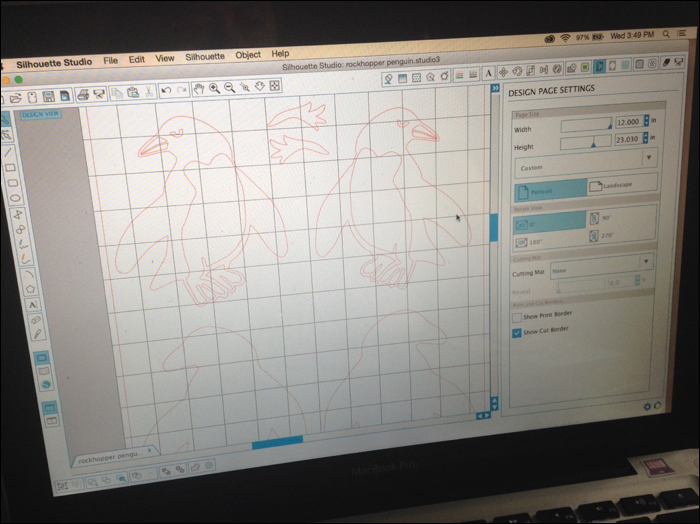
Once scanned, I take it into Photoshop and get a nice crisp image of the little guy. Once that is done, I can bring it into the cutter software and digitize it. It’s pretty simple and the program is very advanced so it’s mostly point, drag and click and it does the heavy lifting! Yah! Once in there, I can flip him and designate what colors and such I can to cut. Because it’s a cutter and not a printer, I have to separate each color that I plan to use. So it simplifies the image and that is fine. I want it for the back of a car! So it can be a little stylized. 
All the colors cut out… And I started to apply the color to the beak! 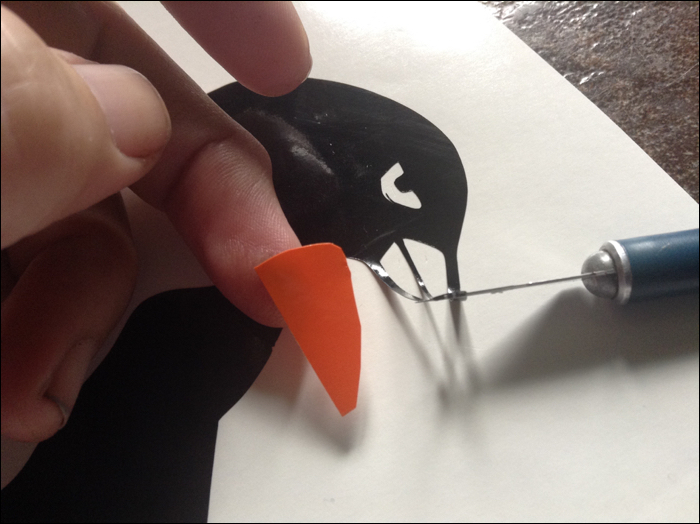
You have to layer everything in vinyl… either under or on top. I trimmed out a little piece that will go under his beak. It’s nice because it doesn’t have to be perfect, as long as all the white area is colored with the orange… if that makes sense. 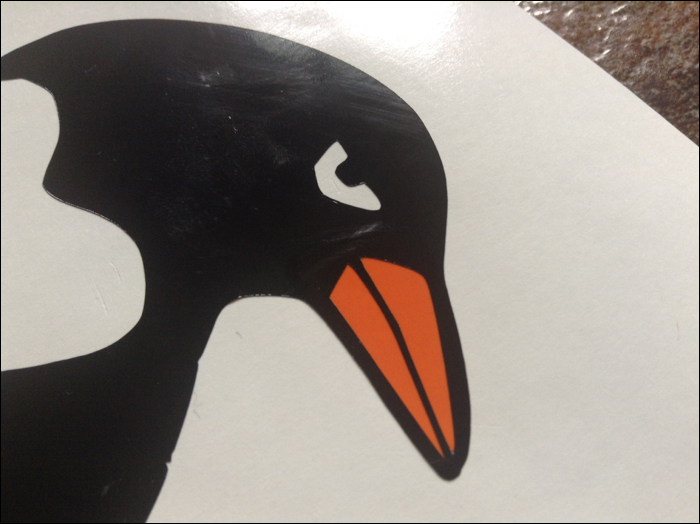
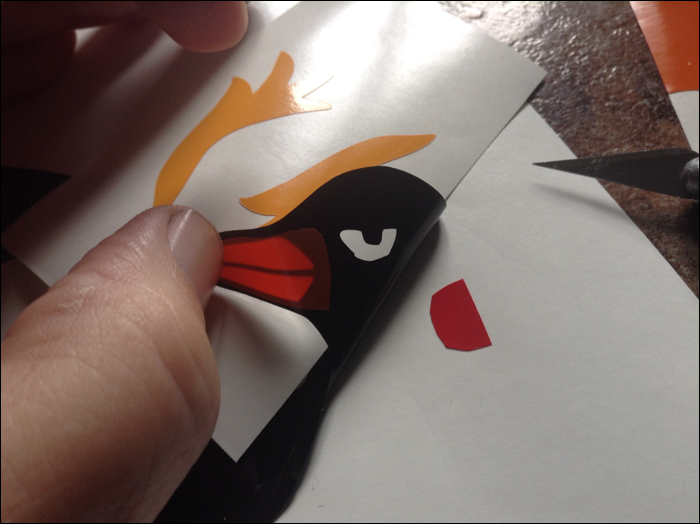
I just hand cut the little piece of red that goes under his eye area. I cut it a wee bit larger and then carefully lifted the main black decal layer to slip that eye color underneath. 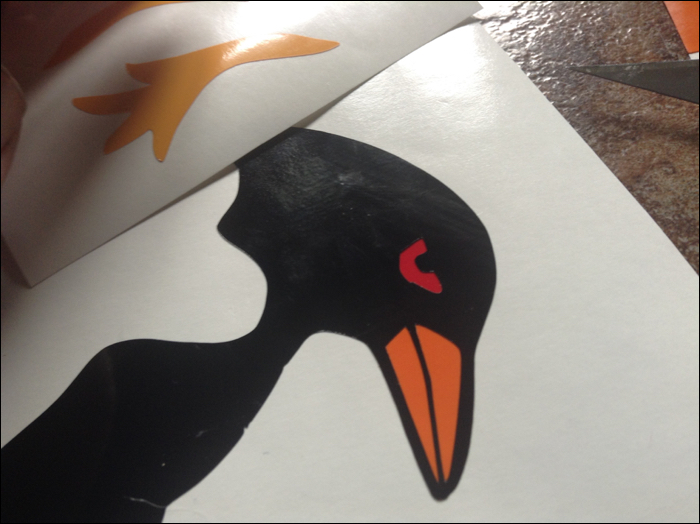

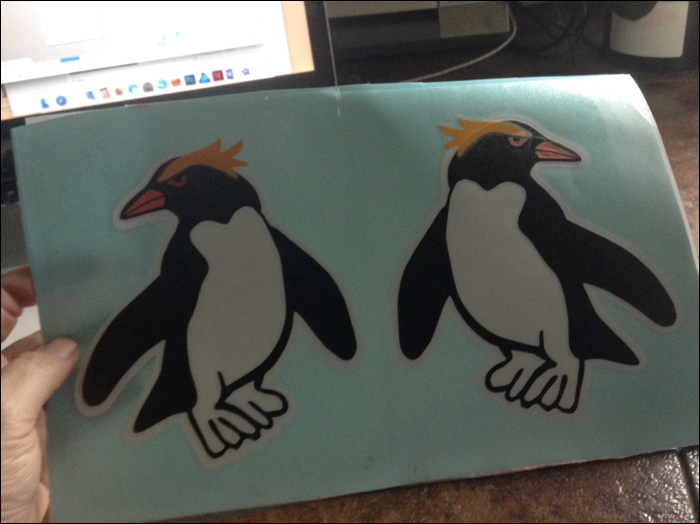
His little yellow eyebrow I laid over the black. The vinyl is heavy enough that the black doesn’t show through unless you are right up next to it and then you can see a week bit of darker area… but no one will be that close on a car. Or they shouldn’t be! 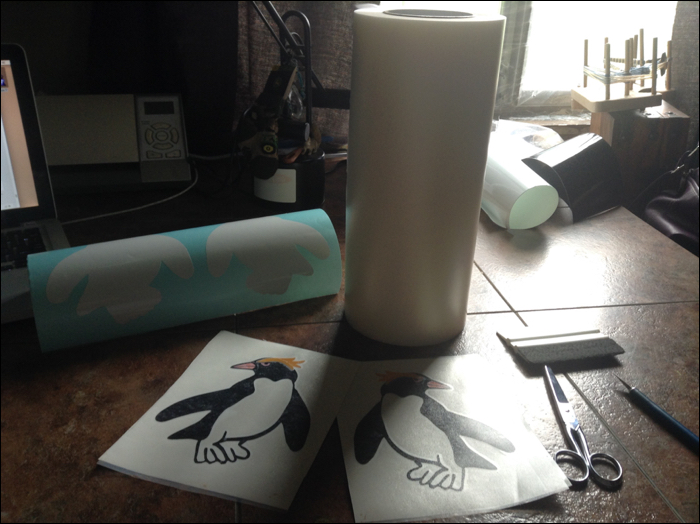
Once the layers are all sandwiched down and it looks good, I apply a thin layer of clear film to the top that is called transfer film. It can sometimes be a light paper or what they call tape. Kind of like painter’s tape. Just wider! And I squeegee it down good with a stiff plastic squeegee. This makes the top of the decal stick to the transfer film. 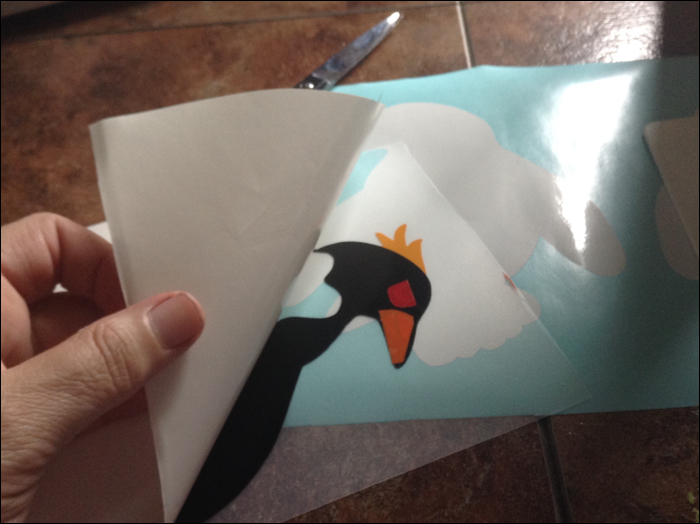
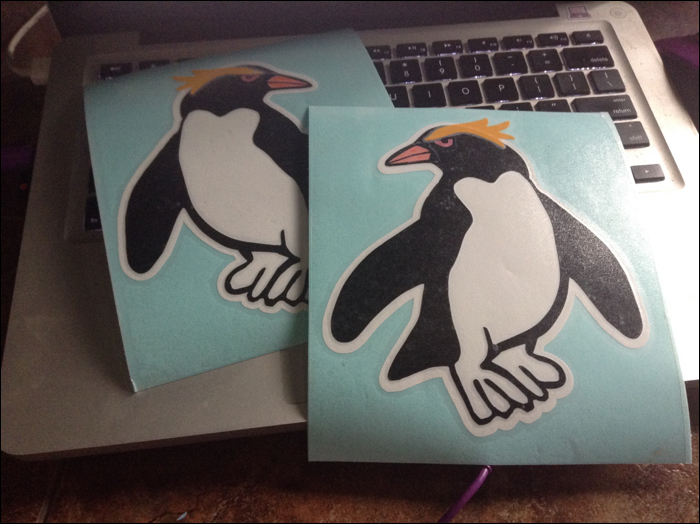
Then you carefully peel back the vinyl backing and you can then apply the decal to whatever nice and clean, flat surface you want! Ta-da! Decal is done!!! Pretty neat, eh? 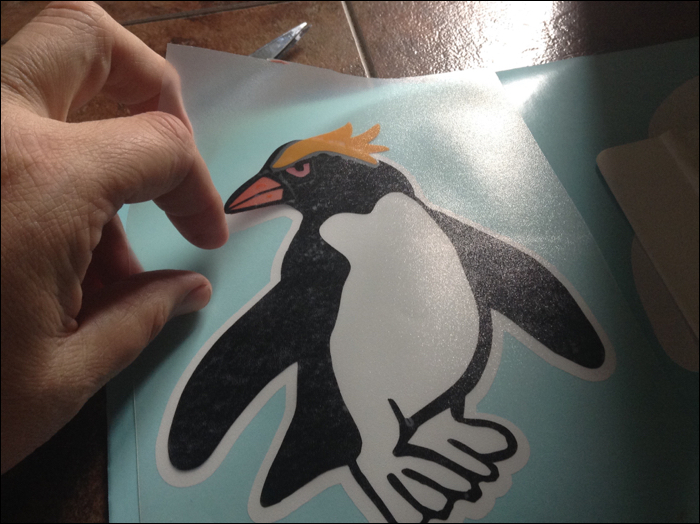
You smooth it down good, and then carefully pull of the clean carrier film and then you have a cool looking rock hopper penguin to show the world you love these little dudes!
If you’d like to see more of our decals and such… check out our Etsy shop!
https://www.etsy.com/shop/SignsByMaggie?ref=ss_profile
Or search for a shop called SignsByMaggie…
(And Sherri!)