
We have a quest here at Windhaven. It’s the perfect, easy, inexpensive and user friendly bunny hutch. And so far… we have not been super lucky at the task at hand. We have built two other hutches and whereas they worked and were fairly successful, they each had flaws that really were no good. The giant huge one we built was just too unwieldy and got so dirty, so quickly, it was no fun. The second was just too small and got nasty quick as well.
So after an exhaustive search online and through books and such searching for the most perfect hutch design, we decided to just build our own, based on our wants and desires, rather than what others might want. We raise French Angoras and they have their own line of issues that we need to work with. They are a good sized rabbit, and their fiber is primarily their contribution to the farm. And it needs to be kept nice and clean. I know some people hate the idea of rabbits on wire bottom floors, but that is really the best way to keep them clean and healthy. They do need some relief from the flooring, but that is where resting mats and nest boxes come into play.
So we made our list of priorities…
1.) EASY to keep clean! Rabbits produce a fair amount of poop and piddle each and every day. It can get out of hand FAST! We needed something simple and easy to manage so that daily or even weekly clean up was easy for one person to do without hating it.
2.) Enough room… we don’t like the commercial cages for rabbits because most are only a 2 foot square area. That is just not very much space. I guess they don’t seem to mind, too much, but still, we do and that is what matters. We wanted them to have at least double that space.
3.) Economical. We’re just really not very flush these days and the cages we designed needed to be relatively cheap! Or made from reclaimed and reused common parts. We wanted the cost to stay under $50 a cage.
4.) Easy to manage. We wanted the cages to be easy to move, rearrange, clean around and move into shelter when bad weather presents itself, or when it’s really nice and we want to move them outside or in the courtyard. Something that even one person can manhandle or two can move with ease.
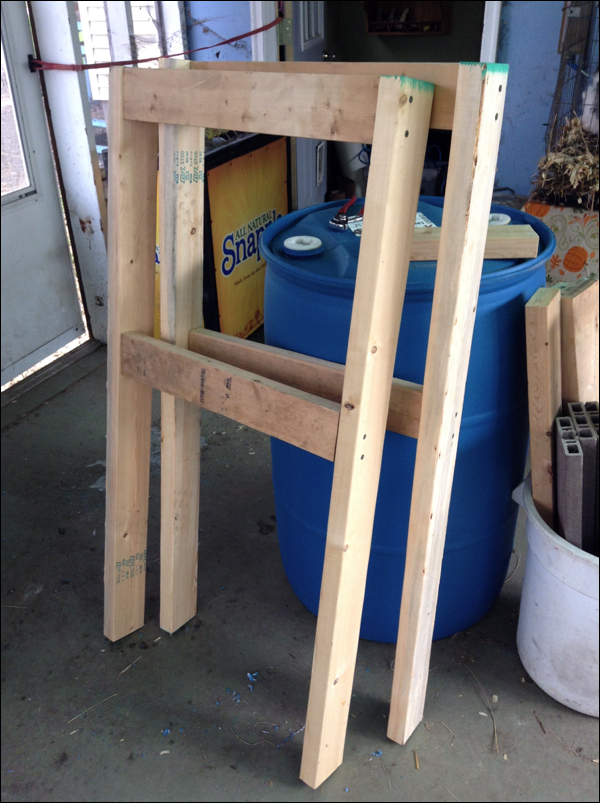
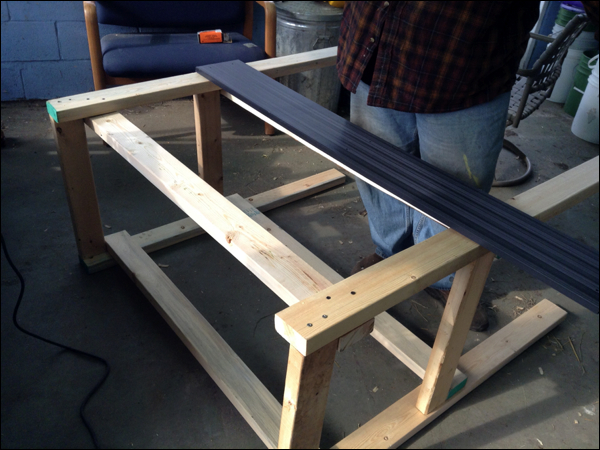
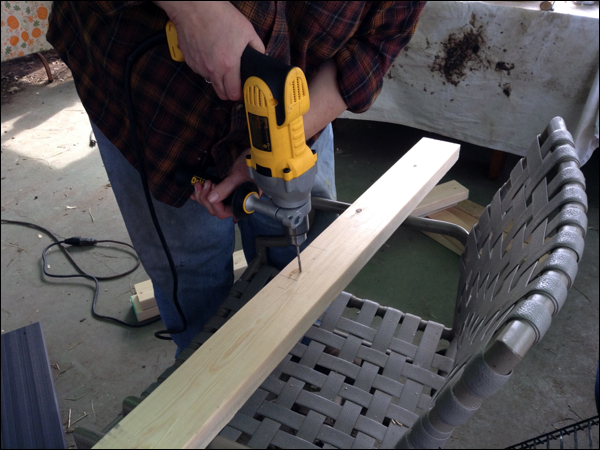
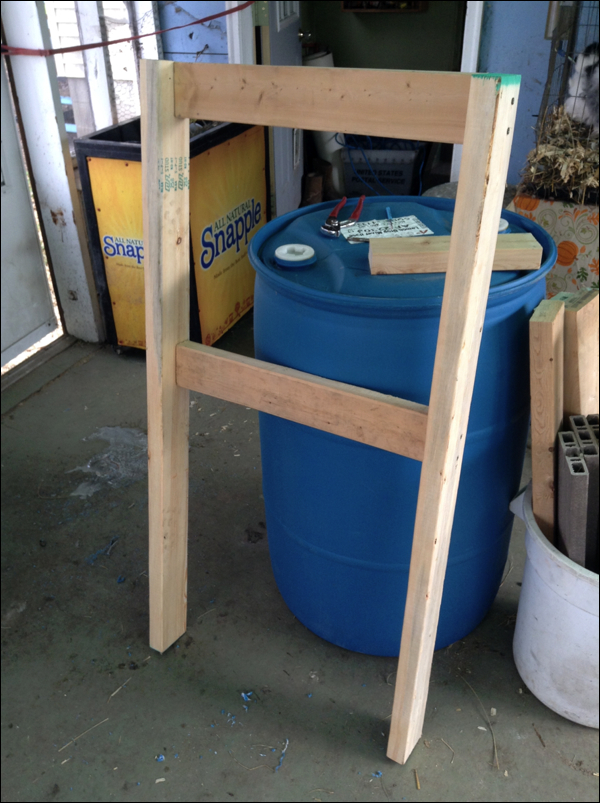
So we got started! We bought two 2 x 4s so that we would have a nice framework. They are not that expensive, three bucks each. We wanted our single cage to be 2 foot deep by 4 feet long and 2 feet tall. To give the bunnies plenty of hopping around room and the space to stretch out and all. Much better than their current cages.
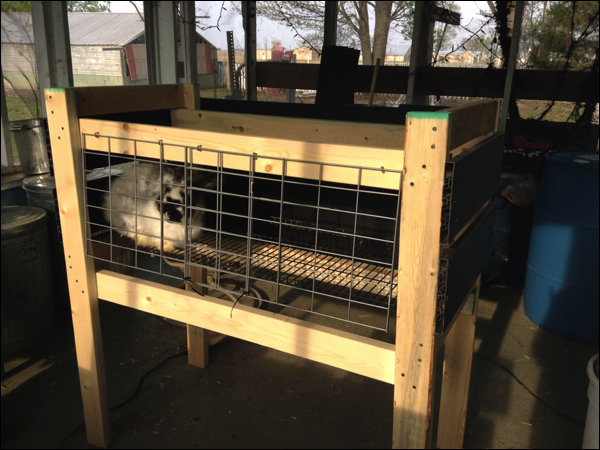
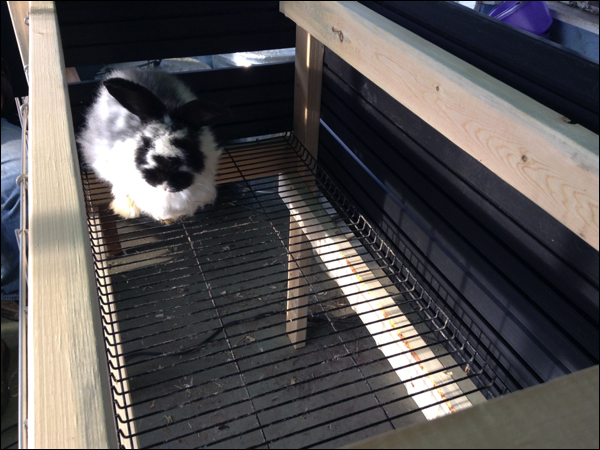
We had scored these hard plastic planks at the surplus store for a buck each. And they are nice and long. We used two planks for this prototype cage. We found a nice big long metal shelf at a garage sale to use as the bottom. It’s very nice, plastic coated and with gaps big enough that poop berries will fall down below into a collection pan. And not too tightly spaced that the bunnies would get their feet caught. We would lay down a resting mat as well as their nest box for resting spaces without the wire. Our bunnies like to use one corner of their cage as a bathroom, so we just designed it so that when they picked an area, we could put the collection box under there and direct the waste there.
We found these smaller shelf pieces for the front liftable door for $2 each at Menards. They were in the shelving department and are also plastic coated to be easy to clean and they won’t rust. We tie wrapped the two together and then used a couple of the fence U staples so that it will swing up and away from the cage for easy access for food and to be able to get the bunnies out.
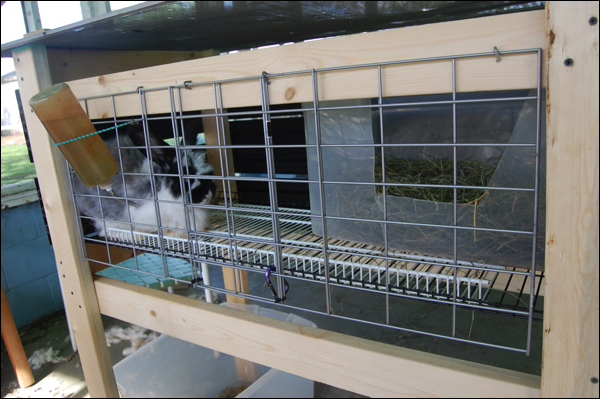 We’re still working on the perfect roof. RIght now, we just laid a old screen over the top and Cornelius seems fine with that. We added a plastic box for him to rest in and stuffed it with hay. He loves it! We also added a plastic mat to the open area. We are still watching and observing how he deals with it and so far, so good! He seems happier, he’s cleaner and he hop around and is very active in the space. We are going to paint it and come up with a more secure and solid roof so that he can go outside in the courtyard and we won’t worry about varmints or the weather… wet bunnies are not happy! But so far, it’s working great and is so much nicer than the old commercial cages we had. We are waiting to start on the other two cages… we want to really test it out good and make any alterations to the plan for the next cage! Happy bunnies make us happy farmers!!
Have you ever put worm bins (vermicomposting) under the bunnie cages to have the worms compost the waste? I can’t remember if I have seen you post about that or not. It works really well and you can do it with cheap tubs.
Yes, actually, Maggie is starting a worm farm out in the poultry barn with yard waste, scraps and chicken waste and plans to use the dump buckets from the rabbits as well! Just haven’t gotten it started yet. Well, she’s getting the tubs and such ready, just no worms yet! Great minds think alike!