
I love to brew… beers, wines, hard cider, it’s all fairly easy to do, in a basic way. After all, folks have been brewing since the ancient days… it’s basically just some good stuff, a bit of yeast, time and fermentation! And poof! You have adult beverages!
This is how to make simple hard cider. Works every time and it’s not expensive and doesn’t require extensive learning or wisdom about brewing in general. It’s a great way to get your feet wet and try a little fall fun.
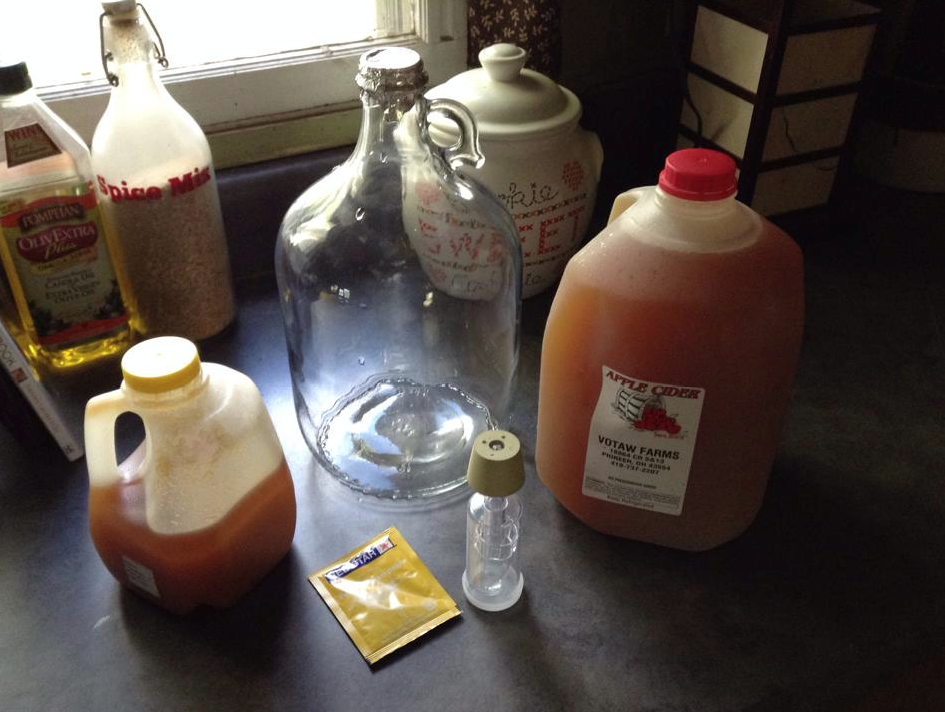
You need a few simple things. You need a glass gallon jug. You need a air lock, or a bubbler. And you need some champagne yeast. It is good to get a little packet of sanitizer as well. There are several varieties, I like the sanstar type.
You also need one gallon of fresh pressed apple cider and a pound of honey.
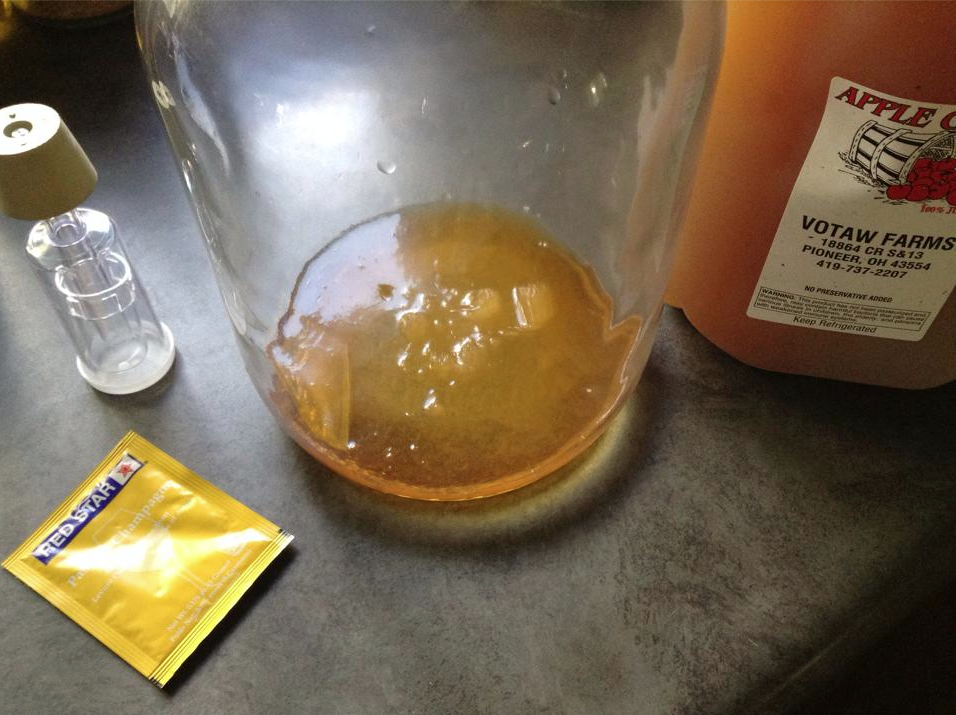
After you follow the instructions on the santizing pack (usually mixing the packet with some warm water, and shaking it all over your jug, airlock and any tools you are going to use) you are ready to add the honey. I use a little postal scale to weigh out my one pound of honey. I’m not sure what the measurement would be, but it’s about 3/4 of a cup or so… there might be a conversion online, but I find it easy to just weigh it.
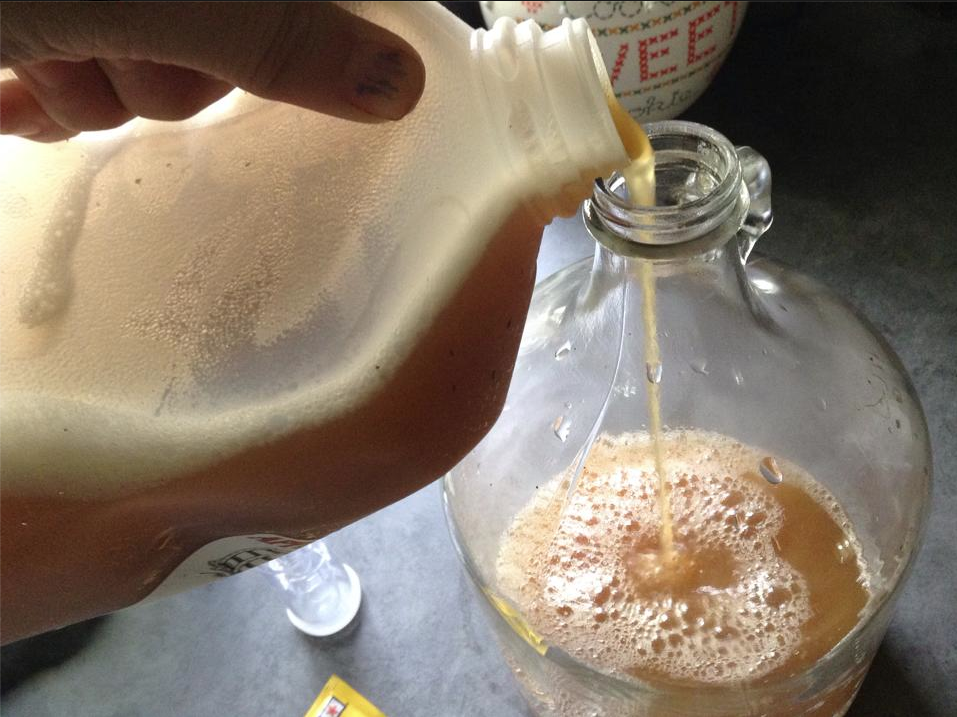
Carefully add your cider. You will have a wee bit left over because of the honey displacing a bit. You should fill the jug up to just a bit above the shoulder of the jug. You don’t want to fill it all the way to the top, because you need a little head space for everything to do it’s magic. Besides, you want to sample the cider before it’s finished into hard cider, right? Quality control!
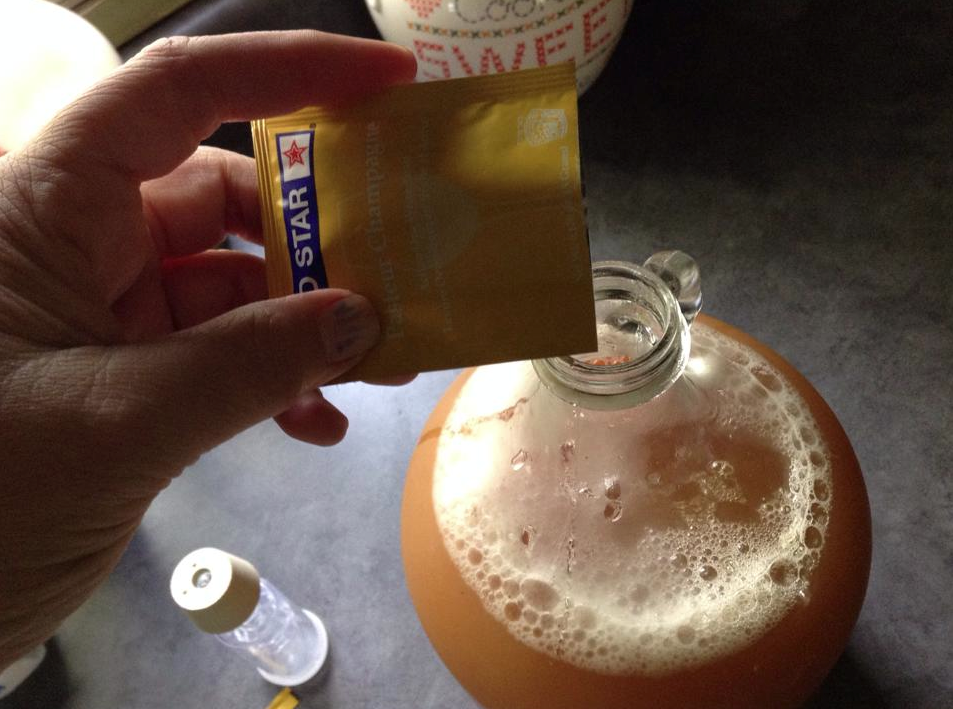
Add half a packet of champagne yeast. Save the rest for your next batch! Or throw it out if you don’t want to worry about wild yeasts or any contamination. A packet of yeast is like 50 cents. So it’s not like you’re going to waste much if you just ditch the extra.
In brewing, you must be very careful about keeping your tools VERY clean and sanitary. Don’t let your hands touch anything, like the rim of the jug or anything that comes in contact with the brewing mix. Wild yeast will throw your brew off. Of course, occasionally, it can be wonderful, but usually, if you are following a set recipe, it will just make things weird. However, that being said, if you are careful, it’s fairly easy to keep everything tidy. Especially with this recipe, it’s easy and there is no cooking or stirring or anything. Just pour in three things, cap it and wait. Pretty darn simple!
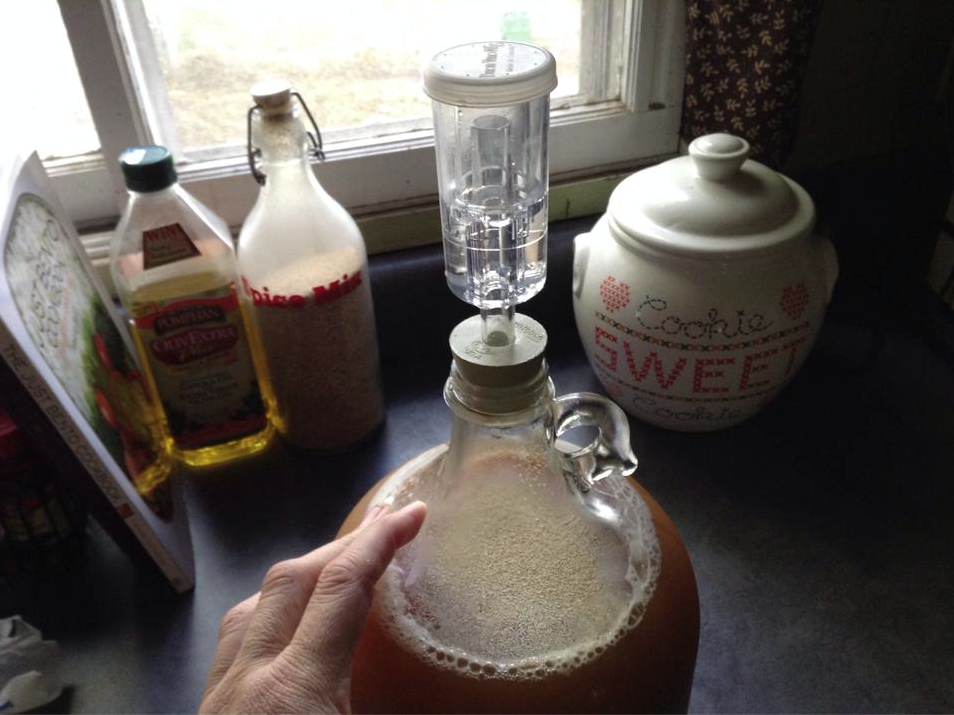
Lastly, you add the air lock. There are several different kinds, and of course, they can range in price and quality. I just like these simple ones, they are about a buck each. You fill them up with a bit of water, this one, is about half the bubbler. Then carefully wedge it into the jug’s neck. Be careful, not to handle the bubbler after you sanitize it. I just hold it by the plastic part, avoiding the rubber stopper until its firmly in place.
I give the jug a good swirl, just to sort of mix up the yeast and honey with the cider. It will be cloudy and you will see the little grains of yeast floating about. Don’t worry, it will all work it’s magic with little effort on your part.
Set the jug in a nice cool place, somewhere that you can keep an eye on it, but it’s not going to be disturbed a bunch. Pretty quick you will start to see little tiny bubbles escaping from the air lock. That means everything is working! The yeast is consuming the sugars of the cider and honey and is in exchange carbonizing and fermenting your good stuff! It take about a month or so, until it stops bubbling. It will clear up and you will have some sediment on the bottom of the jug. That’s normal. When you think it’s ready, and you’ll know… you can pour off a wee bit and have a taste! Should be delish! And watch out, because it will be strong! I love to pour just a bit over some ice and maybe add a little dash of cinnamon! YUM!
You can store it in the frig, just decant off the main jug into a new clean jar or jug. Or you can bottle the stuff, and store it! It will keep getting better with age! I usually do both… Bottle a few for later in the winter and then enjoy a bit for the next week or two. It’s so easy and fun and can get you into brewing for next to nothing.
Of course, simple brewing like this is a gateway into the more intense brewing… but there are so many ways to keep getting your feet wet and learning without being overwhelmed! If you like this, I totally suggest you try out a Mr. Beer kit. Don’t laugh! Their middle grade kits are super easy, fun and make some pretty tasty brew! Just another baby step to getting totally involved in home brewing! Enjoy the fall!!!!
Looks like fun to make, I may give it a whirl! Love all your animals and your homestead, Happy Fall! Li @ Sweet Tea N’ Salty Air